Einleitung

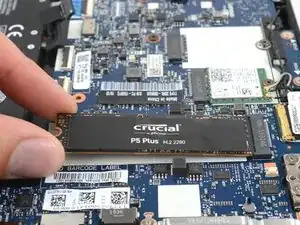
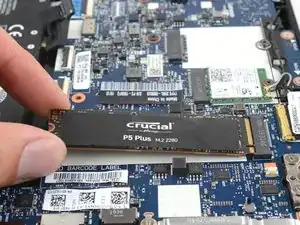
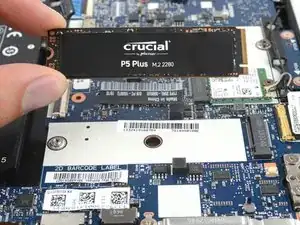
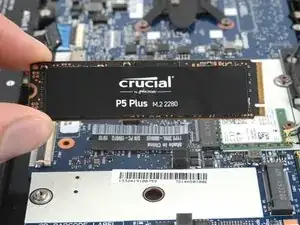
Follow this guide to replace or upgrade the Solid State Drive (SSD) in your ThinkPad X395. Note that a thermal pad helps the SSD dissipate heat more effectively. Remember to keep the original thermal pad, or have a replacement ready.

Before you perform this repair, back up your existing SSD if possible. If you’re replacing the SSD where your operating system is installed, familiarize yourself with a disk cloning utility so you’ll be ready to migrate your data to the new SSD.

  1. UJEcv11HPABRG4rK
    UJEcv11HPABRG4rK
    4LA1TAJilLLTTdFZ
    • For your safety, discharge the battery below 25% and power down your device before disassembly.

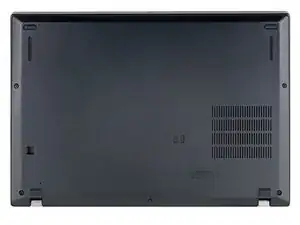
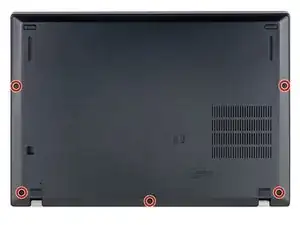
    • Use a Phillips #1 screwdriver to fully loosen the five screws on the back cover.

    • These are captive screws—they won't come out after being loosened.

  2. 52QT5BMFiupUnNAt
    52QT5BMFiupUnNAt
    RbE1urTymnj5kWPJ
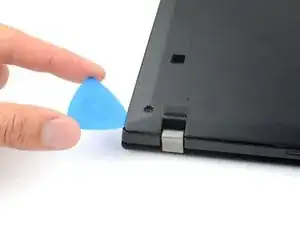
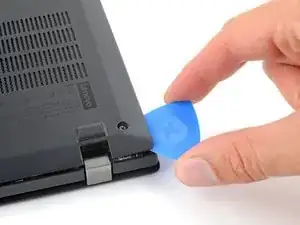
    • Orient your laptop so that the screen's silver hinges are closest to you.

    • Insert an opening pick between the back cover and the device body near a hinge corner.

    • Pry upward to release the retaining clips. Listen for a loud click when each clip releases.

  3. biPPSjSTkYoL3BLU
    biPPSjSTkYoL3BLU
    HbQPvAfiA4FI2gFr
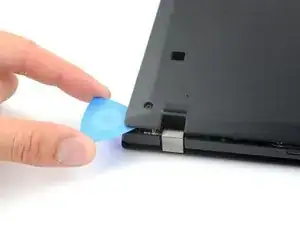
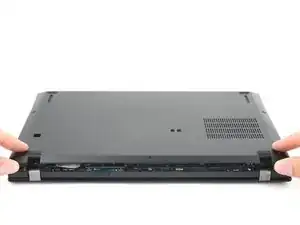
    • Insert the opening pick between the back cover and the device body at the other hinge corner.

    • Pry upward on the cover to release additional clips.

  4. KPuy1uWATGusTBrb
    KPuy1uWATGusTBrb
    RJhiBflpa1KLpFBh
    PpWFmCHAfN6dPCEa
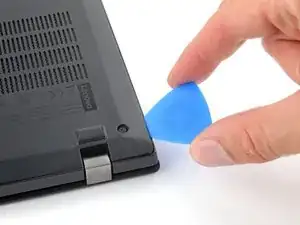
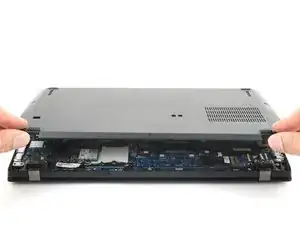
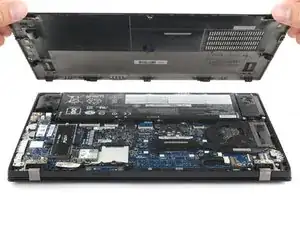
    • Lift and remove the cover up from the laptop, starting with the edge nearest to you.

    • Shift the cover side to side if the center clip feels stuck.

    • The cover will hinge open before completely separating from the rest of the laptop.

    As I've seen others comment elsewhere, this does not work. There is some sort of attachment near the battery which prevents the cover from being lifted.

    Pete Hurd -

    As far as our process went, the only noticeable thing securing the cover to the frame was the very sturdy clip in the center. If shifting the cover side to side didn't free it for you, can you attach a picture to confirm there may be something else securing it? I'd be happy to re-visit this if there is an extra step.

    Clay Eickemeyer -

  5. iMajNwcvUHJM4LwT
    iMajNwcvUHJM4LwT
    B4rH26YCpaDtIn6W
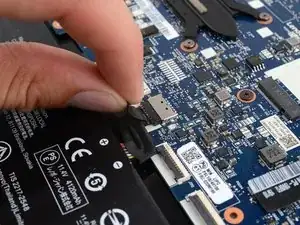
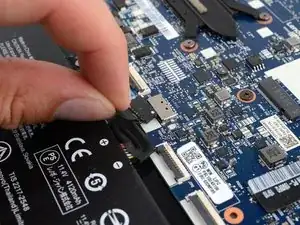
    • Grab the battery pull-tab on the head of the connector.

    • Pull the connector out of its socket in the direction of the cable.

  6. RlTZeHfRFJQtJxHn
    RlTZeHfRFJQtJxHn
    D1AvxHKAxcX1luLR
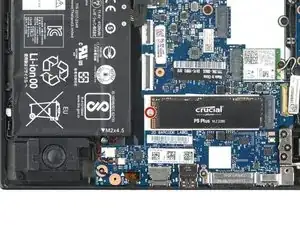
    • Use a Phillips #1 screwdriver to remove the 2.8 mm-long screw holding the SSD in place.

  7. cb2gAfJo6NGyujbo
    cb2gAfJo6NGyujbo
    ERqPujEYPkPSgGF4
    KFLKcYTeFIYFc61L
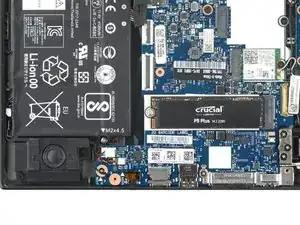
    • Pull the SSD out and away from its socket.

    • If this motion requires excessive force, walk the SSD side to side as you pull.

Abschluss

To reassemble your device, follow these instructions in reverse order.

Take your e-waste to an R2 or e-Stewards certified recycler.

Repair didn’t go as planned? Try some basic troubleshooting, or ask our Lenovo ThinkPad answers community for help.
Clay Eickemeyer

Mitglied seit: 19/09/22

23447 Reputation

0 Kommentare