Einleitung

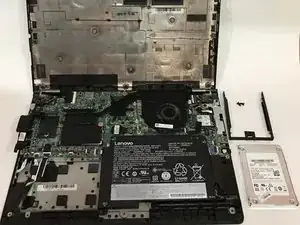
Follow these steps to replace your dysfunctional hard drive!

  1. mjDHGxLMWwca32Ir
    mjDHGxLMWwca32Ir
    JDH6PANDqVw6K2ZI
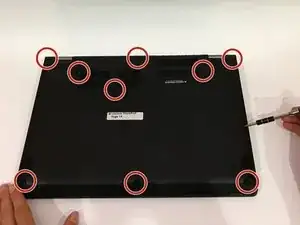
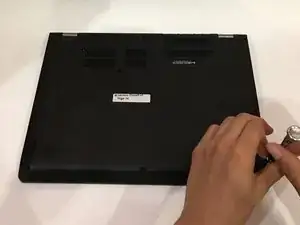
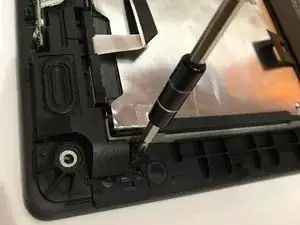
    • Remove the indicated nine M2 x 6 mm nylon-coated screws using a Phillips head screwdriver.

    • The screws do not come all the way out. Do not force them out.

    I must have a similar but different model. 11 screws on this type 20FY.

    curmudgeon44 -

  2. KZcQ3KjocWjJ5roe
    KZcQ3KjocWjJ5roe
    tvtiKqORBAJRoLvP
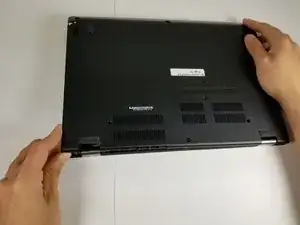
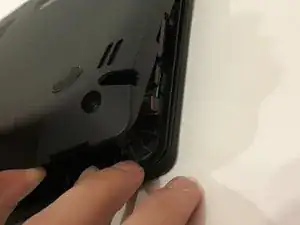
    • After removing all of the screws, gently lift up on all covers to remove the back plate and reveal the interior of the device.

    The stylus blocks removal, just pull it out. In my case something in vicinity of power plug kept case from opening, have not solved that problem as yet.

    curmudgeon44 -

  3. sPS1JeBJHTBrDYfM
    sPS1JeBJHTBrDYfM
    TxAwmXTU3MrpxCQa
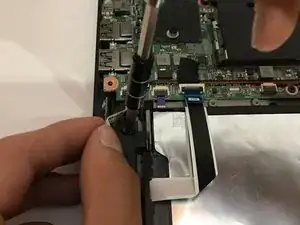
    • Once the back cover is exposed, remove the two screws holding the hard drive in place.

  4. SOXFXFsWOJLPwDvT
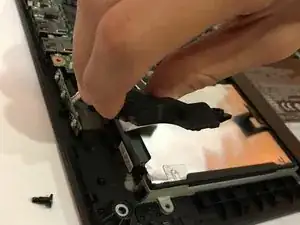
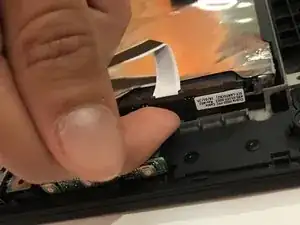
    • Remove the plastic encasing holding down the hard drive after screws are removed.

    • This is the plastic encasing covering the SATA connection on the hard drive. There will be another plastic encasing that will be required to remove in a later step.

  5. ONPcUhm4OL3ukuVt
    ONPcUhm4OL3ukuVt
    f4C4Uaq4gGFyybAy
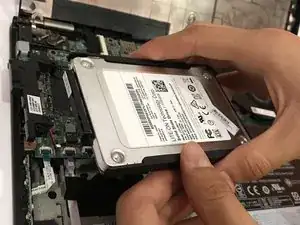
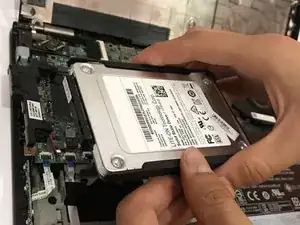
    • Using two fingers, carefully remove the hard drive.

  6. wg1BAPYGYTmnYnSw
    wg1BAPYGYTmnYnSw
    QhXhZXirBYIEPxht
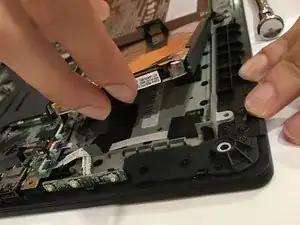
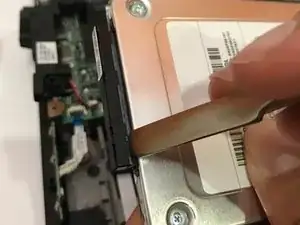
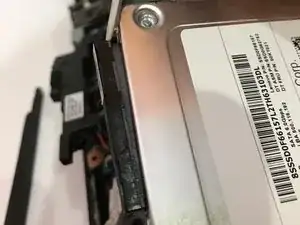
    • Carefully remove the plastic encasing surrounding the perimeter of the hard drive.

  7. XG3YGK3ImAw6RbqD
    XG3YGK3ImAw6RbqD
    nOkbEwcrWIBRtbrA
    fN2QpTiLPSChrHAL
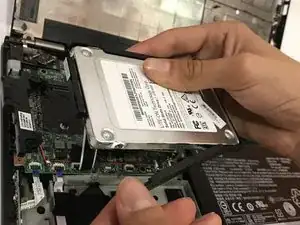
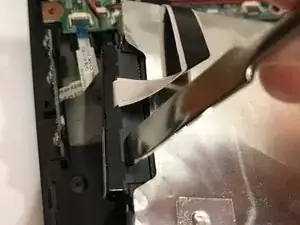
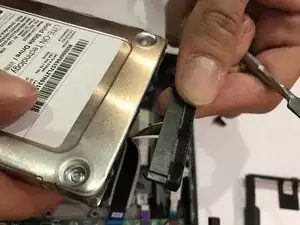
    • This step requires the most precision. Forcefully using the prying tool to remove the SATA connector may damage the hard drive and the connection. Remove the connection slowly to a point where you can safely finish removing the connection with your fingers.

    • Use a nylon spudger to remove the SATA connector from the hard drive.

  8. AMgxWm4xmFvIRMQQ
    AMgxWm4xmFvIRMQQ
    4dCPX1RHIP1agk2K
    • After the SATA connection is removed, gently pop off the hard drive from its socket.

Abschluss

To reassemble your device, follow these instructions in reverse order.

Richard Terre

Mitglied seit: 20/04/17

239 Reputation

Ein Kommentar

After the SATA connection is removed, gently pop off the hard drive from its socket.

jhonson -