Einleitung
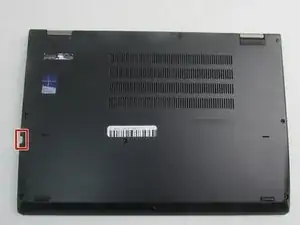
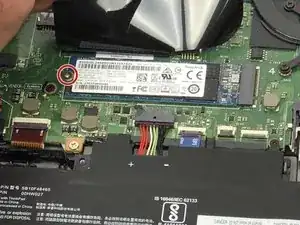
For the Lenovo ThinkPad Yoga 370 (Model Number: 20JH002AUS), if your hard drive has failed, you need more storage, or you want more speed for your device, this guide will show the steps needed to replace the hard drive.
Caution: Before you replace the hard drive, make sure to backup the storage to avoid lost items on the device.
Werkzeuge
Ersatzteile
-
-
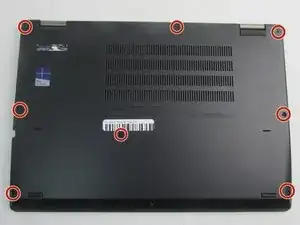
Using the Phillips #00 screwdriver, unscrew the eight circled 4mm screws until you hear a click.
-
-
-
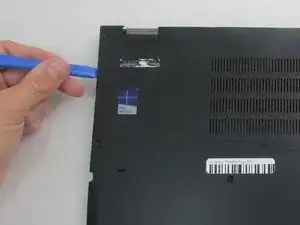
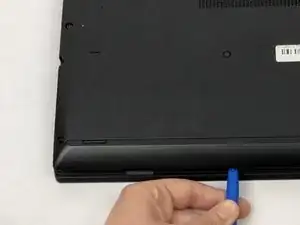
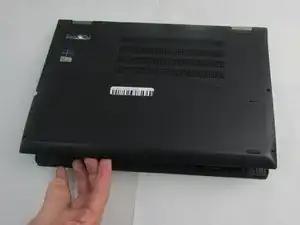
Using the plastic opening tool, work around the edges of the bottom cover to undo the plastic clips.
-
-
-
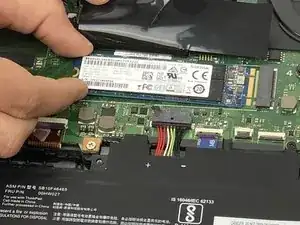
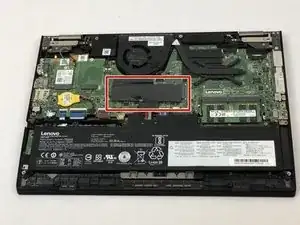
Gently pull back the heat shield on the hard drive without tearing it or completely removing it.
-
-
-
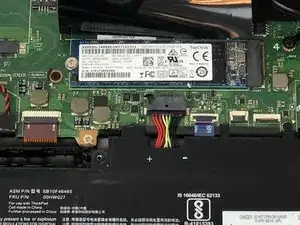
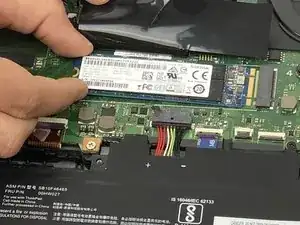
Using two fingers, gently pull the hard drive straight out of the connection to remove it from device.
-
To reassemble your device, follow these instructions in reverse order.
Note: Due to the similarity of the devices, several of the pictures were used from the Lenovo ThinkPad Yoga 260 Battery Replacement Guide to show the specific components that were missing in the Yoga 370.
