Einleitung

  1. 2eDdPXRLdiAjjyk6
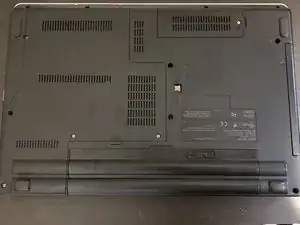
    • Flip your laptop over.

    • Unplug all cables from the computer. If you're just swapping the battery, you can leave the power cord plugged in.

  2. GBFqkNmdkxnvKcXR
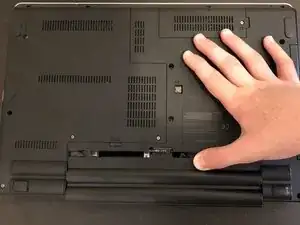
    • Pull the locking tab on the battery towards the unlock position.

    • Pull the battery out of the socket.

  3. fyBGbbX1WXIyYJF2
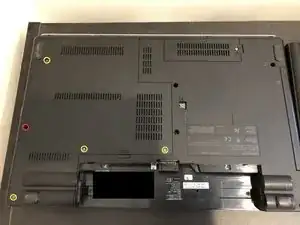
    • Loosen the following five screws:

    • 5 Phillips #0 screws

    • 1 recessed Phillips #0 screw

    • These screws do not come out all the way, and need to be un-tightened a lot more than you might think.

  4. R5vbjfqdJiOcepD5
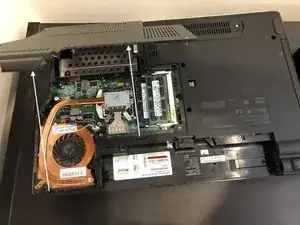
    • Pull up on the front cover from the left and right sides.

    • Do not force the cover off the laptop. If it does not want to come out, undo the screws a bit more.

  5. DwUlPSESEpsEXRXo
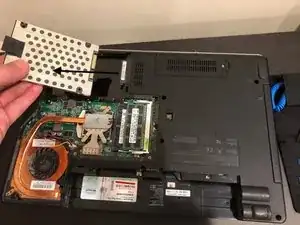
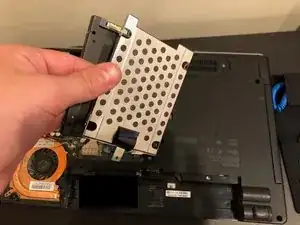
    • Slide the hard drive caddy to your left side using the pull tab.

    • Once it has been disconnected, pull up on the hard drive.

    • When reassembling, make sure to put the drive down before plugging it in. It might take some trial and error to get the drive seated properly.

  6. 6SYNBmBBiGTNlMql
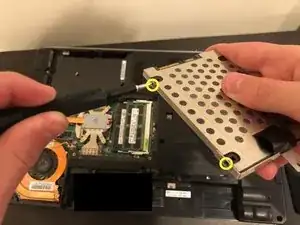
    • Remove all the Phillips #0 screws from the outside of the hard drive caddy.

    • Do not remove any of the screws from the top or bottom of the hard drive, as doing so can cause irreparable damage to the hard drive and the data on it.

  7. DsNbsLvWDDQ4s6Eg
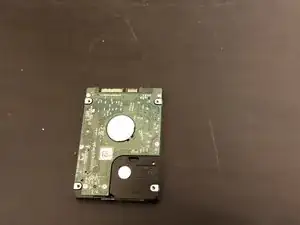
    • Separate the hard drive and the caddy.

Abschluss

To reassemble your device, follow these instructions in reverse order.

Reinstall Windows or Linux on the new drive.
DistroHopper39F

Mitglied seit: 30/05/20

408 Reputation

0 Kommentare