Einleitung

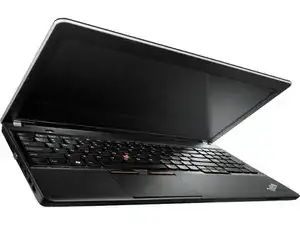
The purpose of this guide is to teach you to remove the back panel of this laptop for replacement or other necessary changes. To place the panel back on the laptop, reverse the order of the guide.

  1. FhIjtder4IJGtgs3
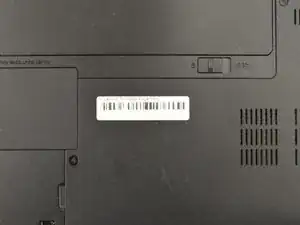
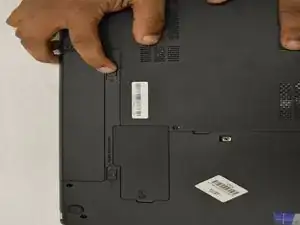
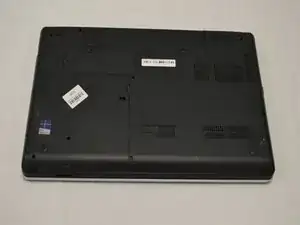
    • First, flip the laptop over as shown in the photo.

    • Make sure device is fully powered down before removing battery.

  2. yLqLQIJIr54BOZ3A
    • Below the battery are two small tabs. These function as a lock for the battery.

    • Push the tabs towards each other to release the battery.

  3. D1gbmE2Cs2AcMv3u
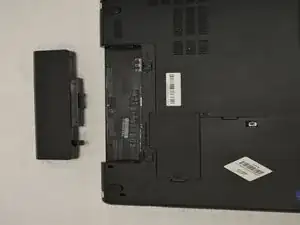
    • Remove the battery from the device.

  4. qy1ZVDaX32ORvNPg
    • Using a Phillips screwdriver, remove the four screws around the edges of the rectangular panel.

    • It is recommend that you fully remove the screws and place them in a secure location.

    • Make sure to use the appropriate sized screwdriver. The wrong size can cause damage to the screws or screwdriver.

  5. fstxwlvwbPoyiEhS
    fstxwlvwbPoyiEhS
    2SBBYpTegMEqulWw
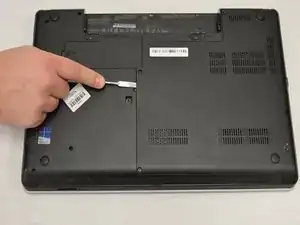
    • Once all the screws are removed, gently slide the metal scalp around the edge of the panel to pry it open.

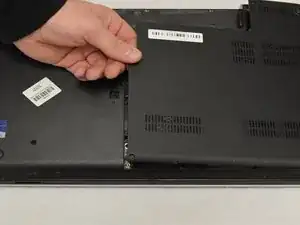
    • Slowly lift the left edge side of the panel with your fingers. Once the left side is up, continue lifting the right edge of the panel.

  6. s4GjYAGMcsh1KS4u
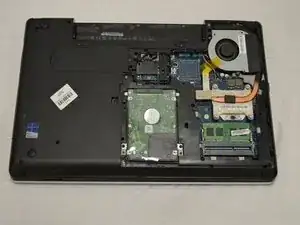
    • Remove the back panel.

    • The back of the laptop will be exposed once the panel is removed.

    • Many of these small components are easily damaged--do not touch anything unless instructed to.

Jalin Shavers

Mitglied seit: 22/10/18

370 Reputation

0 Kommentare