Einleitung
This guide will teach you how to remove the built in speakers when they begin to fail or are entirely unresponsive.
Guide Notes
- The keyboard must be removed before the plastic top case can be removed.
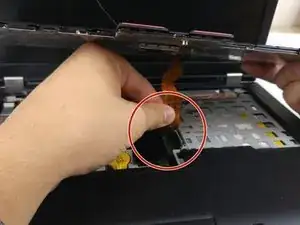
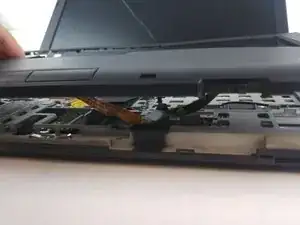
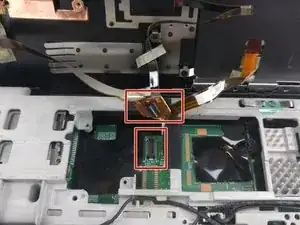
- When separating the keyboard assembly from the laptop, be mindful of the unseen ribbon cable that must be disconnected.
- The touchpad, like the keyboard, has a ribbon cable that must be disconnected while raising the cover away from the body of the laptop.
Werkzeuge
Ersatzteile
-
-
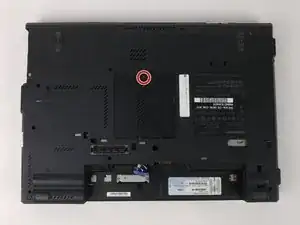
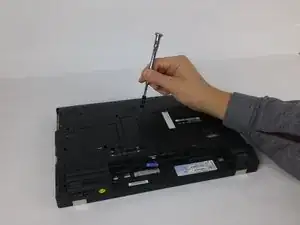
Loosen (do not remove) the 14.0mm screw in the DIMM slot cover with a Phillips #2 screwdriver.
-
-
-
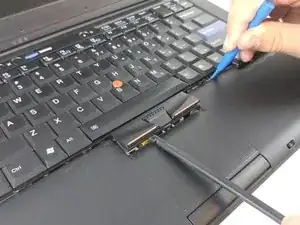
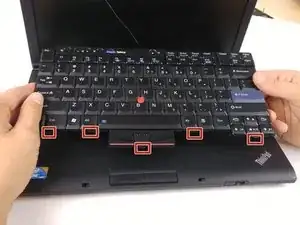
Nudge the plastic tabs around the keyboard using the plastic opening tool while lifting it with a spudger.
-
Ensure all 5 clips are loosened from the front of the keyboard before removing.
-
-
-
Slowly raise keyboard away from the laptop. A short ribbon must be removed before keyboard is free.
-
Remove the keyboard from the device.
-
-
-
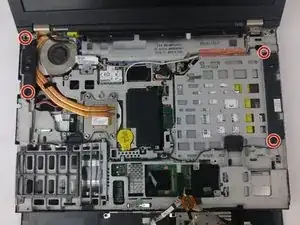
Remove the six 14.0mm screws with a Phillips #0 screwdriver.
-
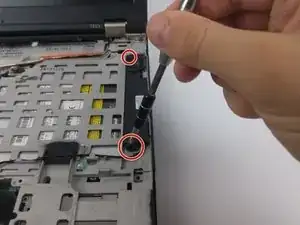
Remove the three 3.0mm screws with a Phillips #0 screwdriver.
-
-
-
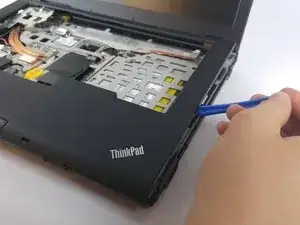
Snap off the top cover with a plastic opening tool, ensuring that the tabs don't snap back on.
-
-
-
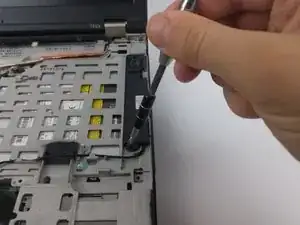
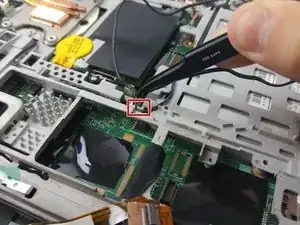
Using the Precision Tweezers, remove the speaker cable from the connector.
-
Remove the speaker from the device.
-
To reassemble your device, follow these instructions in reverse order.
