Einleitung

  1. BIntdLyOwpXoH1Z2
    • Turn laptop over to expose the battery.

    • Grab the Phillips screwdriver with the JIS, J00 head.

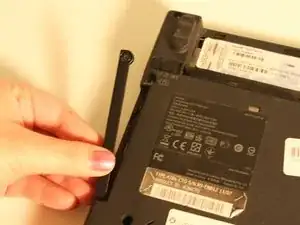
    • Remove the one screw from side panel.

    • Remove the side panel.

  2. f2BaJvivqWFoVkFY
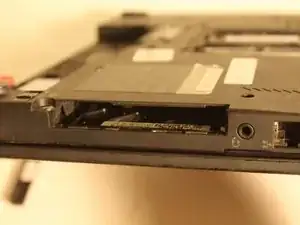
    • Gently slide out the hard drive.

    • Slide the replacement hard drive into place.

    When obtaining a replacement hard drive, be aware that many 2.5" laptop drives, particularly older ones, are too thick (9.5mm) to fit in the X220 drive bay. You need one with a drive height (thickness) of 7mm.

    Michael Field -

  3. yTZnT2NIBSSMBrhk
    • Place side panel back into place.

    • Insert the one screw back into place.

    • Hard drive is now ready for regular use.

Abschluss

To reassemble your device, follow these instructions in reverse order.
Mariska Gramlow

Mitglied seit: 07/01/16

893 Reputation

0 Kommentare