Einleitung
Werkzeuge
-
-
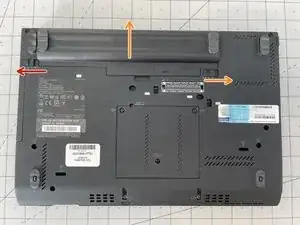
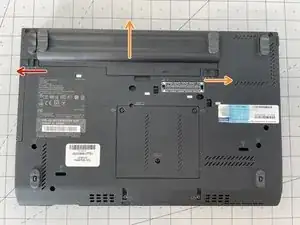
Unlock the battery by moving the left slider to the left.
-
Release the battery by moving the right slider to the right and push the battery back to remove it.
-
Remove the battery and set aisde.
-
-
-
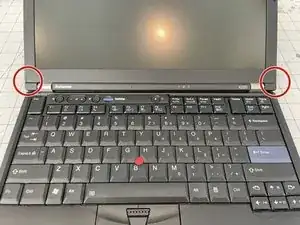
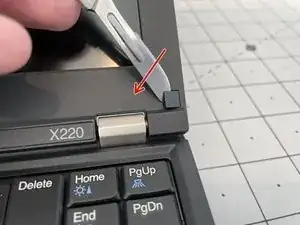
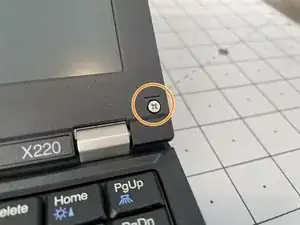
Using a hobby knife, remove the plastic screw covers.
-
Remove both screws by using a #1 Philips bit.
-
-
-
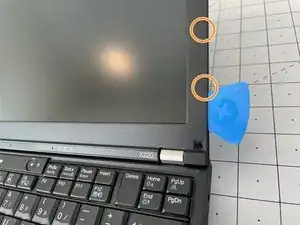
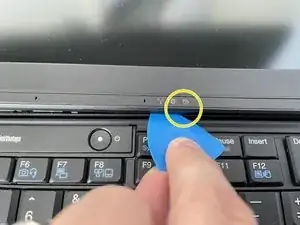
Using a Pick, detatch the bezel from the assembly by carefully releasing the clips around the outside top, left and right edges of the display. This can be done by gently pressing inward and twisting.
-
Once the left and right edges are released, carefully bend the display all the way back and release the clips on the bottom using the same tecnique.
-
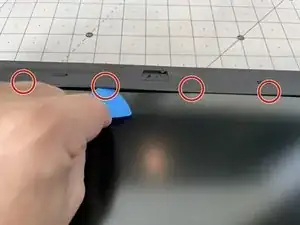
Last, remove the four (4) clips from the under side of the top of the bezel.
-
You should now be able to remove the bezel and set aside.
-
-
-
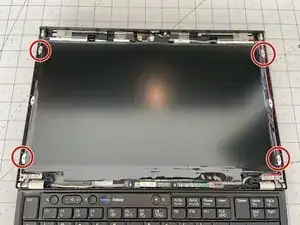
Remove the four (4) Philips screws indicated using a #1 bit.
-
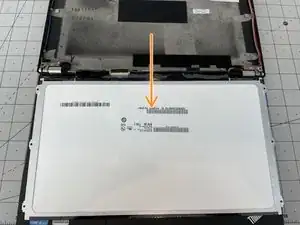
Remove the LCD panel from the housing and tilt down toward you, resting the LCD panel on the keyboard.
-
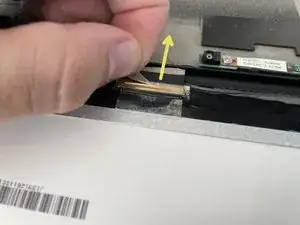
Disconnect the display cable from the display by carefully pulling back towards the assembly (the female end is on the display).
-
You can now replace the display and re-assemble by using the steps in reverse.
-
To reassemble your device, follow these instructions in reverse order.
