Einleitung
Werkzeuge
-
-
1.Open the battery clasp and remove the battery
-
2.Remove the two screws that hold the keyboard
-
3.Use a crowbar to push the keyboard away from the bottom of the keyboard and unplug the keyboard cable
-
4.Remove the cover of memory and remove it
-
5.Remove the remaining screws, open the clasp of fingerprint module, and lift the wrist bracket from
-
6.Unplug the line of wireless card and remove it and SSD
-
7.Remove the remaining cables and screws, pull out the pull rope, and then remove the storage hard disk
-
8.Lift the screen frame from the center and remove the laptop screen
-
-
-
9.Unplug the speaker cable and remove the Bluetooth module
-
10.Remove the motherboard screws, remove the clasp of DC Jack, and remove the screws of VGA
-
11.Lift the motherboard from the left
-
12.Erase the hardened silicone grease and apply a little of new grease.
-
13.Follow 1 to 4 of the screws to fix the heat sink. Remember to install the fan's cable
-
14.Fix the right side of the DC Jack first(the screws of motherboard are the same size, it can be mixed)
-
-
-
1.According to the dismantling method, reversely install each part.
-
2.Sort out the cable to prevent the keyboard from popping up after the installation
-
3.Gray and black lines are the two antennas of the wireless card and
-
4.Fix the wrist bracket below first
-
5.Fix the upper part of the keyboard and then pull down the keyboard
-
In addition to the screws on the hard disk cover, all black screws can be mixed After all parts are installed, try to start it
-
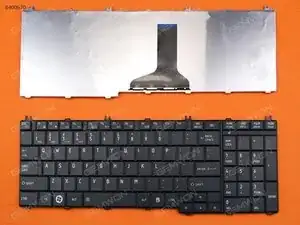
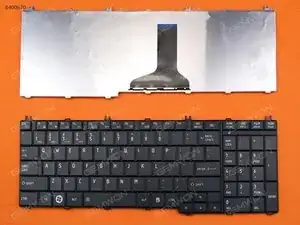
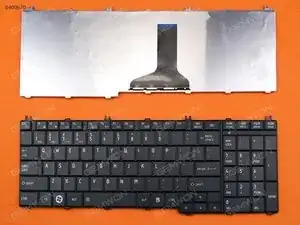
Get the best quality keyboard from laptop.gemwon.com and follow the steps to replace it.


