Einleitung
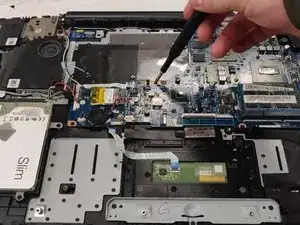
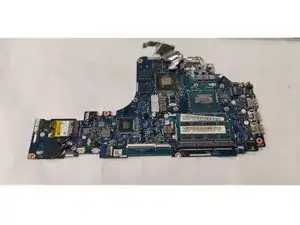
This guide showcases a step by step approach to replacing the Motherboard for the Lenovo Y70-70 Touch. The motherboard might need to be replaced in case of a damaged component or a laptop upgrade.
Werkzeuge
-
-
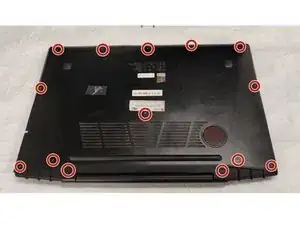
Flip the device so that the back cover is facing you.
-
Using the Phillips #0 screwdriver, remove 14 screws from the back of the device.
-
-
-
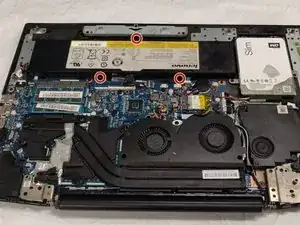
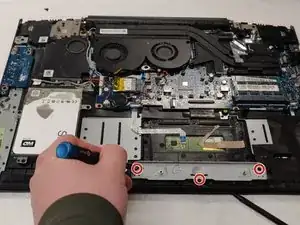
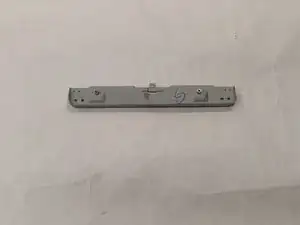
Using the Phillips #0 screwdriver, remove the metal reinforcement by removing the three screws.
-
-
-
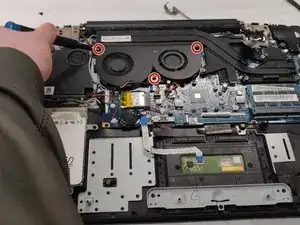
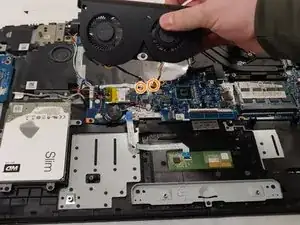
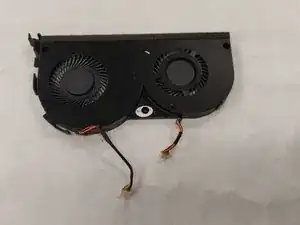
Using the Phillips #0 screwdriver, carefully remove the three screws holding down the fan.
-
Detach the cables connecting the fan to the motherboard.
-
-
-
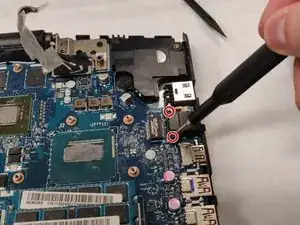
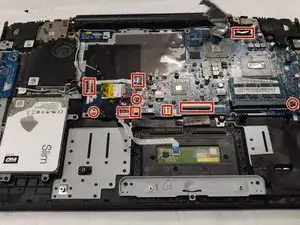
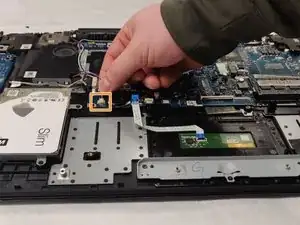
Unplug the various cables attached to the motherboard using your fingers carefully.
-
Detach the cables using your fingers.
-
-
-
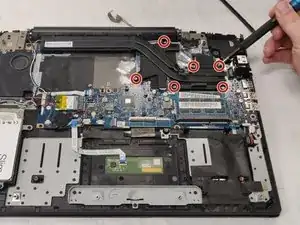
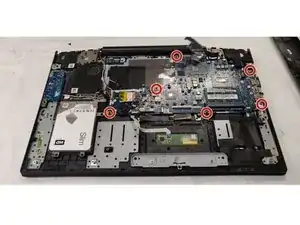
Finally, remove the six screws holding down the motherboard.
-
Remove the motherboard from the laptop.
-
To reassemble your device, follow these instructions in reverse order.
