Einleitung

If after replacing your battery, your phone is still not charging, you might have a faulty charging assembly. Learn how to replace it in this guide

  1. IUpHJgaHZcEYtAoc
    IUpHJgaHZcEYtAoc
    U6WWKDgUQWgnjEFu
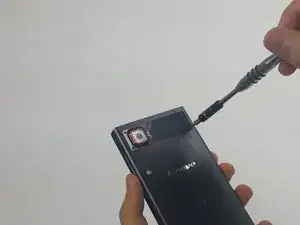
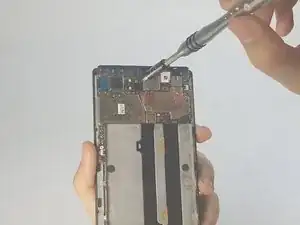
    • Remove the 4.9 mm torx head screws located on the camera plate on the back of the phone

  2. 3hjMjVBBNfXNVKG5
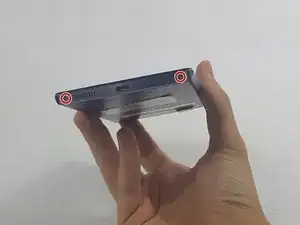
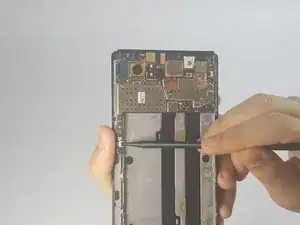
    • Remove the 3.65 mm Torx head screws at the bottom of the phone.

  3. s1Fx6yHWNLHOasou
    s1Fx6yHWNLHOasou
    qCOrNfneqnC3cTwk
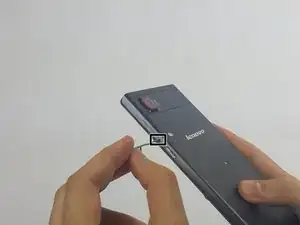
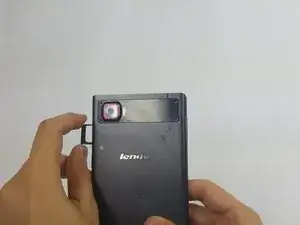
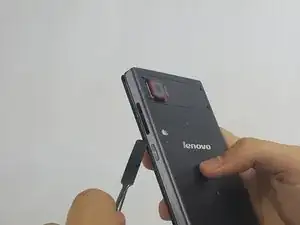
    • Remove the SIM card tray by pushing a pin into the hole on the side of the phone.

  4. eOWrg2St6DXlYaPV
    eOWrg2St6DXlYaPV
    KrnqlOlUMvwsYmPU
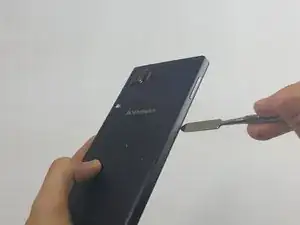
    • Push the Spudger along the gap between the phone and the backplate to separate them.

  5. fJpAtotpG1SJZ2IO
    • Carefully pull the backplate away from the phone.

  6. GqGorCaZLTNXYtOQ
    GqGorCaZLTNXYtOQ
    AXLqTwPcMCoimoUK
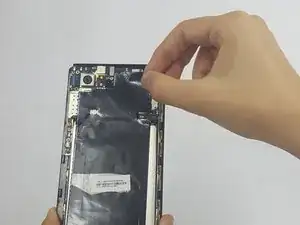
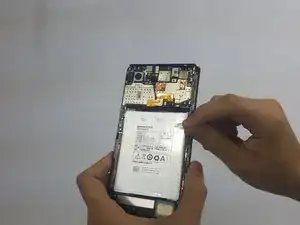
    • Peel away protective the film using your hands.

  7. CkoQcPsZEFcJFImn
    CkoQcPsZEFcJFImn
    ElOmMrBdvHUjfWKo
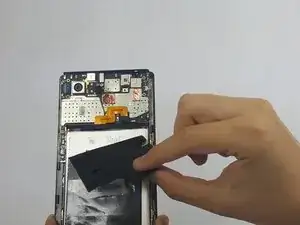
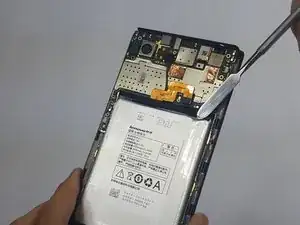
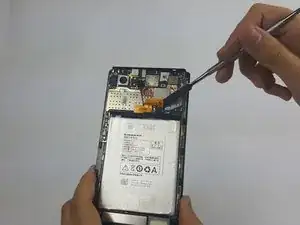
    • Remove any adhesive strips holding the battery in place gently using a fingernail or spudger.

    • The regular black nylon spudger should be used whenever possible, especially around batteries.

  8. 5p1Ms6iSEBpU2pKg
    • Disconnect the orange battery ribbon cable by gently lifting with a spudger.

  9. yDFMQsbWE1NZqiIw
    yDFMQsbWE1NZqiIw
    IUTCY5bCTqbQSBTg
    Kih3YS1w1QElkLxB
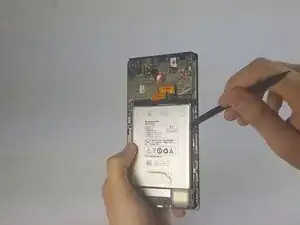
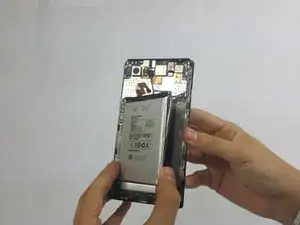
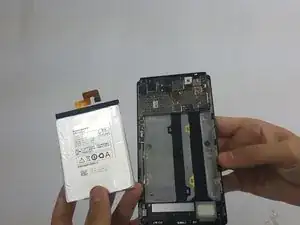
    • Insert a fingernail or spudger into either side of the battery and lift upward.

    • Remove the battery from phone.

  10. IxpJ4QWJaCTDdmtU
    IxpJ4QWJaCTDdmtU
    xBYWguO1sHqEFVWq
    lYwONtdMIIoihVA2
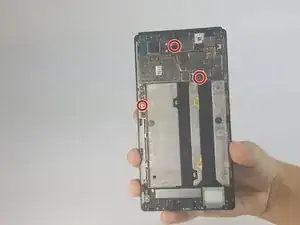
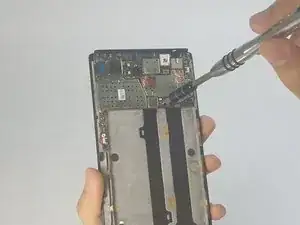
    • Remove the 3.15mm Phillips Head #000 screws from motherboard.

  11. WOJtPNcgkpSmLfEd
    WOJtPNcgkpSmLfEd
    N1YWZAuFLKJkMSfR
    UhRMaZYjTfoZoLVx
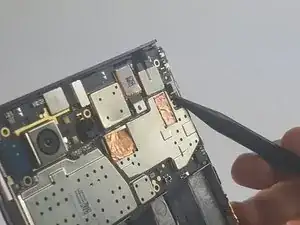
    • Disconnect the two ribbon cables by gently lifting on the black hinges and pulling away with tweezers

  12. 2o5W2XMlBRXJsIB2
    2o5W2XMlBRXJsIB2
    TR2pVAUptyxXQYT3
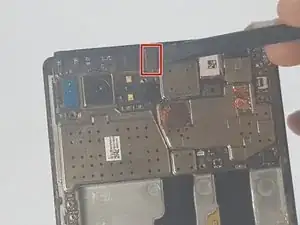
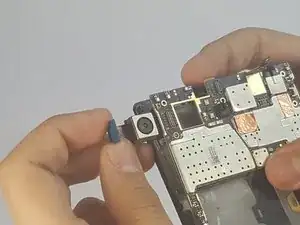
    • Gently disconnect the rear-camera connector

  13. NSYJAQnZoQBxPS1p
    NSYJAQnZoQBxPS1p
    fybVadJeJVi1CGph
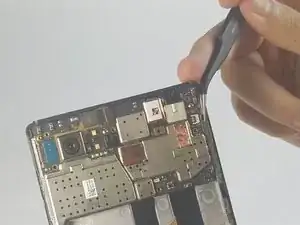
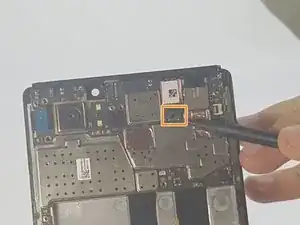
    • Gently remove the front-facing camera by gently lifting on the connector tab.

    • Remove the other connector by gently lifting with a spudger.

  14. bFFJmcqvbB2u4cXP
    bFFJmcqvbB2u4cXP
    LbMmQJUrsstNFJIs
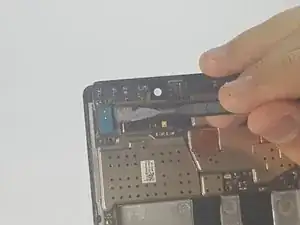
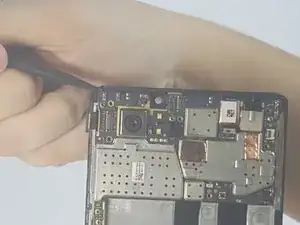
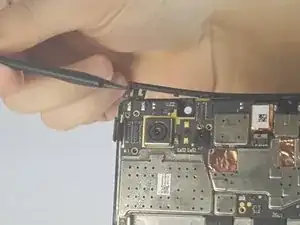
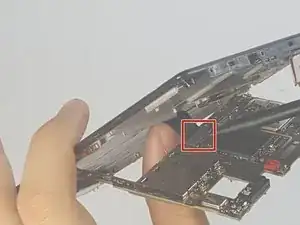
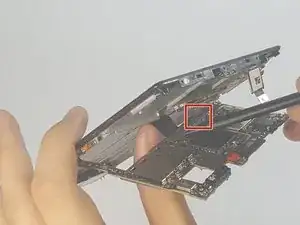
    • Pry off the plastic brace along the top edge of the phone

  15. drHcQGwdoUw4CZV1
    drHcQGwdoUw4CZV1
    eWNHuGNRDVcjxDkd
    • Remove the antenna connected to the bottom piece of the screen plate

  16. W1tyF35bAUnTmDEX
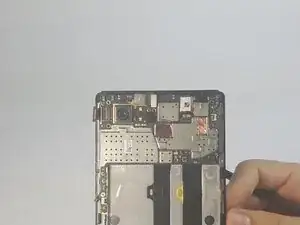
    • Gently lift the motherboard off the frame

    • Pull the camera out from behind the motherboard

  17. SxKgVdgSMIGJcrtV
    SxKgVdgSMIGJcrtV
    JLG6NxDUe4H5uIUT
    XQ55g4lVUgluRNDW
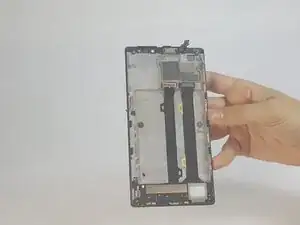
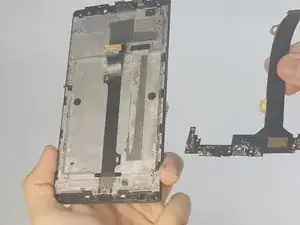
    • Using a spudger, disconnect the charging port assembly cable and the screen connection cable.

    • Remove the motherboard completely.

  18. V4KSdZhwNMwUELAN
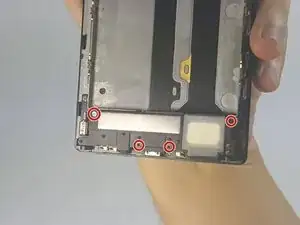
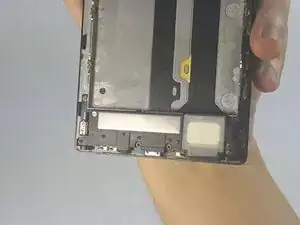
    • Remove the 3.6 mm Phillips head screws from the charging assembly

  19. H61pGaEwBiDHjwuR
    H61pGaEwBiDHjwuR
    UfjfkZVwBqGZICCW
    IP6rIAomFiaLHn2y
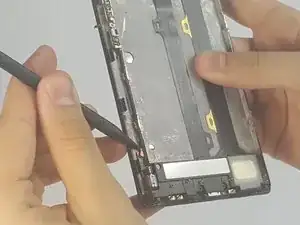
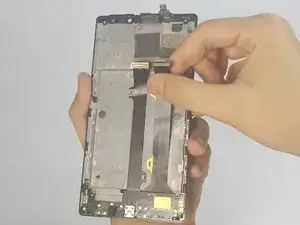
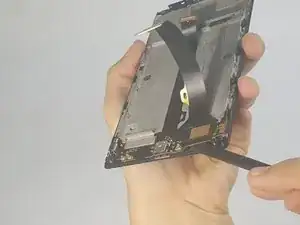
    • Gently peel the flat cable away from the screen

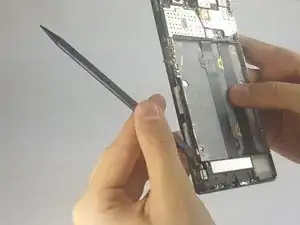
    • Gently lift the charging assembly using a spudger

Abschluss

To reassemble your device, follow these instructions in reverse order.
Bryan Sepulveda

Mitglied seit: 15/09/16

547 Reputation

0 Kommentare