Einleitung

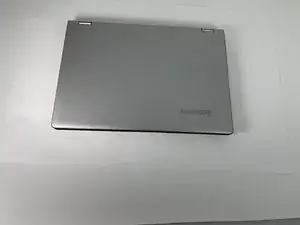
This guide will properly show how to remove and replace the hard drive component for a Lenovo Yoga 2 11” 20428. When removing the hard drive be sure to have the laptop turned off and the battery disconnected.

  1. BlDRfGUIjGyAHOcJ
    BlDRfGUIjGyAHOcJ
    foZnqDbv2fPHYSj4
    LKPMAu2Epcj6JaII
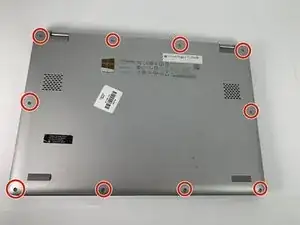
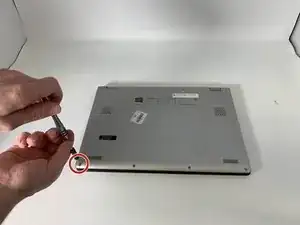
    • Flip the computer over so the bottom is facing up.

    • Remove the ten 6mm screws with a T5 Torx security screwdriver.

  2. 3PMAoQikg6muTIX2
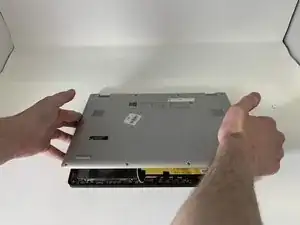
    • Carefully remove the back panel by gently prying the panel from the front to the back.

    • Take care not to pull any wires or crack the outer shell.

  3. cgltnQ1sTNTXSZEc
    cgltnQ1sTNTXSZEc
    gVpBLJrsoxpATkUZ
    5Y52eeDG3oFEkCvw
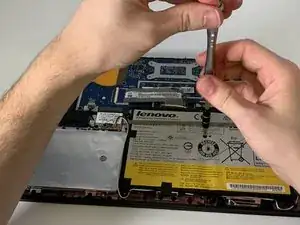
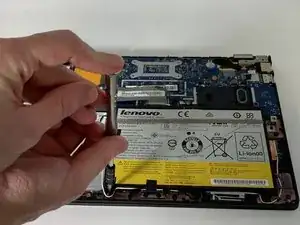
    • Remove the six 3.3 mm Phillips #000 screws around the perimeter of the battery.

    • Remove the single 6.75 mm Phillips #000 screw from the center of the battery.

  4. XhIjHc5Ucr6ODVOX
    • Remove the pieces of tape securing the Bluetooth/Wi-Fi antenna.

  5. aPUPqDXyldQOuaXB
    aPUPqDXyldQOuaXB
    wV1WuIEK16GluaOT
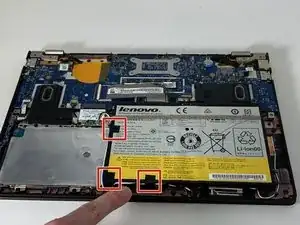
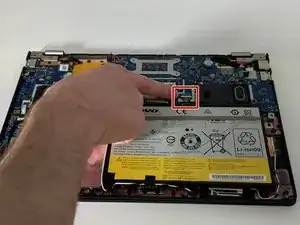
    • Grip the base of the connector with your fingers or pliers, and gently pull the connector straight back towards you to remove it.

    • If possible, do not to pull the connector out by the wires, as this can damage the connector.

  6. UpByrgi6XbBP42EQ
    UpByrgi6XbBP42EQ
    OpRNsmcUY3mZm3Br
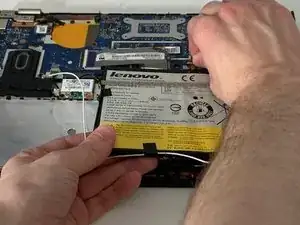
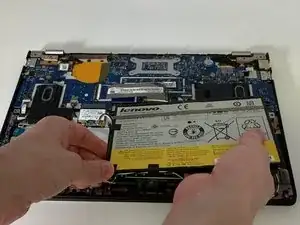
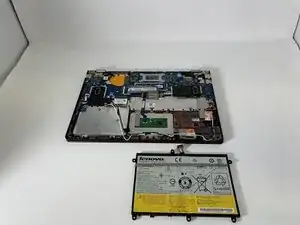
    • Carefully remove the battery from the laptop.

    • Take care not to pull out the Bluetooth antenna while removing the battery.

  7. ggNPUkIi46sw4utm
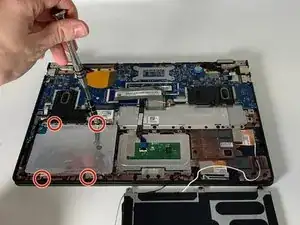
    • Remove the four 3.3 mm Phillips #000 screws securing the hard drive to the panel.

  8. JB6liiRAMNl2cHPI
    JB6liiRAMNl2cHPI
    YLjeJIxCTHtIjHcY
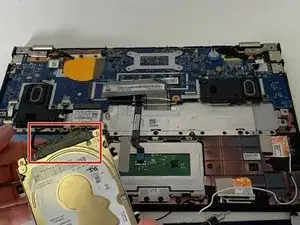
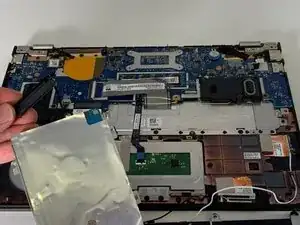
    • Lift the hard drive up, turn it over, and remove the connection.

Abschluss

To reassemble your device, follow these instructions in reverse order.
Joshua Thomas Tyler

Mitglied seit: 18/03/19

681 Reputation

0 Kommentare