Einleitung
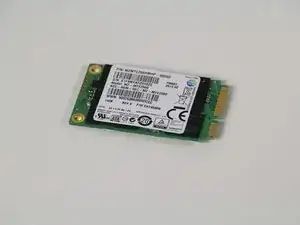
This guide will walk you through the replacement of the solid state drive in your Lenovo Yoga 2 Pro. The solid state drive holds all of the data on your computer. Because of this, one should still be weary of potential dangers of disposing of the drive incorrectly. Individuals could still possibly recover the data off of the drive. Please use caution when disposing of the solid state drive.
Werkzeuge
Ersatzteile
-
-
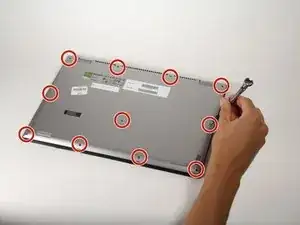
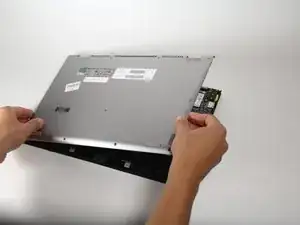
Using a Phillips #00 screwdriver, remove the eleven 1/4" screws from the back of the laptop.
-
-
-
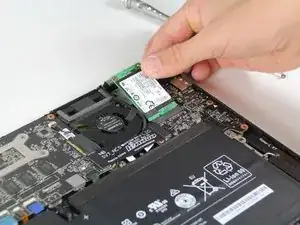
Navigate to the top right corner of the laptop and locate the solid state drive next to the fan.
-
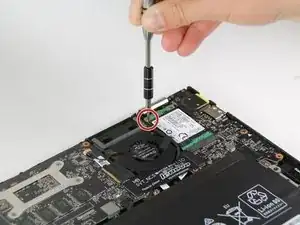
Using a Phillips #00 screwdriver, remove the one 3/16” screw from the top left corner of the solid state drive.
-
-
-
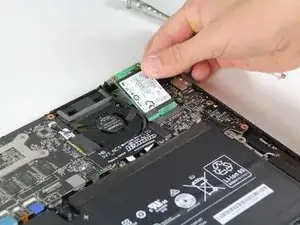
To remove the solid state drive, gently slide it away from the battery and towards the hinges.
-
To reassemble your device, follow these instructions in reverse order.
7 Kommentare
Thanks for the clarity of the presentation. I am having difficulty with Lenovo identifying and purchasing a 256 GB replacement SSD for my yoga pro 2 laptop. Any suggestions about what the specs of that drive might be and where I can find one would be most appreciated.
That looks like an M.2? I’m trying to figure that out myself, I’ll let you know if I find out.
Did you find it? I would go to Amazon with part number mz-m5e250bw (it’s a Samsung card) … you don’t have to buy there.
I had to use a Torque #5 for the eleven screws on the back … the #00 Phillips was perfect for the SSD card itself.
How do you put the new one in? By reversing the process?

I believe these are Torx T5, not Phillips.
Kiran Rao -
Kiran is correct.
Rasmus Mathiesen -