Einleitung
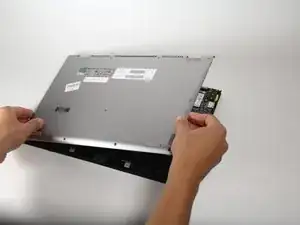
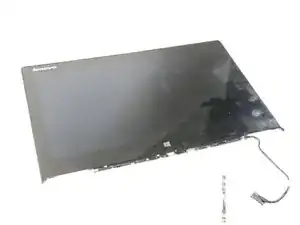
In the Lenovo Yoga Pro 2, the LCD and the digitizer are "glued" together, meaning that you have to replace the whole screen and cannot replace just the glass.
Werkzeuge
-
-
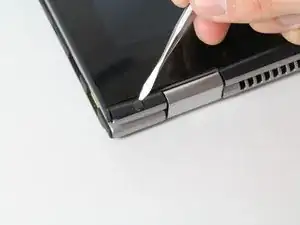
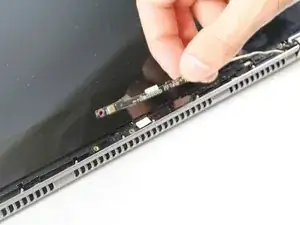
Open the laptop and remove the two screw covers on either side of the computer near the hinges using either the tip of a flathead screwdriver or a spudger.
-
-
-
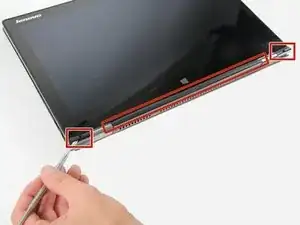
Lift the two plastic bezel pieces off using a spudger.
-
Using a prying tool such as a spudger, gently lift the long plastic bezel piece away from the screen.
-
-
-
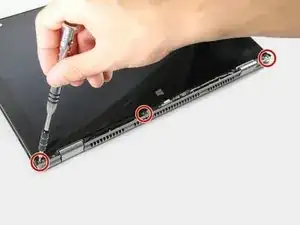
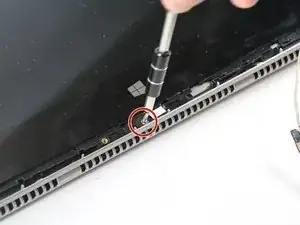
Remove the last 1/8” screw near the middle of the screen using a Phillips #00 screwdriver.
-
-
-
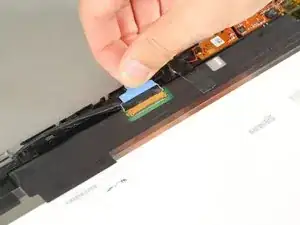
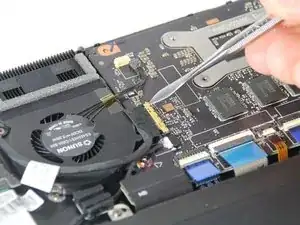
Fold the screen over and disconnect the LCD screen cable by lifting up the blue tab and pulling.
-
-
-
Remove the four 1/8” screws using a Phillips #00 screwdriver from the hinge on either side of the laptop.
-
-
-
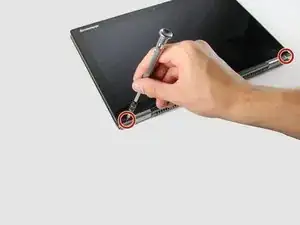
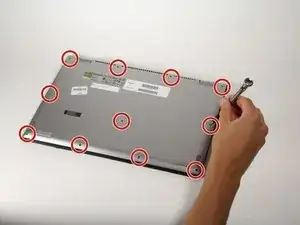
Remove the four 3/16” screws from the top of the laptop near the hinges using a Phillips #00 screwdriver.
-
To reassemble your device, follow these instructions in reverse order.
5 Kommentare
Thanks for the great tutorial! Any part number you can provide for this?
I recently replaced my Lenovo Yoga 2 pro touch display, it was cracked and touch went crazy, the crack was from the side which made it usable by disabling the touch drivers. After a while i decided to replace the screen and get back the touch feature. but now i'm suffering that i cannot use it in tablet mode for the following reasons:
After screen replacement, when lid is closed it thinks that it is in tablet mode and screen stays on and doesn't go to sleep mode as it was before replacement, while if I put it in tablet position screen goes off and it goes to sleep mode thinking it is in closed lid position (i think). if i just lift it up only 2 mm from tablet position it gets back on.
Please advise !!
I tried following these steps in reverse order, but I cant get step 7. I can get the glass placed correctly, but cant get it to slide back into place. Do you have any suggestions to get this step working?
