Einleitung

Use this guide to replace the SSD on your Lenovo Yoga 6 13ALC6.

Before you perform this repair, if at all possible, back up your existing SSD. If you are replacing the SSD where your operating system is installed, familiarize yourself with a disk cloning utility so you’ll be ready to migrate your data to the new SSD.

Be sure to completely power off and unplug your laptop. Make sure the laptop is not in standby, sleep, or hibernation mode.

  1. lcarxyckpCNGJVRF
    lcarxyckpCNGJVRF
    NO3tjkG1LGOsDfOV
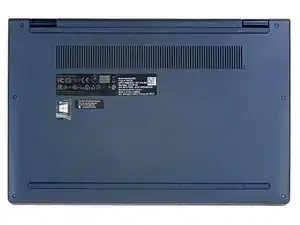
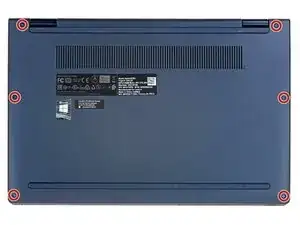
    • Use a T5 Torx screwdriver to remove the six 7.2 mm screws securing the lower case.

  2. i2QjZdbSgHfPFBU5
    i2QjZdbSgHfPFBU5
    c6VY5qx4lOouq26G
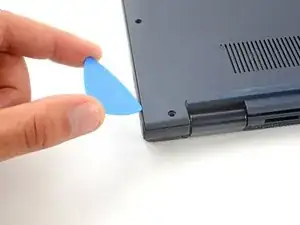
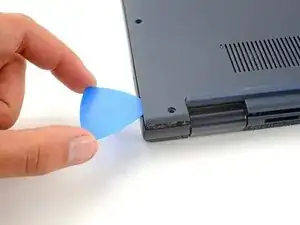
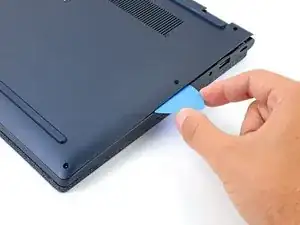
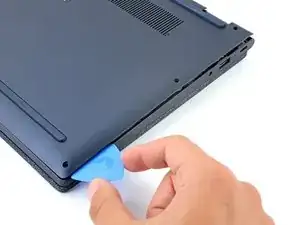
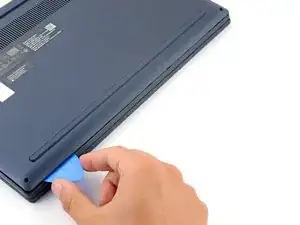
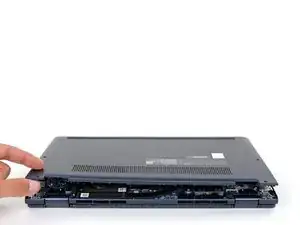
    • Insert an opening pick between the lower case and the chassis at a hinge corner.

    • Pry up with the pick to release the clips securing the lower case.

    • Repeat the process on the other hinge corner.

  3. Js1yKUI4N5MsqAZI
    Js1yKUI4N5MsqAZI
    4ZXMUMOBLEltJDKf
    TONGkTXghTpCowQa
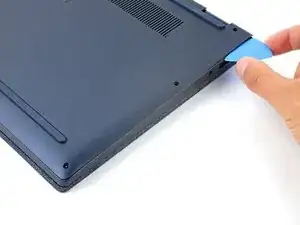
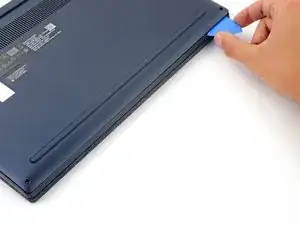
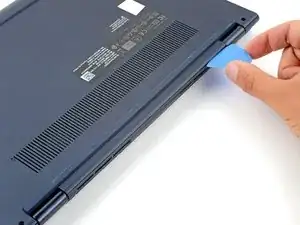
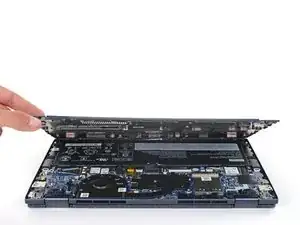
    • Slide the pick along the right edge to release the clips securing the lower case.

  4. iYrQT5LHpSJhAMQy
    iYrQT5LHpSJhAMQy
    RYLWhDFhaDDQxcVj
    nyVAkNdsPd3DEOV3
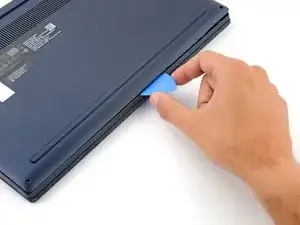
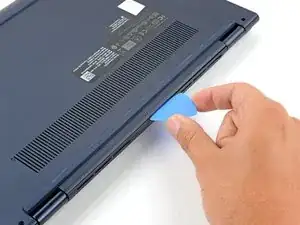
    • Continue sliding the opening pick along the front and left edges to release the remaining clips.

  5. IWikfFHy4uAWRtSO
    IWikfFHy4uAWRtSO
    lJEVoHJFSKHuycnV
    rm4SciKuZEBp3kwR
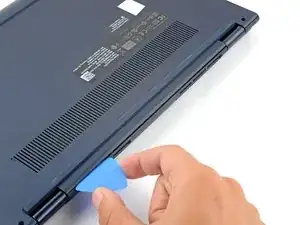
    • Insert the pick on the hinge edge and slide along the entire edge to release all of the clips.

  6. JQm4NToW1KWqe3Tj
    JQm4NToW1KWqe3Tj
    l5plgiQP3xGZ61Qb
    Em3WhF1oUSQxYGBx
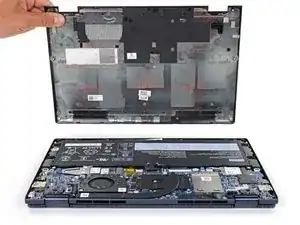
    • Lift the lower case from the chassis and remove it.

    • During reassembly, this is a good point to power on your laptop and test all functions before sealing it up. Be sure to power your laptop back down before you continue working.

  7. CtassExJxZIAKny1
    CtassExJxZIAKny1
    bkwLlDoNRW2feDYd
    FXMDvFrOOUdtL2d2
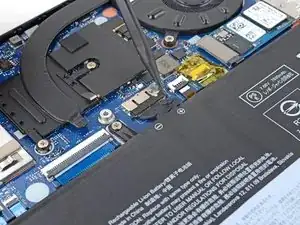
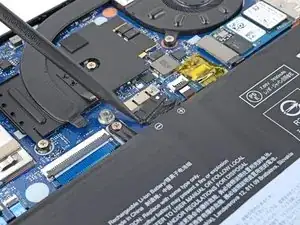
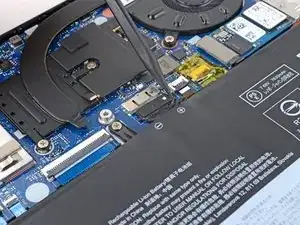
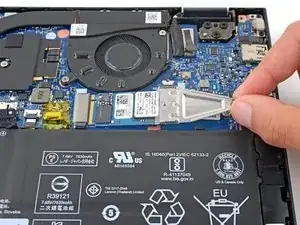
    • Use the pointed end of a spudger to push each side of the battery connector until it comes out of the socket.

  8. e1xBNXcvJK31tQmy
    e1xBNXcvJK31tQmy
    qiaNoM2K5J2Zrnsv
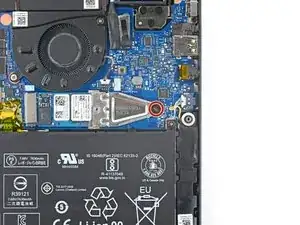
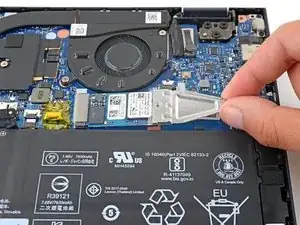
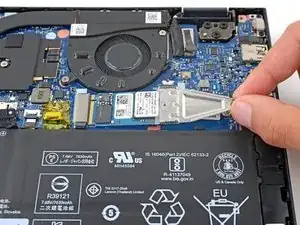
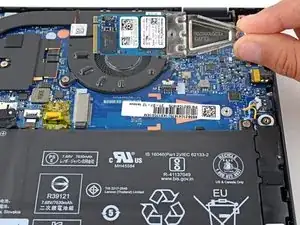
    • Use a Phillips screwdriver to remove the 2.5 mm screw securing the SSD.

    Be very careful with this step! This screw is very difficult to get out - the metal is soft and it chews up easily. In my case, I failed to get it out. (Every other screw was eaily removable, which makes me suspect that Lenovo deliberately made this screw difficult to remove in order to make upgrades difficult.

    Kenny McCartney -

  9. RoOqBVJE5HrEXdtq
    RoOqBVJE5HrEXdtq
    4iFppWUTUQPjZW2U
    RdOTBMNwDUlYyrJ1
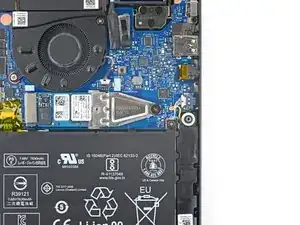
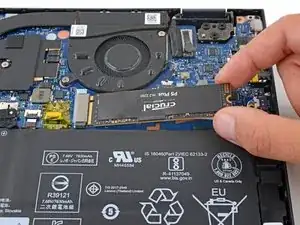
    • Pull the SSD out of its socket and remove it. Keep the SSD as parallel to the motherboard as possible when pulling on it.

    • Do not pull up at a sharp angle, as this could damage the SSD and the socket.

  10. ZCJCyaUuLiLFqeFC
Abschluss

To reassemble your device, follow these instructions in reverse order.

Take your e-waste to an R2 or e-stewards certified recycler.

Repair didn't go as planned? Try some basic troubleshooting, or ask our Lenovo Yoga answers community for help.
Spencer Day

Mitglied seit: 14/09/22

17445 Reputation

0 Kommentare