Einleitung
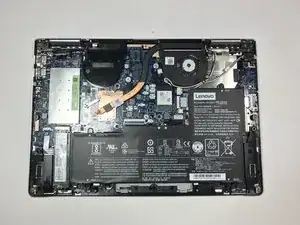
This guide will demonstrate how to replace the Wi-Fi card in your Lenovo Yoga laptop.
Werkzeuge
-
-
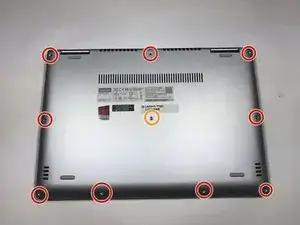
Use a Torx T4 screwdriver to unscrew the nine 5 mm screws holding the cover in place.
-
Use a Torx T4 screwdriver to unscrew the 8 mm screw in the center.
-
-
-
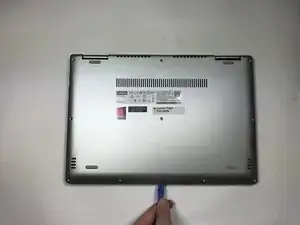
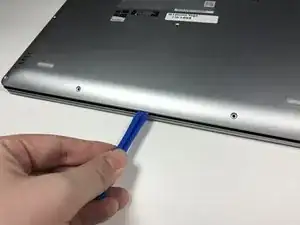
Use the plastic opening tool to pry the cover up and away from the laptop, starting at one end and working your way around the cover.
-
-
-
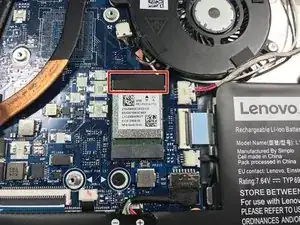
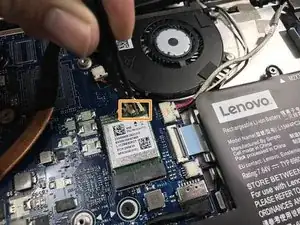
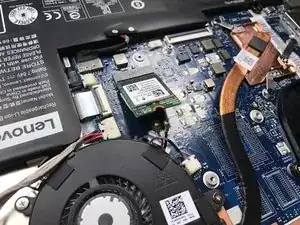
Peel off the black tape covering the top of the WiFi card.
-
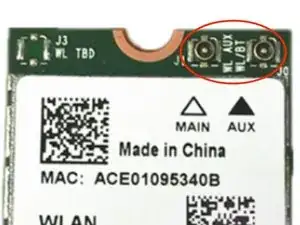
Remove the black and white antenna cable attached to the card by pulling them off using the precison tweezers.
-
-
-
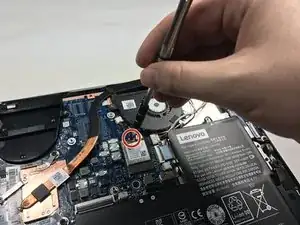
Use a #00 Phillips screwdriver to remove the 3mm screw in the center at the top of the card.
-
-
-
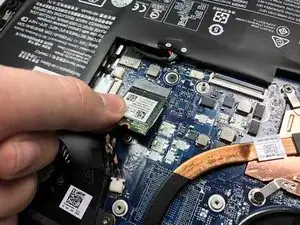
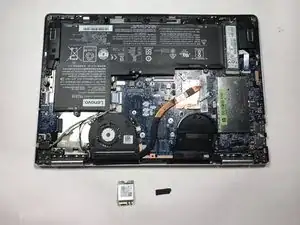
The WiFi Card should be unbound from the surface. Carefully remove the card from the laptop by puling away from the socket.
-
To reassemble your device, follow these instructions in reverse order.
Ein Kommentar
I haven’t done it yet, but I’m no longer worried in the slightest! Your guide is about as dummy friendly as it gets, and I cannot even tell you how helpful your detailed instructions, ALONG WITH EXACT, CLEAR, and zoom-able pics of every step , PLUS warnings of what NOT to do and how to tell if you’ve screwed it up!!! A breath of fresh air compared what I’ve come to expect anymore online. I get ones like this - a super fast video, cam behind the person, too far away to see what they’re doing & how; The only zoomed-in shots are the before & after; No talking just background music ; Then in the description, where you expect their instructions, you get only stupidity… ie, like, “open laptop, remove wifi card.Put new one in the same way”. Wow, no sh**?! Idiots… Sadly, not exaggerated! So I just had to thank you, this is how it’s DONE! People should follow your example, something might get done (and done right) for a change!! Keep up the good work if this is ur thing! If not, it should be! Thanks again!
