Einleitung
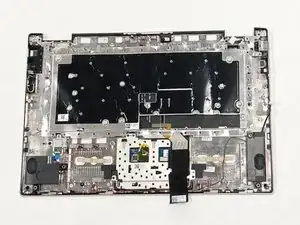
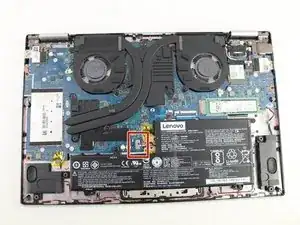
If your device isn’t properly registering key clicks or if what you type isn’t appearing on your screen, it may be time to replace the keyboard. Follow these instructions to replace the keyboard in the Lenovo Yoga 720-15IKB.
Werkzeuge
-
-
Power off the device before starting.
-
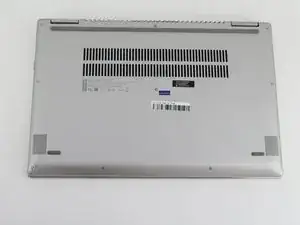
Flip the device over with the hinges facing away from you.
-
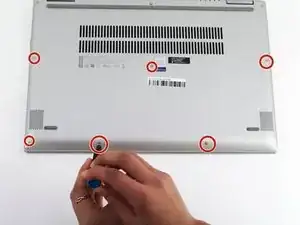
Remove seven 5.0 mm Torx T5 screws.
-
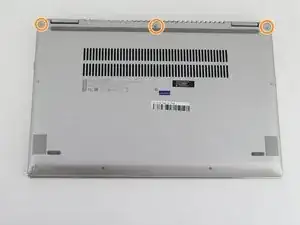
Remove three 9.5 mm Torx T5 screws.
-
-
-
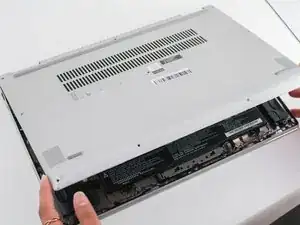
Pry around the edges from one side to another with a plastic opening tool.
-
Lift the case from the front until you feel resistance.
-
Pull the cover towards you, away from the hinges.
-
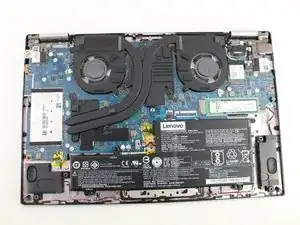
Completely lift off the cover.
-
-
-
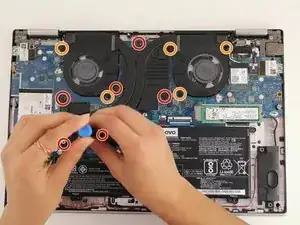
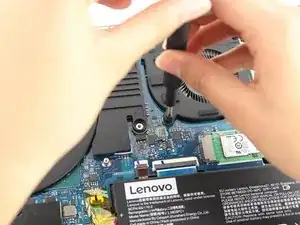
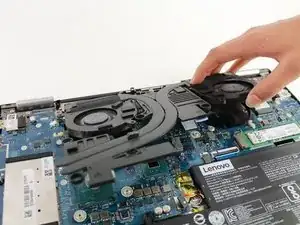
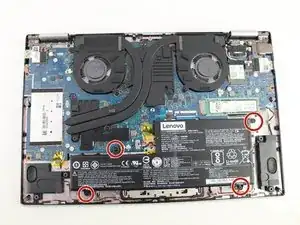
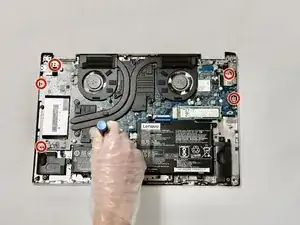
Remove the six 5.2mm Torx T5 screws holding the fan in place.
-
Remove the five 5.0mm Torx T5 screws holding the fan in place.
-
-
-
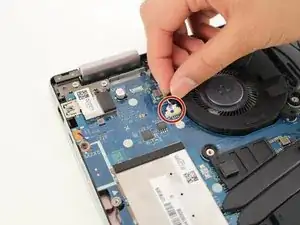
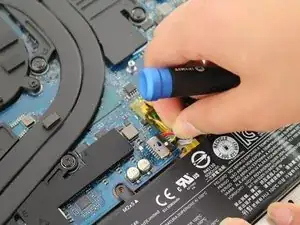
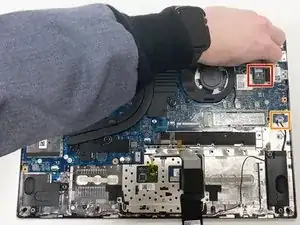
Disconnect the power outlet connector.
-
Disconnect the speaker wire connector.
-
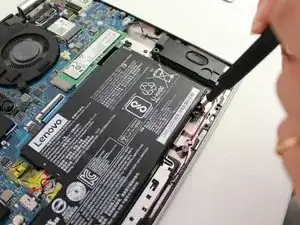
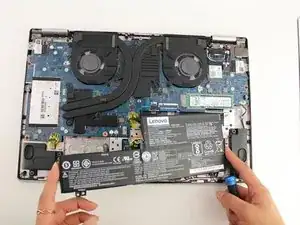
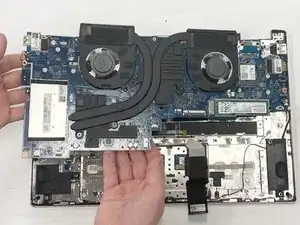
Carefully lift the motherboard up and out of the device.
-
-
-
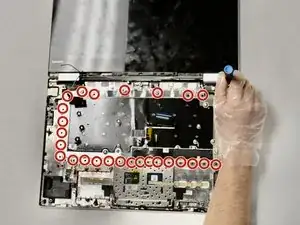
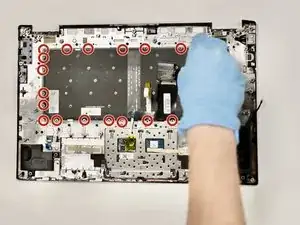
Using the Phillips #000 screwdriver, remove the 39 welded screws holding the keyboard cover in place.
-
Gently lift to remove the keyboard cover.
-
-
-
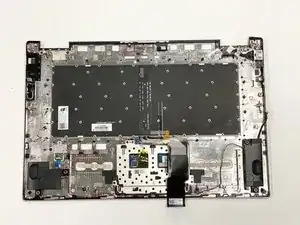
Using the same Phillips #000 screwdriver, remove the 27 welded screws holding the keyboard in place.
-
Gently lift to remove the keyboard.
-
To reassemble your device, follow these instructions in reverse order.
4 Kommentare
Hi, how did you remove the welded screws from the keyboard?
I agree with john brown, how did you manage to remove the welded screws from the keyboard?
Yes, how did you remove the welded screws?
Florian -
