Einleitung
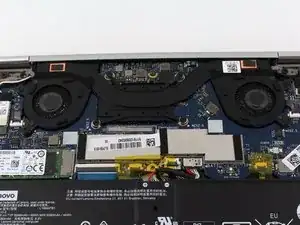
This guide describes the process for replacing the heat sink assembly on a Lenovo Yoga 730-13IKB laptop (model number starting with “81CT”).
The heat sink keeps your computer’s Central Processing Unit (CPU) and other components from overheating.
A laptop may overheat (and potentially freeze or shutdown) and make extremely loud or abnormal noises due to a broken heat sink assembly. Cooling fans that are broken or have debris in them can cause strange noises. Debris in the heat sink and/or nonfunctioning cooling fans usually result in overheating. Unplugged connectors, debris, or broken electronics can prevent cooling fans from functioning.
Make sure to clean the heat sink assembly thoroughly before installation. Using compressed air is a great, ESD-safe, way to dislodge debris. No special skills are required, but be careful when operating the ZIF fan connectors.
Werkzeuge
-
-
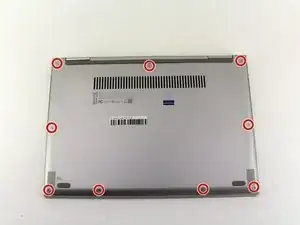
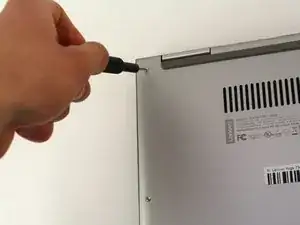
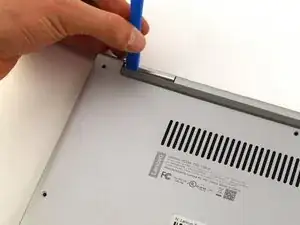
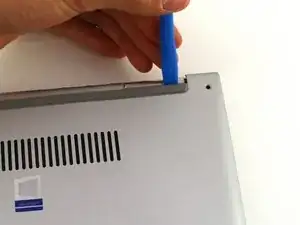
Slide a plastic opening tool underneath the back case near the screen hinges. Gently pry up on either side.
-
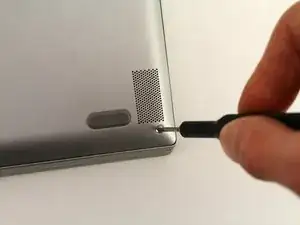
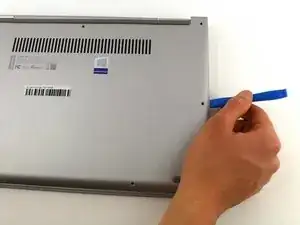
Slide the opening tool underneath the back case next to the middle screw hole at either side of the case. Gently pry up.
-
-
-
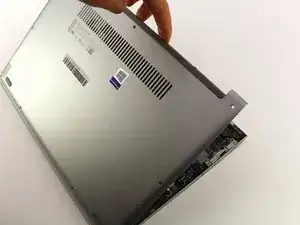
Remove the back case by pulling up near the screen hinges and lifting diagonally away from the laptop.
-
-
-
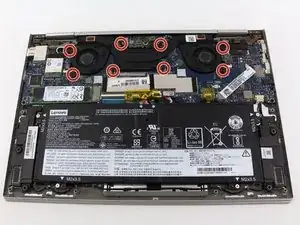
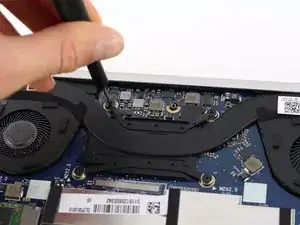
Use a Phillips #00 screwdriver to remove the eight 2.5mm screws securing the heat sink assembly.
-
-
-
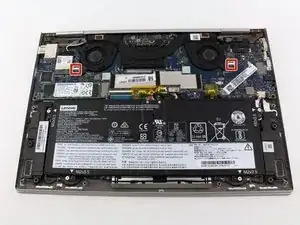
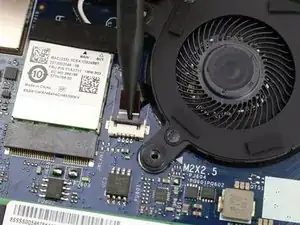
Release the fan connector by gently pushing the gray locking tab up using a plastic spudger. Do this for both of the fans.
-
Pull each fan cable straight out of the connector.
-
-
-
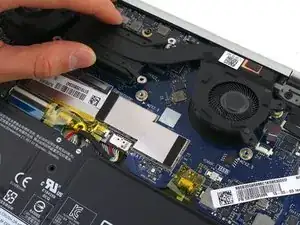
Remove the heat sink assembly by holding the middle plate and rotating the assembly down towards the back of the motherboard.
-
Pull the heat sink diagonally away from the laptop.
-
To reassemble your device, follow these instructions in reverse order.
Ein Kommentar
gdje i kako kupiti hladnjak za lenovo yoga 730-13 sa zamjenu
