Einleitung
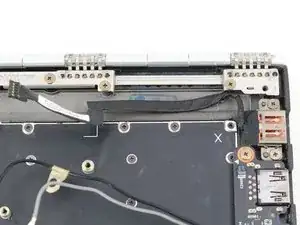
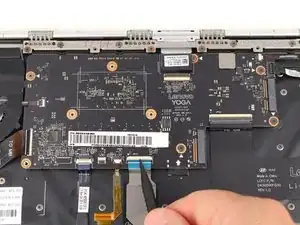
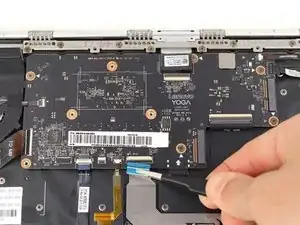
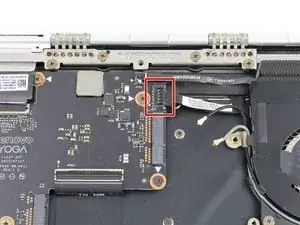
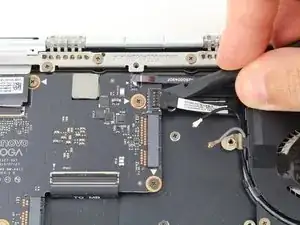
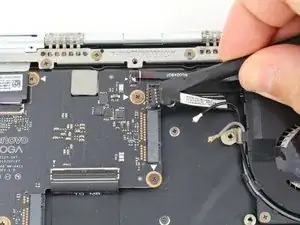
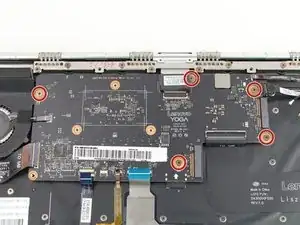
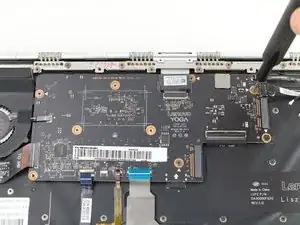
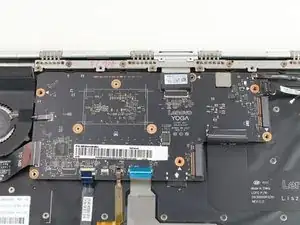
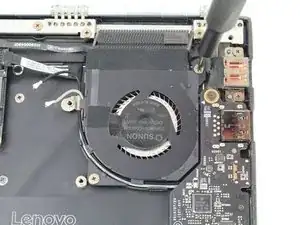
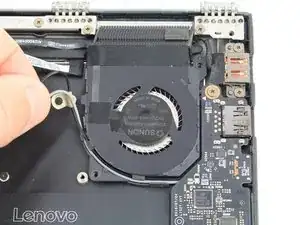
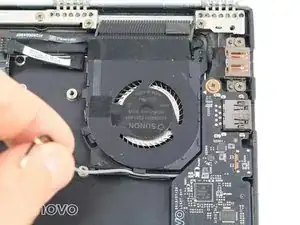
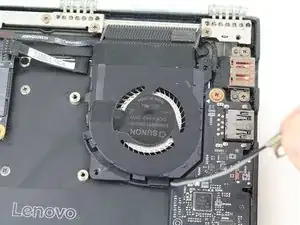
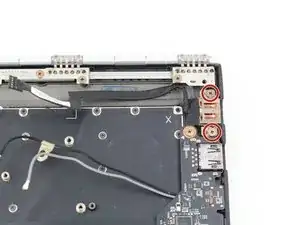
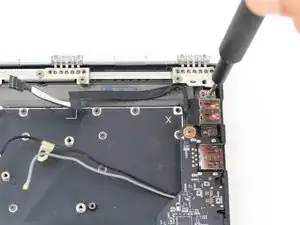
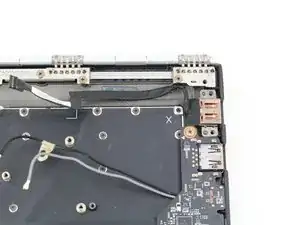
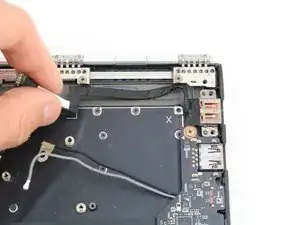
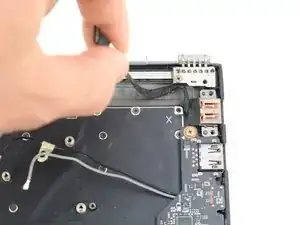
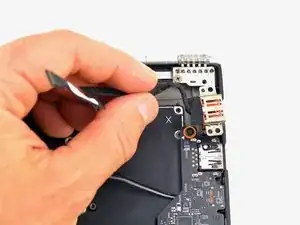
This guide will show you how to remove the charging port on the 13 inch Lenovo Yoga 900 (900-13ISK). Luckily, this component is completely modular, so you can replace it without sourcing a new motherboard or daughterboard. If your computer does not charge, or if your computer fails to turn on and you have already ruled out a faulty battery as the cause, replacing the charging port should fix the issue.
Be sure to unplug and completely turn off your device before you start working.
Werkzeuge
-
-
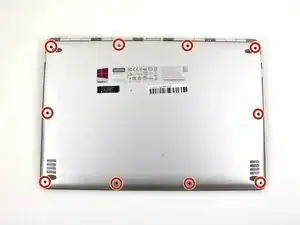
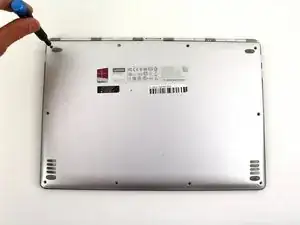
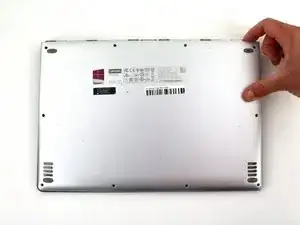
Using a T5 Torx screwdriver, remove the ten 5.5 mm screws from the back case of the laptop.
-
-
-
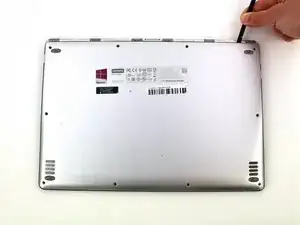
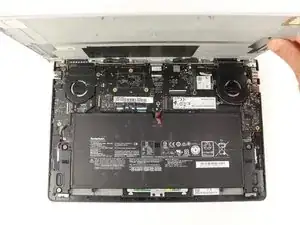
Use a spudger to pry open the back case at the hinges of the laptop.
-
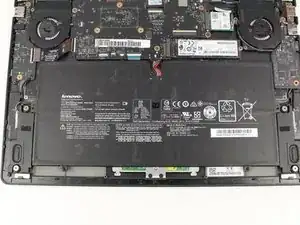
Use your fingers to completely pop off the back cover.
-
-
-
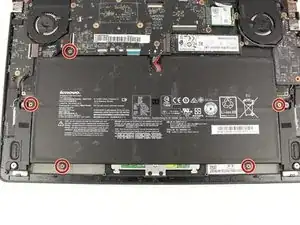
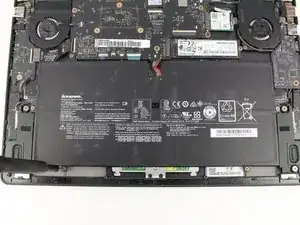
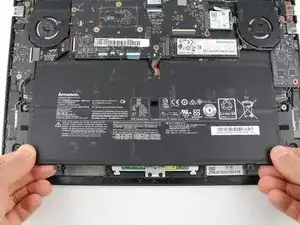
Grab the bottom corners of the battery and gently pull the battery until the cable disconnects from the connector on the motherboard.
-
-
-
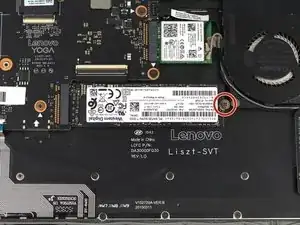
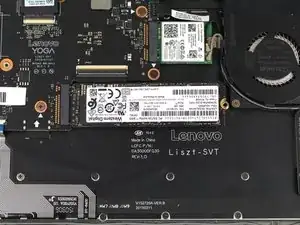
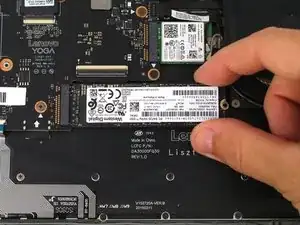
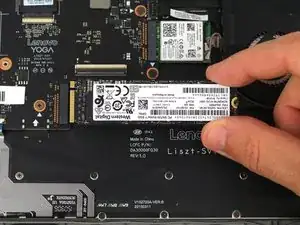
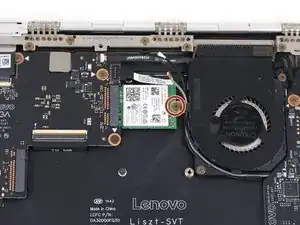
Use a Phillips #00 screwdriver to remove the 2.7 mm screw that is holding down the SSD card.
-
-
-
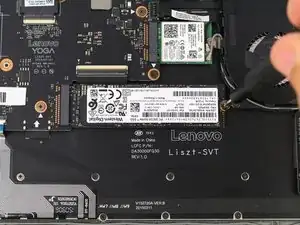
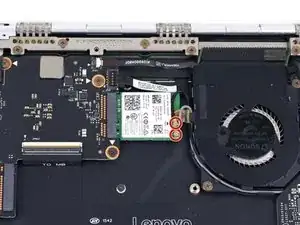
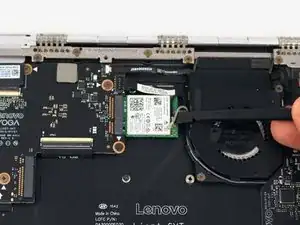
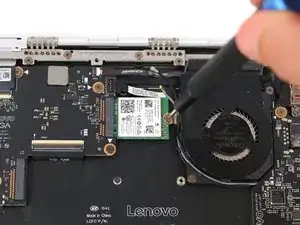
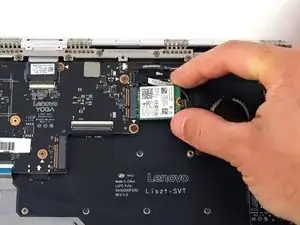
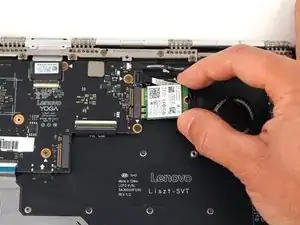
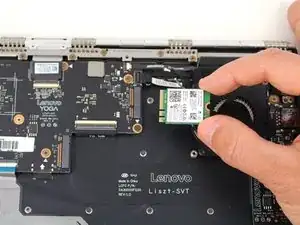
Pry up the gray and black coaxial cables from the Wi-Fi card using a spudger.
-
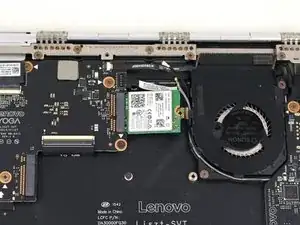
Move the cables to the side.
-
-
-
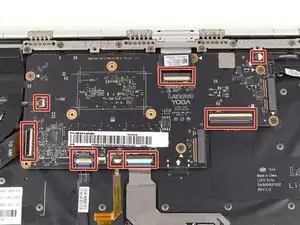
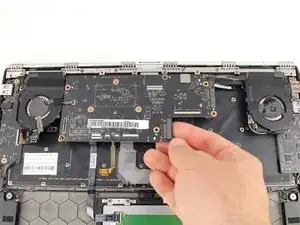
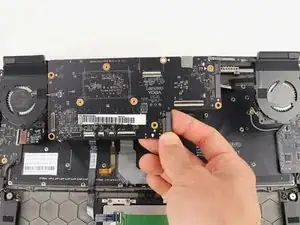
Using the pointed end of a spudger, flip up the hinged locking tabs of the eight ZIF connectors on the motherboard.
-
Pull the eight cables out from their connectors using a pair of blunt nose tweezers.
-
-
-
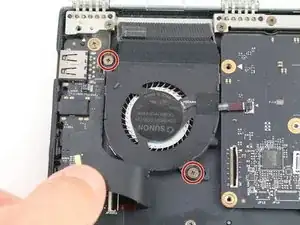
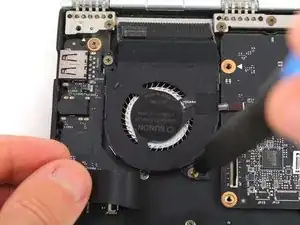
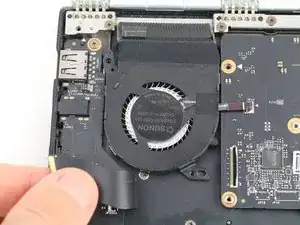
Pull back the interconnect cable on the left side of the motherboard to reveal one of the fan screws for the left fan.
-
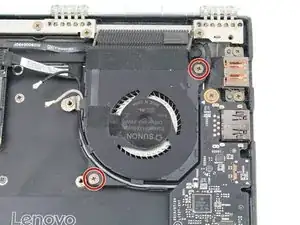
Remove the two 3.6 mm screws from the left fan with a Phillips #00 screwdriver.
-
To reassemble your device, follow these instructions in reverse order.
2 Kommentare
Why did you have to remove the motherboard and all of its connections to replace the DC in cable? Couldn’t you have just removed the fan to get access to the DC in cable?
Chris -
Bruh, why don't you show how to reconnect the charging port? That's what I am stuck on. It looked easy and now I can't get it back in.
