Einleitung
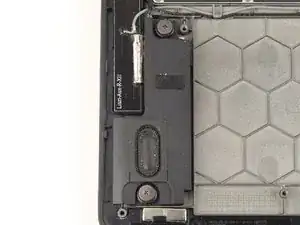
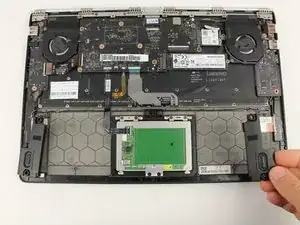
This repair guide will show you how to replace the speakers in your Lenovo Yoga 900 13” computer (900-13ISK). The speakers control the inboard sound output for your computer, so if you are experiencing fuzzy sound, crackling noises, distorted audio, or no audio output at all, replacing the speakers should alleviate the problem.
The speakers are wired together as a single unit, and as such, cannot be replaced independently without rewiring one of the speakers. Also to note, the speaker cable runs through the right side daughterboard. This means if a speaker replacement has failed to solve your audio problems, a right daughterboard replacement may be necessary, especially if the audio issues occurred after water exposure to the left side of the computer.
Be sure to unplug and completely turn off your device before you start working.
Werkzeuge
-
-
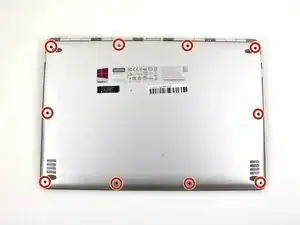
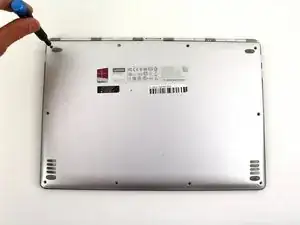
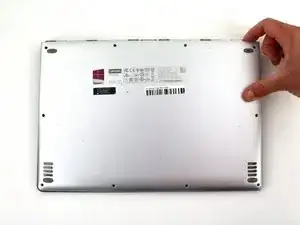
Using a T5 Torx screwdriver, remove the ten 5.5 mm screws from the back case of the laptop.
-
-
-
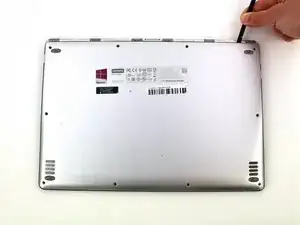
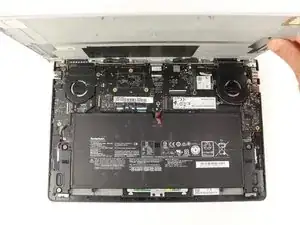
Use a spudger to pry open the back case at the hinges of the laptop.
-
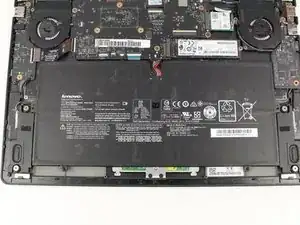
Use your fingers to completely pop off the back cover.
-
-
-
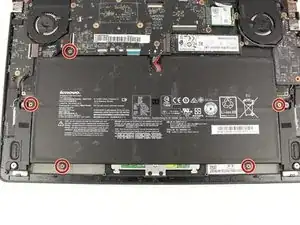
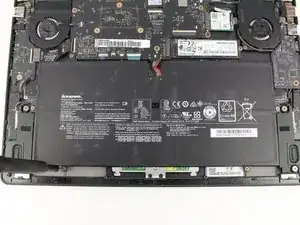
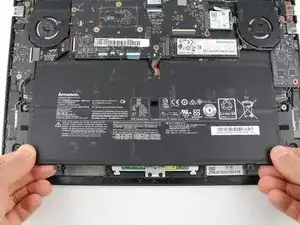
Grab the bottom corners of the battery and gently pull the battery until the cable disconnects from the connector on the motherboard.
-
-
-
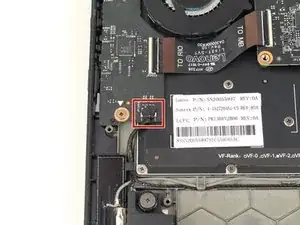
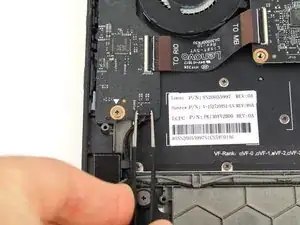
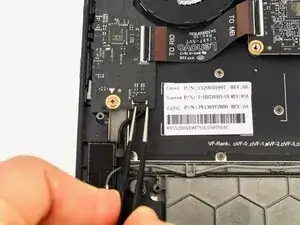
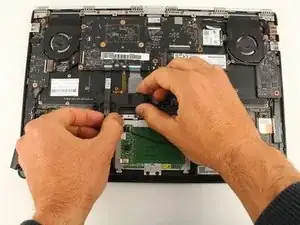
Use a pair of blunt nose tweezers or your fingers to pull out the speaker cable from the connector on the lower portion of the daughterboard on the left.
-
-
-
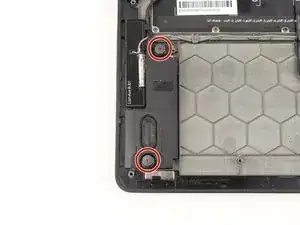
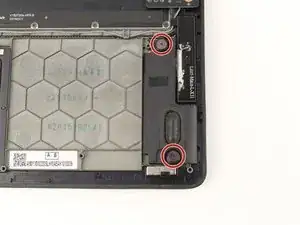
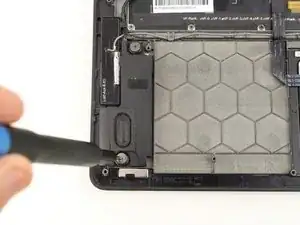
Remove the four 2.4 mm Phillips #00 screws from the speakers on either side of the case. (two screws per speaker)
-
-
-
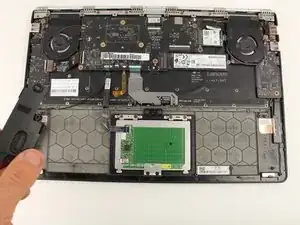
Lift up the speaker on the right and start unwinding the cable from the hooks.
-
Thread the right speaker underneath the trackpad ribbon cable.
-
-
-
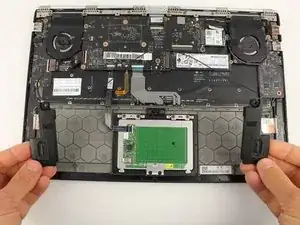
Continue unwinding the speaker cables from the hooks until the entire assembly is free from the case.
-
To reassemble your device, follow these instructions in reverse order.
