Einleitung
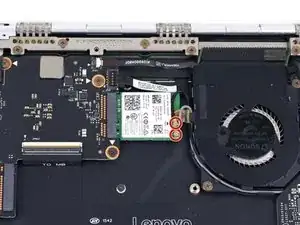
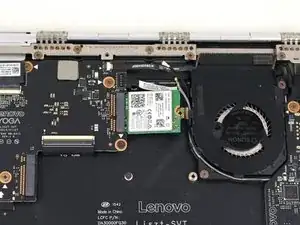
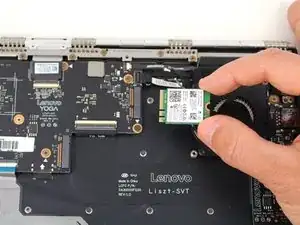
This repair guide will demonstrate the process of replacing the Wi-Fi card in the Lenovo Yoga 900-13ISK 2-in-1 computer. The Wi-Fi card is responsible for facilitating wireless connections between your laptop and other devices or networks. It is connected to an antenna, usually located in the top case behind the screen, by two coaxial cables.
If you are experiencing connectivity issues, such as having trouble connecting to a Wi-Fi network or bluetooth device, replacing the Wi-Fi card may alleviate these issues. The Wi-Fi card is also known as the wireless card and WLAN card, so these terms may be useful to include in searches while looking for a replacement part. Be sure while you are working that both coaxial cables are firmly seated on the Wi-Fi card, as the card will not function without both connections.
This is just a prerequisite for the motherboard to be included AFTER the SSD guide.
Werkzeuge
-
-
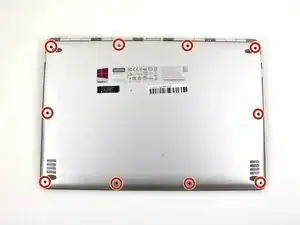
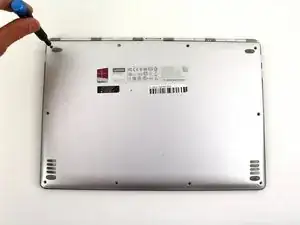
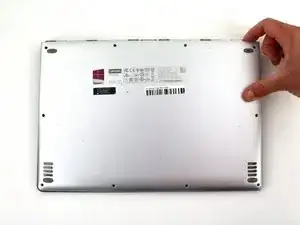
Using a T5 Torx screwdriver, remove the ten 5.5 mm screws from the back case of the laptop.
-
-
-
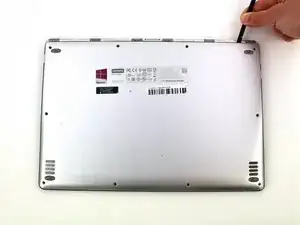
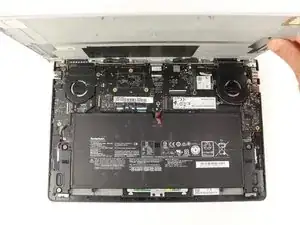
Use a spudger to pry open the back case at the hinges of the laptop.
-
Use your fingers to completely pop off the back cover.
-
-
-
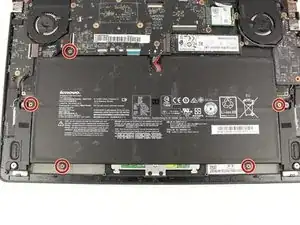
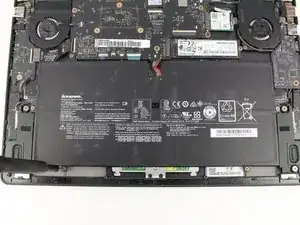
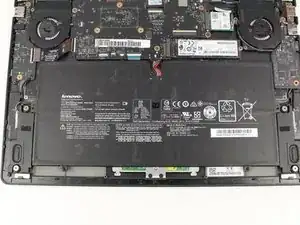
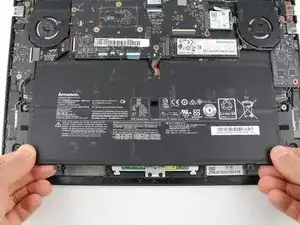
Grab the bottom corners of the battery and gently pull the battery until the cable disconnects from the connector on the motherboard.
-
-
-
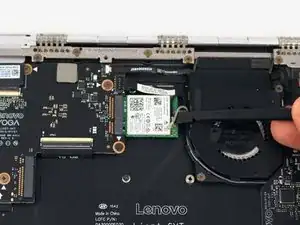
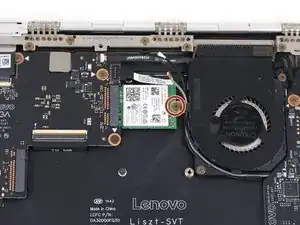
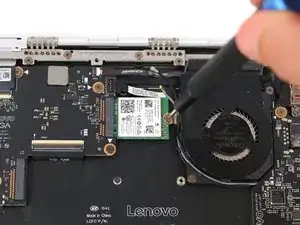
Pry up the gray and black coaxial cables from the Wi-Fi card using a spudger.
-
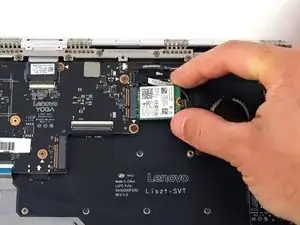
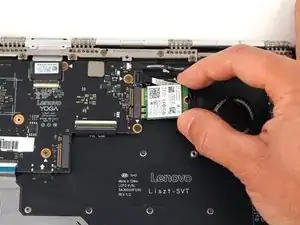
Move the cables to the side.
-
To reassemble your device, follow these instructions in reverse order.
