Einleitung
There are a few reasons why you might want to replace the battery in your Lenovo Yoga 910-13IKB. Over time, batteries degrade and their ability to hold a charge diminishes, resulting in low battery life that might not be enough to get you through the day. In rare cases, it is possible for the battery to expand and push against the chassis and other components of the laptop. For users who wish to replace the battery on their device, Lenovo has made it easy to do so, only requiring a Phillips screwdriver.
Werkzeuge
Ersatzteile
-
-
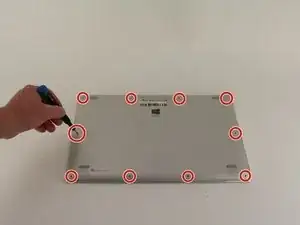
Turn the laptop over and remove the ten Torx T5 screws along the perimeter of the bottom panel using the T5 Torx Screwdriver.
-
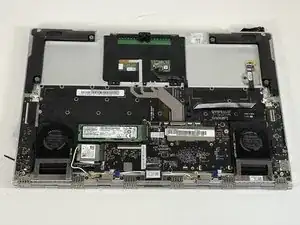
Remove the back panel from the device exposing the components.
-
-
-
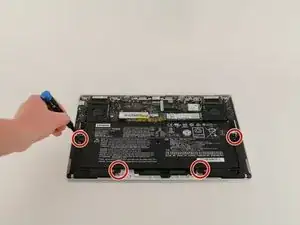
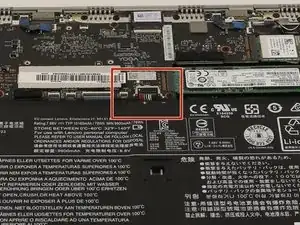
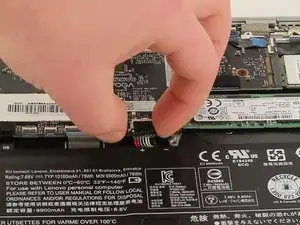
Disconnect the battery cable from its motherboard socket by gently pulling it towards the battery. The spudger tool may be needed to lift the flap seal.
-
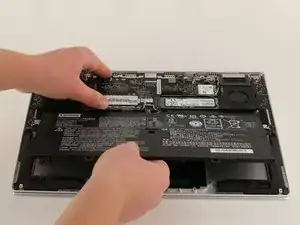
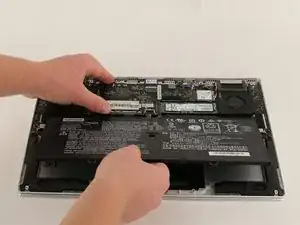
Lift the battery out.
-
To reassemble your device, follow these instructions in reverse order.
For optimal performance, after completing this guide, calibrate your newly installed battery.
Take your e-waste to an R2 or e-Stewards certified recycler.
Repair didn’t go as planned? Try some basic troubleshooting, or ask our Answers community for help.
