Einleitung
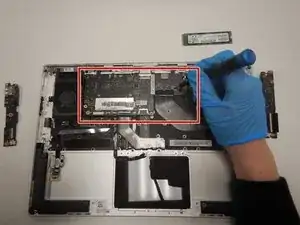
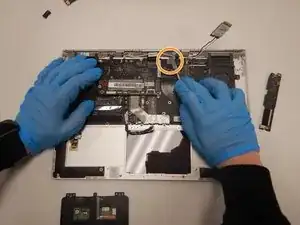
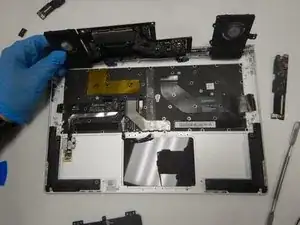
If your device is experiencing major slowdowns or isn’t functioning properly and shows the blue screen of death (BSoD), it may be time to replace the motherboard. Follow these instructions to replace the motherboard in the Lenovo Yoga 910-13IKB.
Werkzeuge
-
-
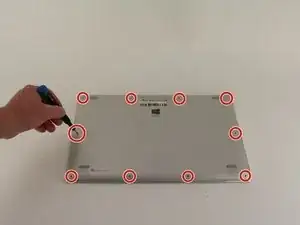
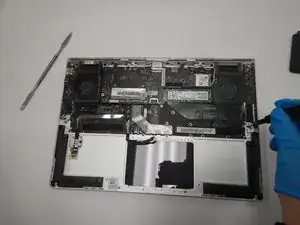
Turn the laptop over and remove the ten Torx T5 screws along the perimeter of the bottom panel using the T5 Torx Screwdriver.
-
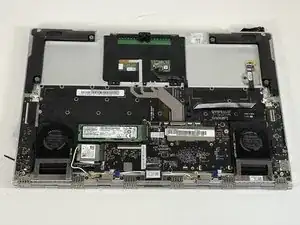
Remove the back panel from the device exposing the components.
-
-
-
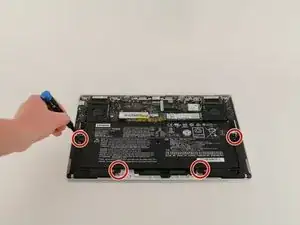
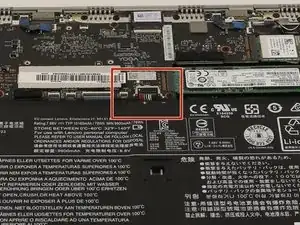
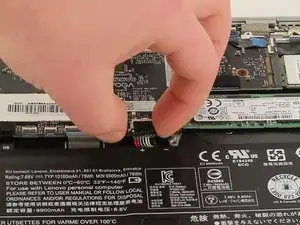
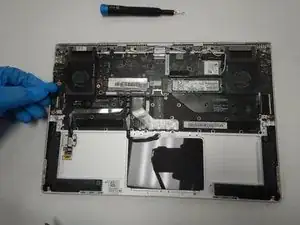
Disconnect the battery cable from its motherboard socket by gently pulling it towards the battery. The spudger tool may be needed to lift the flap seal.
-
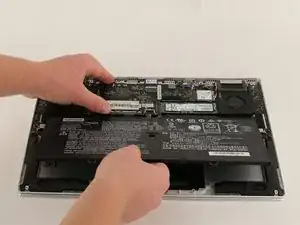
Lift the battery out.
-
-
-
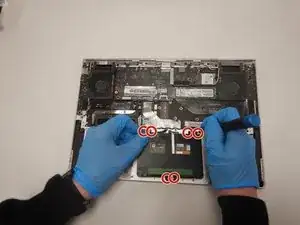
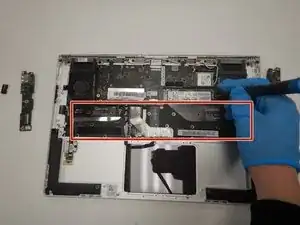
Using the Phillips #0 screwdriver, remove all six screws holding the trackpad to the device.
-
Find the ribbon cable, the black bundle of wires attached to the trackpad, and lift the head of the ribbon cable towards you.
-
Carefully lift up the trackpad and remove it from the device.
-
-
-
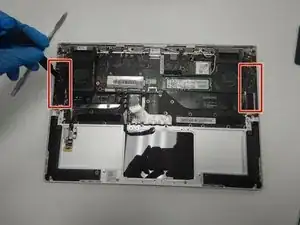
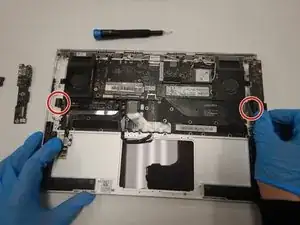
Remove the screws attached to the USB ports on both sides of the device with a Phillips #0 screwdriver.
-
Detach both of the ribbon cables attached to each USB port with a wedge device, then detach the USB ports.
-
-
-
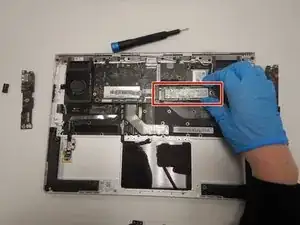
Remove the screws attached to the SSD stick with a Phillips #0 screwdriver.
-
Pull the SSD stick directly to the right until it shifts out of place to remove it.
-
Storage chip above it (further away from you) may also be detached by pulling it directly to the right until it clicks out.
-
-
-
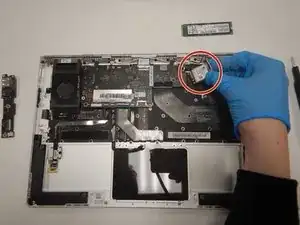
Remove the four screws attached to both fans, and the back connector strip (the long metal piece furthest from you with screws in it) with a Phillips #0 screwdriver.
-
-
-
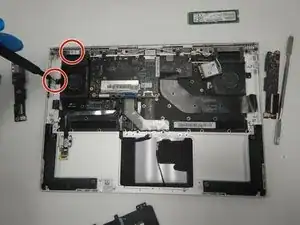
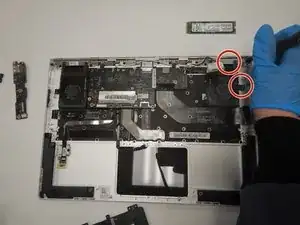
Remove the screws attached to the motherboard with a Phillips #0 screwdriver.
-
Remove the back connector strip using a spudger or plastic opening tool to pry it off of the device.
-
With the back connector strip removed, pry the motherboard up and off of the device.
-
To reassemble your device, follow these instructions in reverse order.
