Einleitung
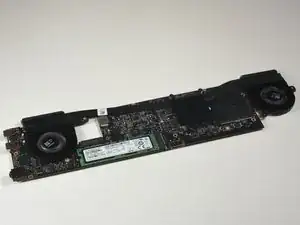
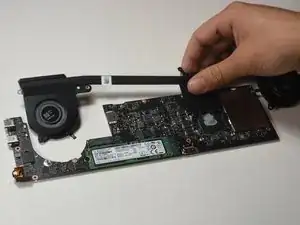
This guide will show how to replace the motherboard in the Lenovo Yoga 920-13IKB.
Werkzeuge
Ersatzteile
-
-
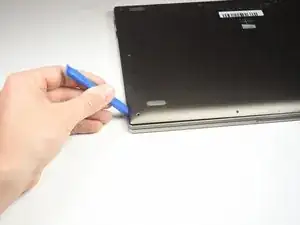
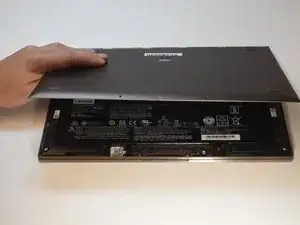
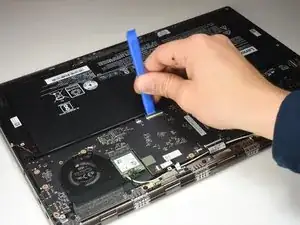
Slide the iFixit Opening Tool under the back cover to lift it up.
-
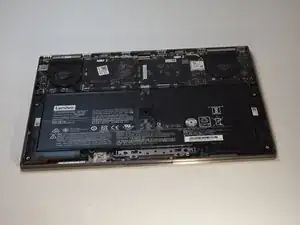
Pull up on the cover with your hand to release the tab holding the center of the cover in place.
-
-
-
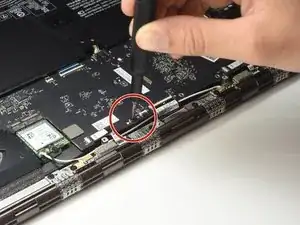
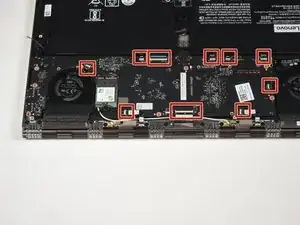
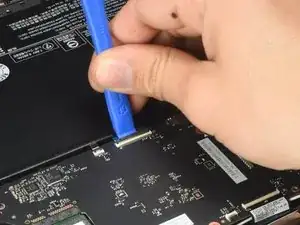
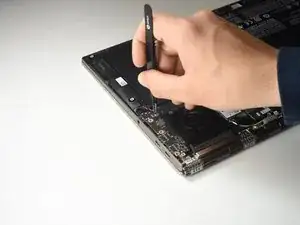
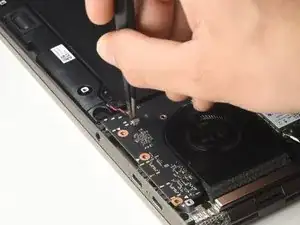
Flip up the ten flat connectors holding the motherboard using the iFixit Opening Tool to free the motherboard.
-
-
-
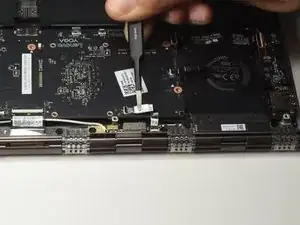
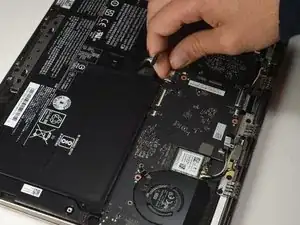
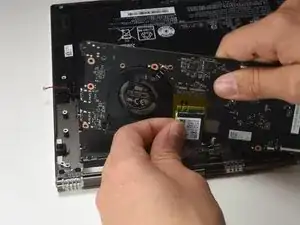
Pull out the ribbon cables from the opened connectors using the iFixit Tweezers to free up the motherboard.
-
-
-
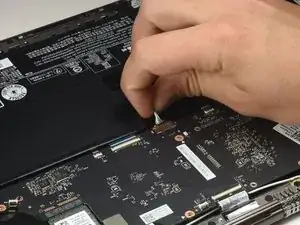
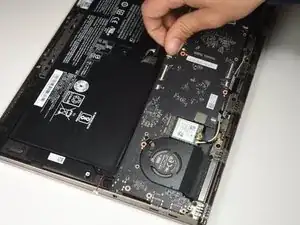
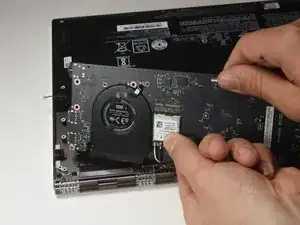
Disconnect the battery by pulling the ribbon wire grouping out of the top of the motherboard.
-
-
-
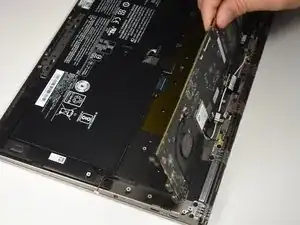
Lift the motherboard up parallel to the hinge of the device.
-
Gently pull away from the port cutouts of the USB-C and audio jack to remove the motherboard from the device casing.
-
-
-
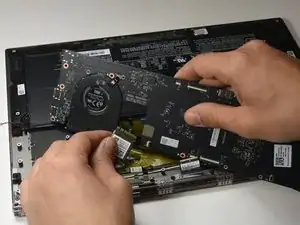
Disconnect the green AC card plugged into the motherboard by pulling it out with your hands.
-
-
-
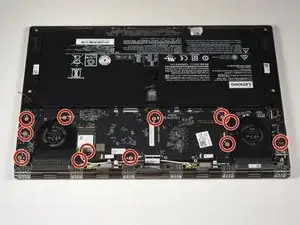
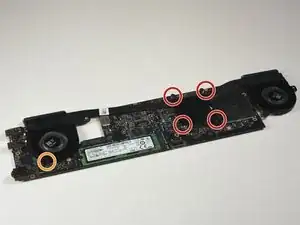
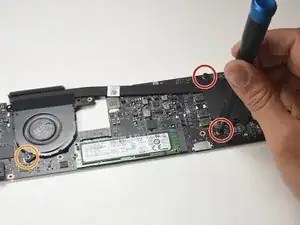
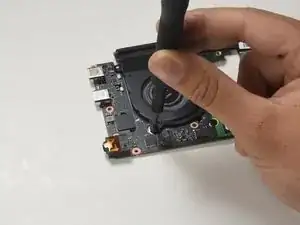
Remove four 3mm JIS #00 screws with the screwdriver.
-
Remove one 3mm Phillips #00 screw with the screwdriver.
-
To reassemble your device, follow these instructions in reverse order.
6 Kommentare
I need to fix my touchpad. It moves and clicks, but when i press down to click it does not work. It will only select thing by tapping, not clicking.
Hi. I gave this guide a look, as I'm attempting to upgrade my SSD. I got things a bit out of order and pulled out one of the ribbon cables in step 5, before flipping up the tabs in step 4. I then gave up and put the ribbon cable back and replaced the screws. However, now the machine won't start. I can't see how removing and then replacing the ribbon cable might cause this. Does anyone have any ideas?
False alarm! I must not have put a ribbon cable all the way back into its socket. After another check it all went back together and started without issue. Great guide. Thanks!
After removing the fan, do you need to do anything with the thermal paste? Remove it, replace it when you go to put the fan back together?
It depends on the quality of the thermal paste and how it has aged - If it’s still seemingly ‘wet’ (don’t touch it, just observe) then it’s likely fine to leave, but if it instead is ‘dry’ or visibly cracked then you should replace it. First, clean the CPU carefully with isopropyl alcohol and a lint-free towel. Then add an appropriate amount of thermal paste and reattach the heatsink assembly. Be sure to apply even force to each screw little-by-little when screwing it back in.
When in doubt, replace the thermal paste.
Chris -
