Einleitung
Werkzeuge
Ersatzteile
-
-
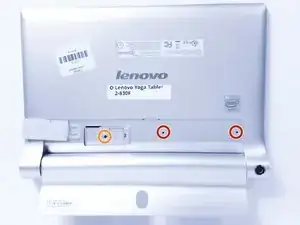
Remove the two 3mm screws on the back of the device with the Phillips Screwdriver #00 bit.
-
Remove the 2mm screw on the back fo the device with a Phillips #00 bit.
-
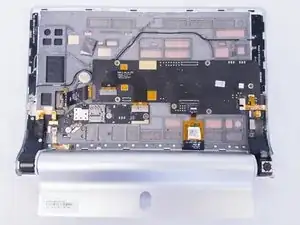
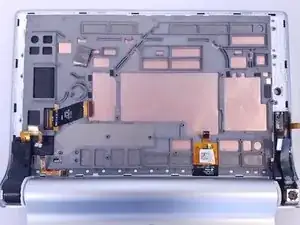
Using the blue opening tools or spudger, gently remove the back cover to expose the interior of the tablet.
-
-
-
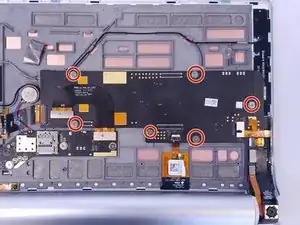
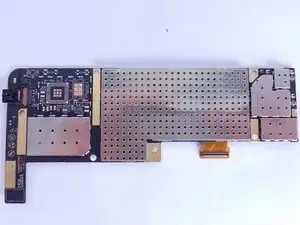
Remove the six 3mm screws on the back of the motherboard with the Phillips Screwdriver #00 bit.
-
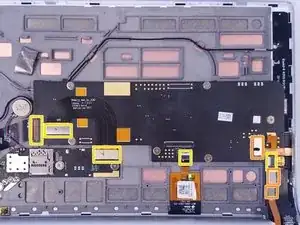
Remove the ribbon cables connecting the boards to the other electrical components
-
Remove ZIF connectors connecting the boards to the electrical components.
-
Abschluss
To reassemble your device, follow these instructions in reverse order.
