Einleitung

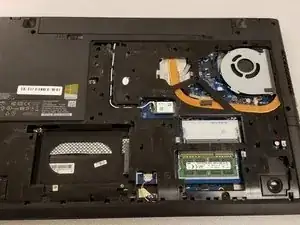
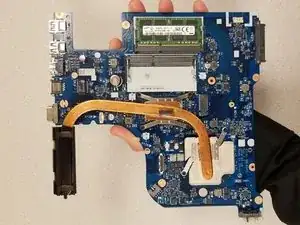
This guide will demonstrate the step by step process on how to replace the motherboard in your Lenovo Z70-80.

  1. uQ5oCYUnBslcb22E
    uQ5oCYUnBslcb22E
    Bea3JiYoesSEafvG
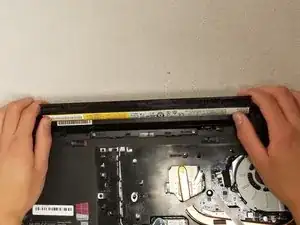
    • Use your fingers two push both latches away from each other to release the battery.

    • Pull the battery out.

  2. LDGyUUHkNFQ4xP6e
    LDGyUUHkNFQ4xP6e
    xdw3h3fEZLj4SOp2
    U4dFseLKXF11Vgy4
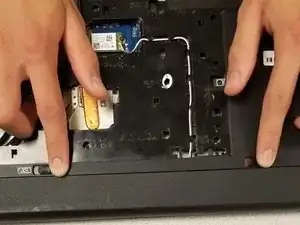
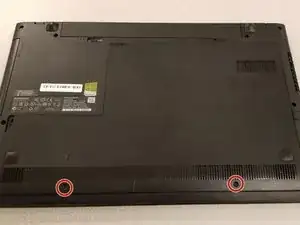
    • Remove the two Phillips #0 screws from the bottom panel.

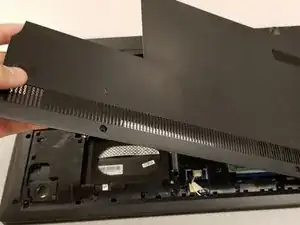
    • Slide the panel down slightly, and then lift to pull it off.

  3. xKYXbYjqg6JhoJJ2
    xKYXbYjqg6JhoJJ2
    IxdopjPGjfUQ2wKd
    EEuCUxZTGIeGXkNo
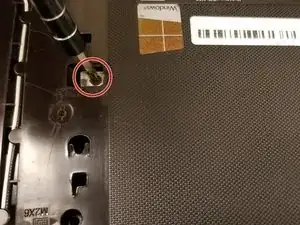
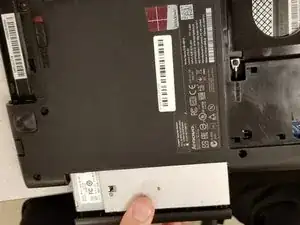
    • Remove the single 3mm Phillips #0 screw from the optical drive.

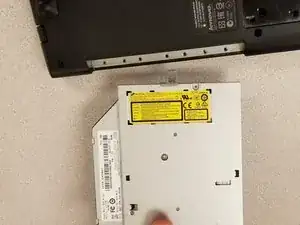
    • Pull the optical drive out of the side.

  4. XjSMqR3uiJZUCysl
    XjSMqR3uiJZUCysl
    PNl3eLCLM52ARWBR
    wcARfk3Bce1GOdUJ
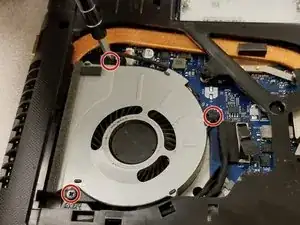
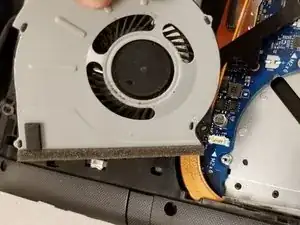
    • Remove the three 6mm Phillips #0 screws from the fan.

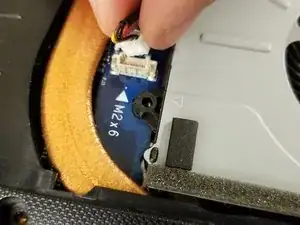
    • Disconnect the fan from the motherboard by pulling up on the plug.

  5. qsJJhDEgVuh1pPb1
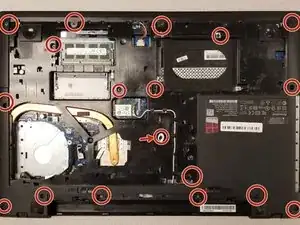
    • Remove all the 3-7mm Phillips #0 screws.

    • A sticker covers the screw marked with a red arrow. Remove this sticker to remove the screw.

    • Remove the back cover.

  6. ZDKQXe5yRIWDTvPZ
    ZDKQXe5yRIWDTvPZ
    DWkE5ZFRLKwBbxZE
    XRtwEAIbWCMcnGXD
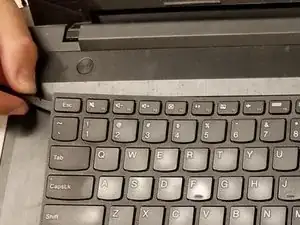
    • Remove the keyboard. You can use a sharp tool at the edges of the keyboard to carefully pry it upwards.

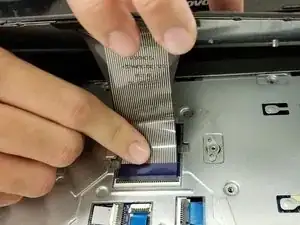
    • A cable with a ZIF connector is attached to the bottom of the keyboard. Flip the small black tab on the connector for safe removal.

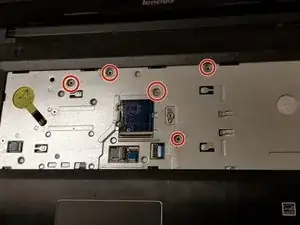
    • Remove the five 3mm Phillips screws.

  7. YAKGnCxAfiAVtNDM
    YAKGnCxAfiAVtNDM
    vRWP61cPr3DSfAcH
    DunPAX2ipfOIHQEQ
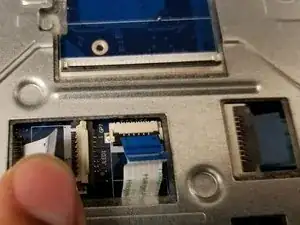
    • Remove all the ribbon cables and connectors from the front and back of the laptop.

    • Remember to flip the small black tabs on ZIF connectors for safe removal.

  8. afIJwCJLCI4UkvFB
    afIJwCJLCI4UkvFB
    boJNCPWdsA3kqVLH
    • Remove the 3mm screw and carefully pull out the cables from the hooks holding them in place.

  9. jelucWIQVsTXPC4i
    jelucWIQVsTXPC4i
    uxANAuAG3rWwp6xf
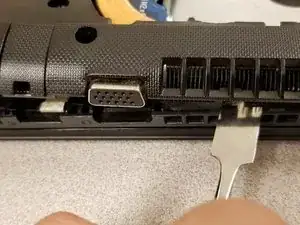
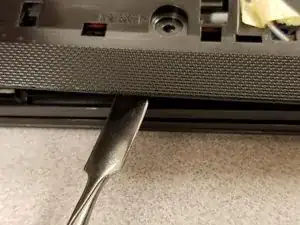
    • Use a spudger at the edges of the laptop cover to carefully pry upwards, removing the cover.

  10. RpNEIYfUYFNLfK4v
    RpNEIYfUYFNLfK4v
    Zq1XRKnEK2kjRdgl
    fNtFbHavLKEgbP2Q
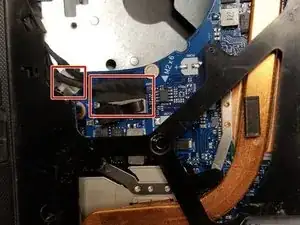
    • Unplug the two black cables from the motherboard. These cables are marked with red squares.

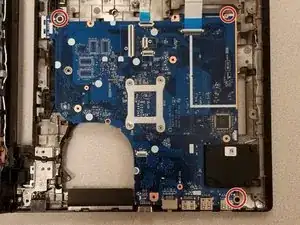
    • Remove the three 3mm screws from the motherboard. These screws are marked with red circles.

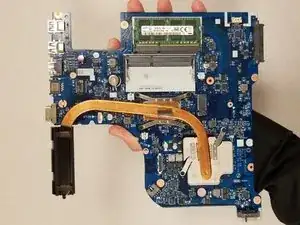
    • Remove the motherboard.

    • Pick up the motherboard carefully by the edges.

Abschluss

To reassemble your device, follow these instructions in reverse order.
Eduardo Delgado

Mitglied seit: 24/01/18

412 Reputation

0 Kommentare