Einleitung

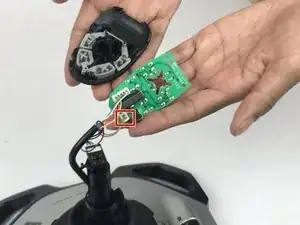
The top buttons and the trigger are typically the most used, meaning the dip switches could become the first to be worn. This will require replacement for full use of the joystick.

  1. ifhZCZwXn2SySdkS
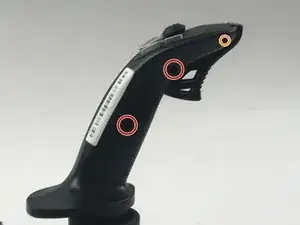
    • Remove these three Phillips #1 screws:

    • Two 10mm screws.

    • One 7mm screw.

  2. 66wFFnSOg3jfoFnD
    • Using your fingers, lower the rubber boot to reveal two screws underneath the joystick.

    • Remove the two 10mm Phillips #1 screws.

  3. Lqxji5uwBiv2KAyJ
    Lqxji5uwBiv2KAyJ
    HRc6nwCxcxt1XuFb
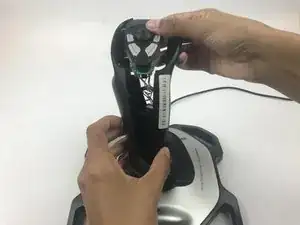
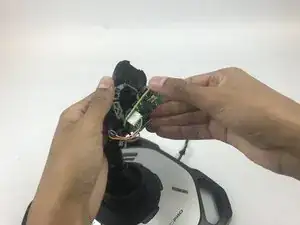
    • Pull apart the joystick chassis by hand.

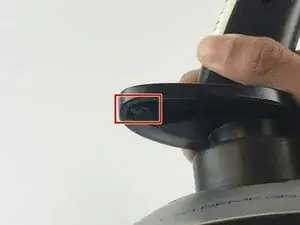
    • Release this clip located underneath the hand rest

    • The circuit board will be loose and may fall down.

  4. PgSuOIdRMMJlBNyg
    PgSuOIdRMMJlBNyg
    grAZQRh6r4JLu6W5
    4BqRLBPEZJEpi3dJ
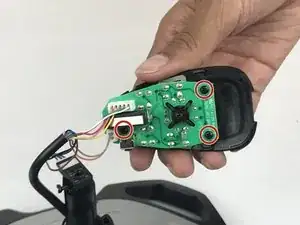
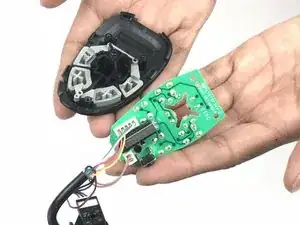
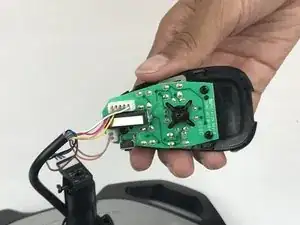
    • Remove the three 7mm Phillips #1 screws from the button board.

    • Remove the button board from the plastic top.

    • When taken apart the plastic buttons can fall out.

  5. GbUbAevXdvQaKL5X
    GbUbAevXdvQaKL5X
    OvZLIgWVZLfmVD6S
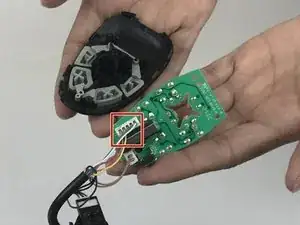
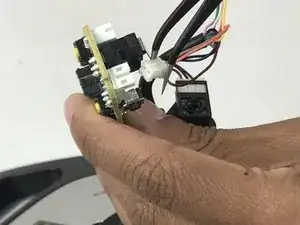
    • Disconnect the cable from the button board.

  6. dJv2L11vHLfa1aUN
    dJv2L11vHLfa1aUN
    aRYPKc2ANwID4bwB
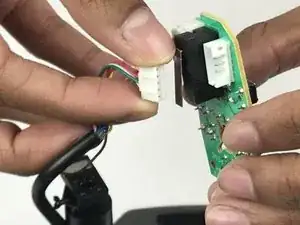
    • Disconnect the smaller cable from the button board.

Abschluss

To reassemble your device, follow these instructions in reverse order.
Emanuel Canela

Mitglied seit: 25/01/18

1265 Reputation

0 Kommentare