Einleitung
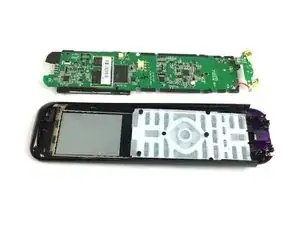
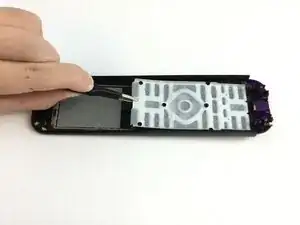
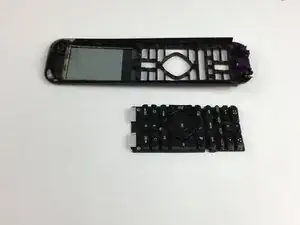
If the buttons on the keypad are not responsive, use this guide to replace the keypad.
Werkzeuge
-
-
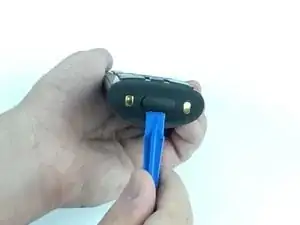
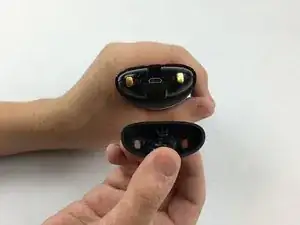
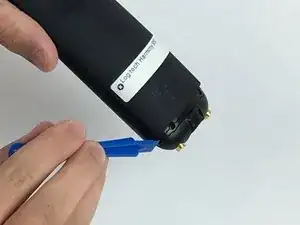
Use the Opening Tool to open the port cover at the bottom of the remote control.
-
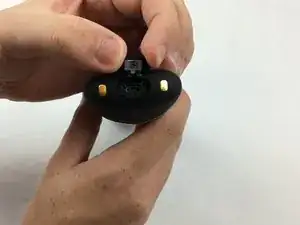
Bend the cover back to gain easy access to the screws.
-
-
-
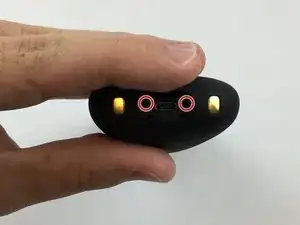
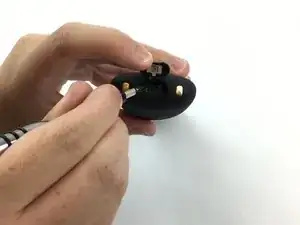
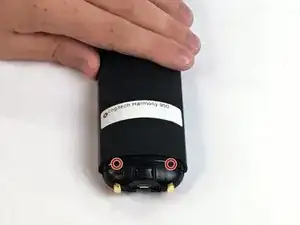
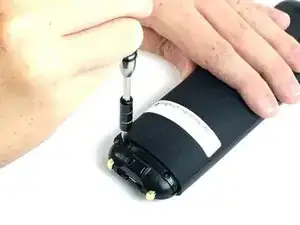
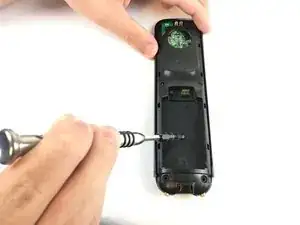
Use the Phillips #0 Screwdriver to remove the (2) two 6mm screws.
-
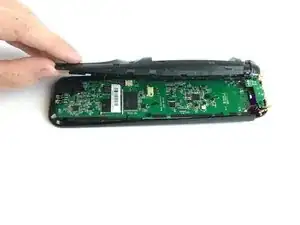
Pull the bottom cover off of the remote control.
-
-
-
Use the Phillips #1 Screwdriver to remove the (2) two 6mm screws.
-
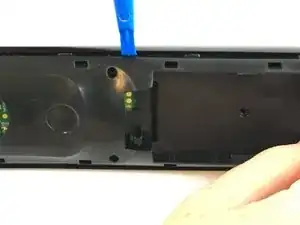
There should be a gap on each side to fit the Opening Tool. Use the Opening Tool to open the back cover (Soft Touch cover) using the gap.
-
-
-
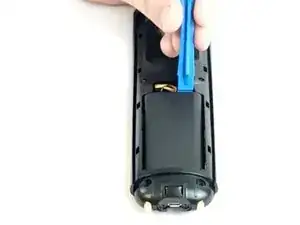
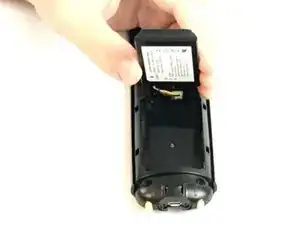
Use the Opening Tool to lift the battery out of the case.
-
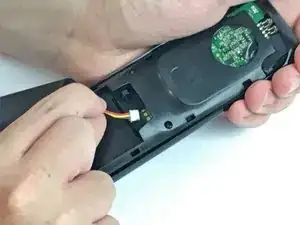
Gently pull the cable out of the socket to unplug the battery.
-
-
-
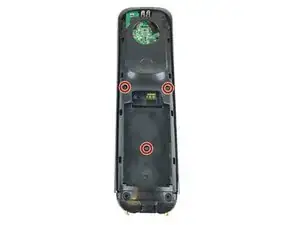
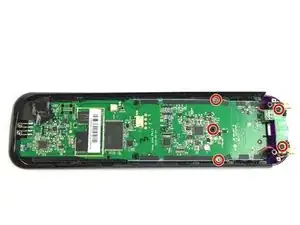
Use the J0 Philips Head Screwdriver to remove the three 6mm screws.
-
Push the opening tool into the gap along the side of the remote, then slide it across until you hear clicking sounds.
-
-
-
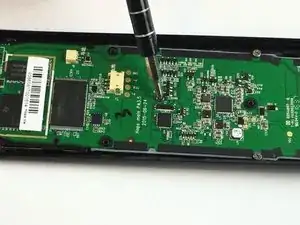
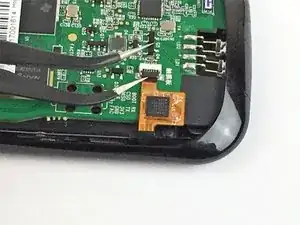
Use the angled tweezers to carefully pull the white cable end off of the remote and disconnect it.
-
-
-
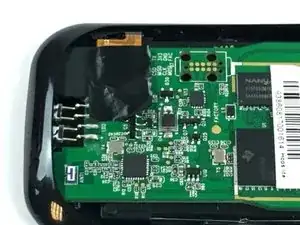
Remove the black tape to access the cable underneath.
-
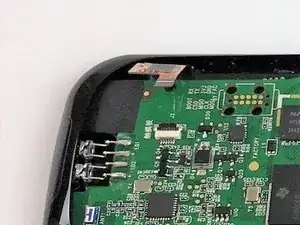
Use the angled tweezers to flip the black lock up 90° and release the cable.
-
Slide the yellow cable to disconnect it from the circuit board.
-
-
-
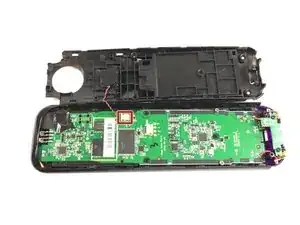
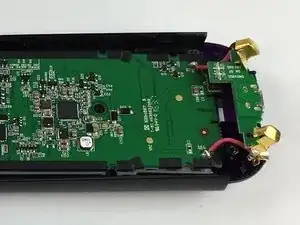
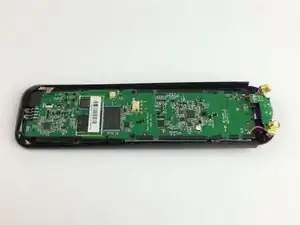
Pull the circuit board off of the remote from the bottom, and lift up to detach it from the cover.
-
To reassemble your device, follow these instructions in reverse order.
3 Kommentare
And the replacements parts are purchased from where?
Fruit juice or something sticky was on the keys so had to dismantle, as the keys were hard to press. it seemed just taking it apart fixed it, no cleaning needed. But still took almost an hour to completely dismantle and reassemble.
Some feedback on the guide. Once you access the PCB, and you need to remove the gold charging conductors at the bottom. Mine didn't come out, they both seem hooked in. So in the end I left them in and wiggled the PCB out instead. I think you might need to break the small plastic pits that hold in the charging conductors .
I agree with Jonathan, it is not possible to remove the gold charging conductors without breaking the small centered plastic pin that is holding them. However taking it appart and having the buttons a bit loose once the screws where removed did the trick!
Armand -

