Einleitung
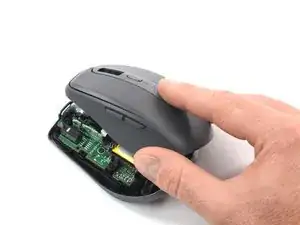
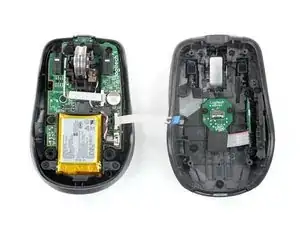
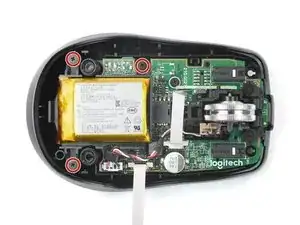
Use this guide to replace a worn-out or dead battery in your MX Anywhere 3.
If your battery is swollen, take appropriate precautions. For your safety, discharge your battery below 25% before disassembling your device. This reduces the risk of a dangerous thermal event if the battery is accidentally damaged during the repair.
You might need replacement adhesive to reattach components when reassembling the device.
-
-
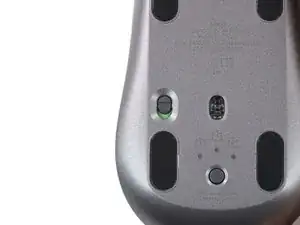
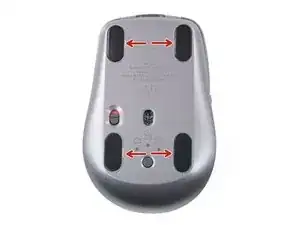
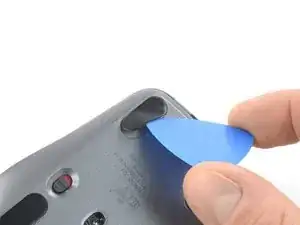
Locate the gap in the rim around each foot. This is where to place the tool in the next step.
-
-
-
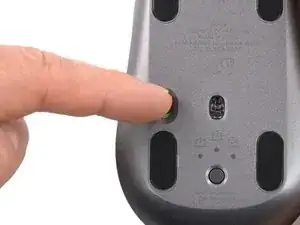
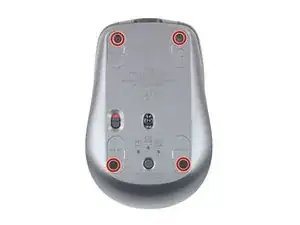
Repeat the following procedure on all four feet:
-
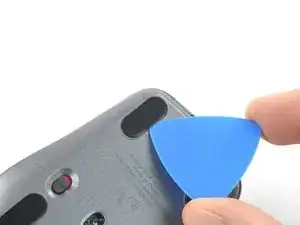
Push the tip of an opening pick under the mouse foot adhesive where the gap in the rim is.
-
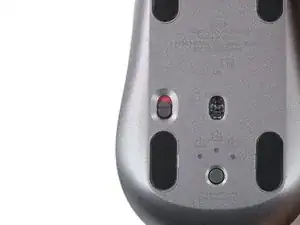
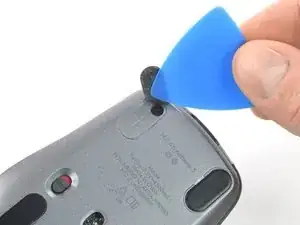
Twist the opening pick to separate the foot from the bottom until you can grab it.
-
Remove the foot.
-
-
-
Use a Phillips screwdriver to remove the four 4.3 mm-long screws securing the two halves of the mouse together.
-
-
-
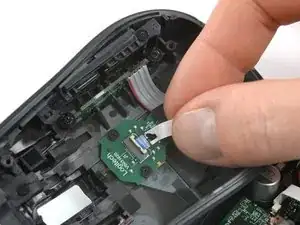
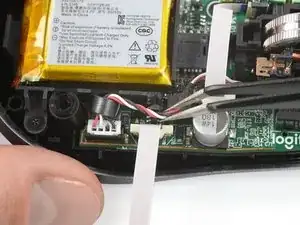
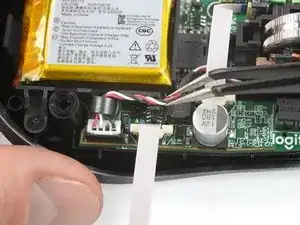
Use the tip of a spudger, an opening tool, or your fingernail to flip up the small, hinged locking flap on the interconnect cable ZIF connector.
-
-
-
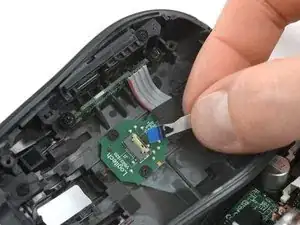
Use your fingers to peel the interconnect cable from the board and slide it out of its socket.
-
-
-
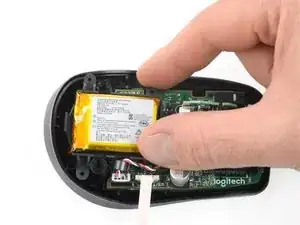
Use a Phillips screwdriver to remove the three 3.4 mm-long screws securing the battery housing.
-
-
-
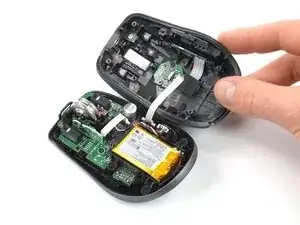
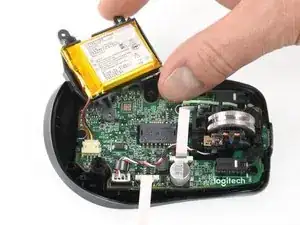
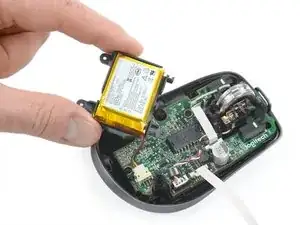
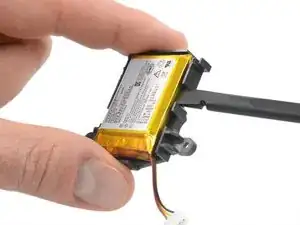
Grab the battery housing with your fingers and set it aside to access the battery connector.
-
-
-
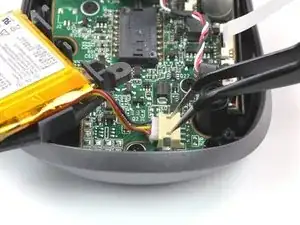
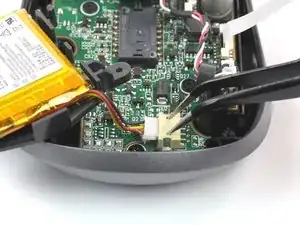
Use a pair of pointed tweezers and insert arms in the two socket cutouts.
-
Carefully push the connector out.
-
-
-
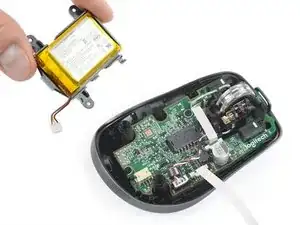
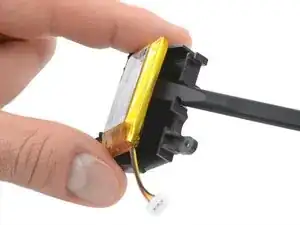
Insert the flat end of a spudger between the battery and its housing through one of the cutouts.
-
Lever the battery out of the housing by prying it up and out of its recess.
-
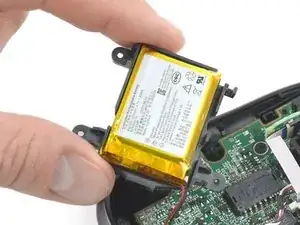
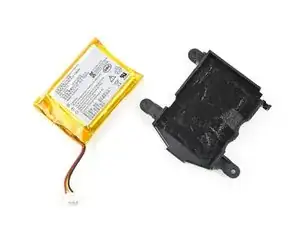
Remove the battery.
-
Connect your new battery and test to see if the mouse works.
-
Remove any leftover adhesive and clean the battery housing with highly-concentrated isopropyl alcohol (over 90%) and a microfiber or lint-free cloth.
-
Secure your new battery with pre-cut adhesive or double-sided tape where the old adhesive was located and not directly onto the battery. Press the new battery firmly into place.
-


To reassemble your device, follow these instructions in reverse order.
For optimal performance, calibrate your newly installed battery: Charge it to 100% and keep charging it for at least 2 more hours. Then use your device until it shuts off due to low battery. Finally, charge it uninterrupted to 100%.
Take your e-waste to an R2 or e-Stewards certified recycler.
Repair didn’t go as planned? Try some basic troubleshooting, or ask our Answers community for help.

The back of my mouse does not loo like the one in your picture
Joan Ludwig -
This picture is different than mine and I didn’t have to go through all of these steps. I didn’t even need tools.
But I just can’t remember how easy it was after I figured it out
Joan Ludwig -