Einleitung
Werkzeuge
-
-
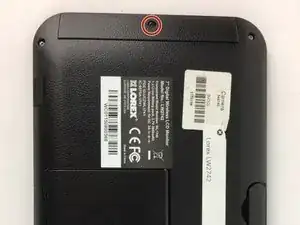
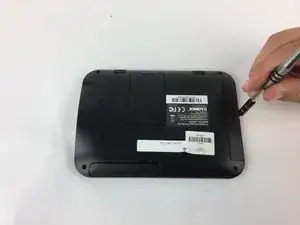
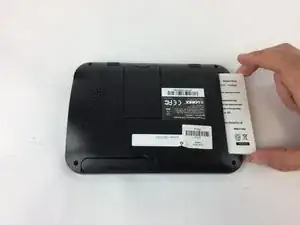
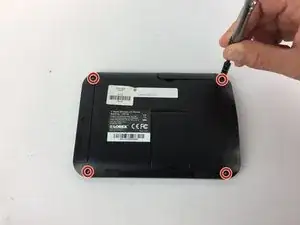
Remove the battery cover on the back of the LCD monitor by unscrewing one 5mm Phillips #1 screw.
-
Slide the battery out of the housing. Lightly tap the opposite end of the monitor if the battery does not come right out.
-
-
-
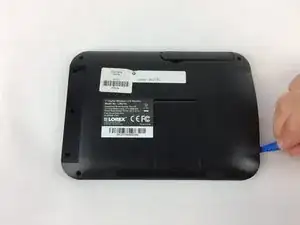
Using a plastic opening tool, gently separate the back panel from the front panel, working the tool around the panel to disconnect it.
-
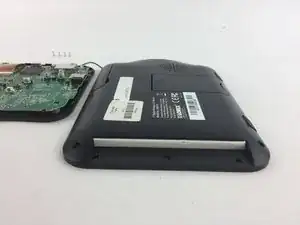
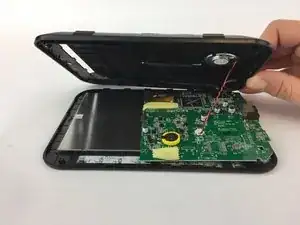
Carefully remove the back panel
-
Abschluss
To reassemble your device, follow these instructions in reverse order.
