Einleitung
The nozzle is where the M3D's filament is extruded from, so it's a crucial component. If something is wrong with your nozzle, it's likely that your printer won't function properly. Luckily, the M3D Store sells a replacement nozzle that you can easily substitute for the faulty nozzle on your machine. The nozzle is easily accessible and as such, easy and quick to replace.
Werkzeuge
-
-
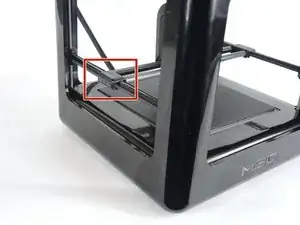
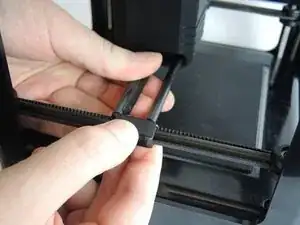
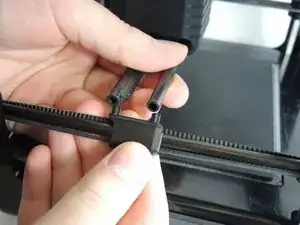
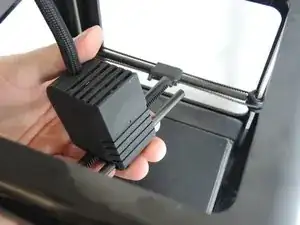
To release the x-rods, pull the x-rods away from the plastic sliders on the y-rods, and flip the slider upwards to release the tracks.
-
-
-
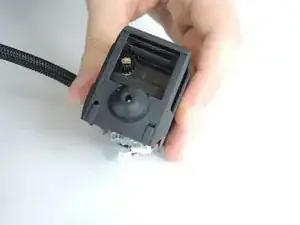
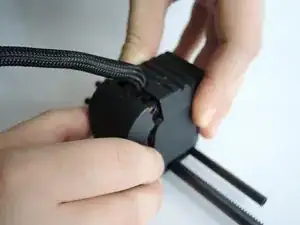
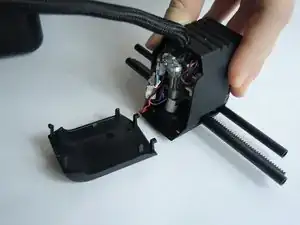
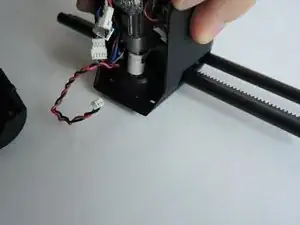
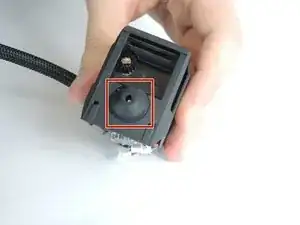
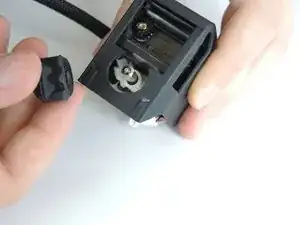
Slide the tracks off the second slider and remove the printer head and x-tracks from the center of the printer. To remove the front cover of the print head, firmly grip the cover and gently pull it off.
-
-
-
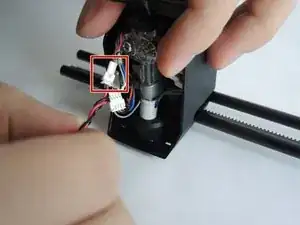
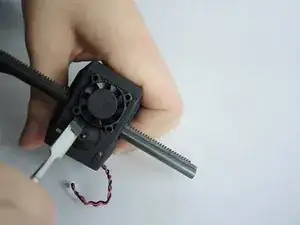
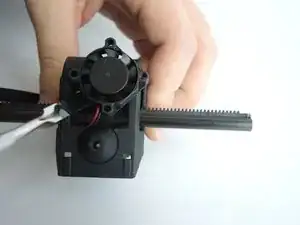
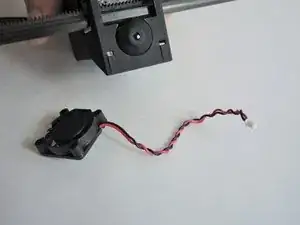
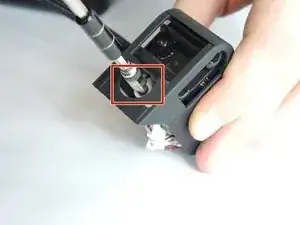
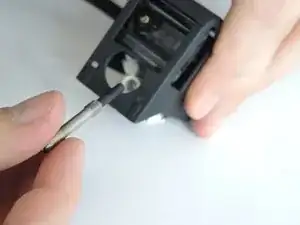
The fan is held loosely in place at the base of the printer head. Use a metal spudger to gently pry it out of the printer head.
-
To reassemble your device, follow these instructions in reverse order.
