Einleitung

  1. VrmK6rcAvhQa1YJJ
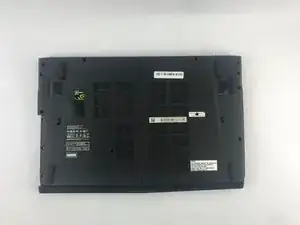
    • Start with the bottom of the laptop facing up.

  2. NycatHDJJLWqP66X
    NycatHDJJLWqP66X
    KCSglUYRMRDsWs52
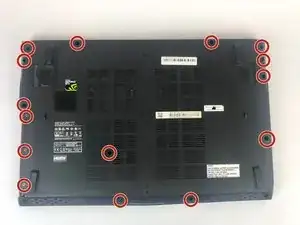
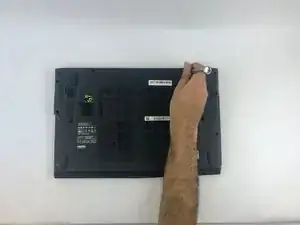
    • Remove the 15 screws from the bottom of the laptop with a PH1 screwdriver.

    • Remove the bottom plate

    • Keep track of all the screws and which slot they came from, as they slightly differ. We recommend this system: lay out on a piece of paper and pretending the paper is the device. Place the screws on the paper approximately where they would go

  3. qAj1pPlDDiRKVqMR
    qAj1pPlDDiRKVqMR
    I6vR212yFcG1Pabl
    5HjShsZMGeY6By6e
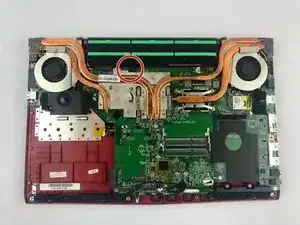
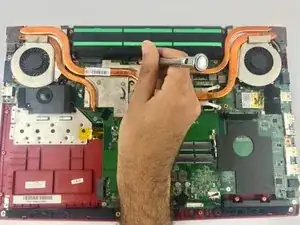
    • Remove the screw holding down the battery with a PH1 screwdriver.

    • Pull out the battery.

  4. TOa4AdTkKXBIAuRA
    TOa4AdTkKXBIAuRA
    r5fh2dH2RIiAHsli
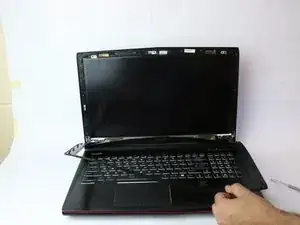
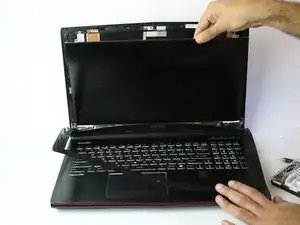
    • Open the laptop up as if you were going to use it.

    • Wedge a spudger in between the screen bezel and work it around to separate it.

  5. AlxpVB1556WKXF5r
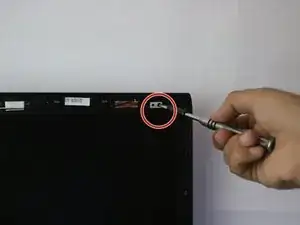
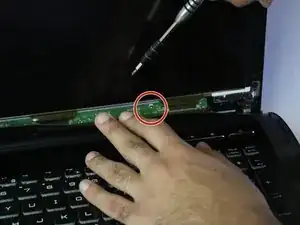
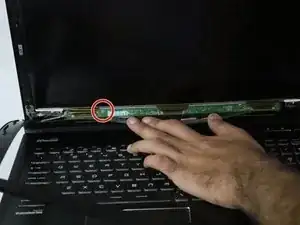
    • Remove the screws holding in the screen at the corners with a PH1 screwdriver.

    • Be very careful as the screen may tilt forward so make sure your hand is right is on the screen when the screw comes off.

  6. BGO4Nt4cbXIydflr
    BGO4Nt4cbXIydflr
    TKykSwP1SncyFwAG
    IFRBIMo6Z1mVrxdG
    • Remove the bezel from the screen.

    • Remove the two screws located at the bottom of the screen using the PH1 screwdriver.

Abschluss

To reassemble your device, follow these instructions in reverse order.
Samer Soukieh

Mitglied seit: 19/02/18

209 Reputation

0 Kommentare