Einleitung

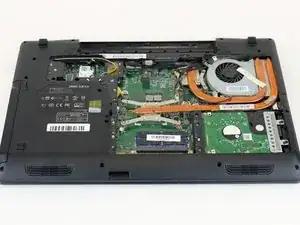
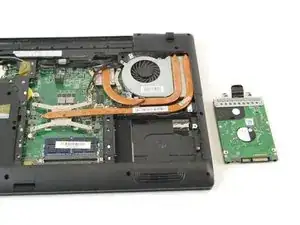
Looking for a guide to help you replace your MSI GP60 2PE Leopard hard drive? This is the guide for you. Simply follow a few steps and your hard drive will be out in no time.

  1. Y5dL1hgpDPbcUSEJ
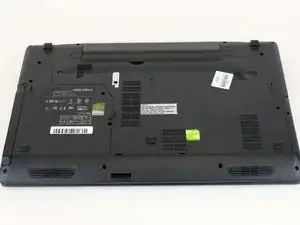
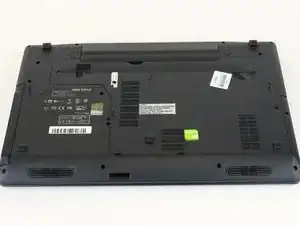
    • Flip MSI GP60 2PE Leopard, so that the back is facing up.

  2. dqB1oD1OUl2qM6DZ
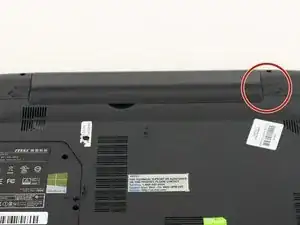
    • Find the unlock tab located on the upper right side of the device, then slide it to the right.

  3. ZGXgv4VFa2KmyYGj
    ZGXgv4VFa2KmyYGj
    2Hqa3qhVEpWYyq5X
    CMNK1FgmLomllQO1
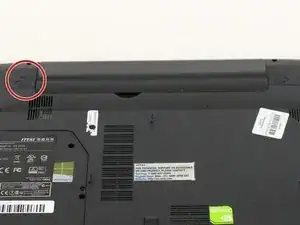
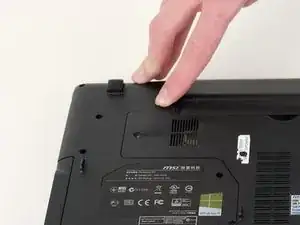
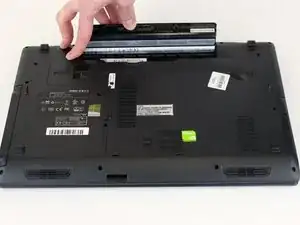
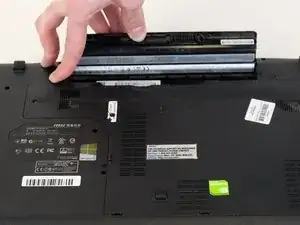
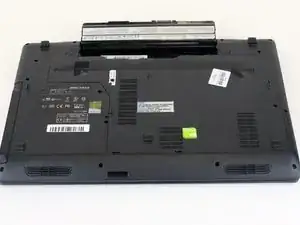
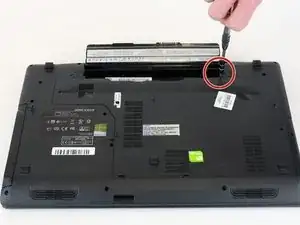
    • Slide and hold the release tab on the left side of the battery, so that you can remove the battery.

  4. 5hHK5fPTnVpbyn3a
    5hHK5fPTnVpbyn3a
    ggf5ppJF4OlvAGMC
    iVTbRyQ6YjMfoNSU
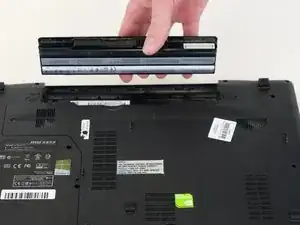
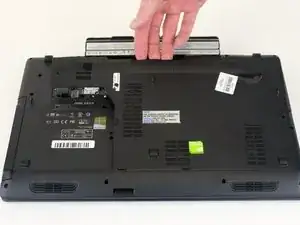
    • While holding the release tab, remove the battery slowly.

  5. BHrjFcDVNAHFRYnq
    • Flip the device over so the back is facing up.

  6. MUKFAf2iAxnOfQWb
    MUKFAf2iAxnOfQWb
    TYx5wGngoTVHxlji
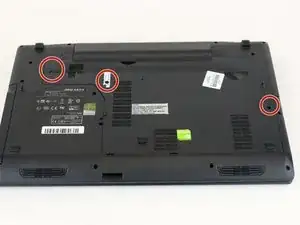
    • Remove the four 5mm screws from the back of the device using a Phillips #00 screwdriver.

    • There is a screw located under the battery; lift the battery up to access it.

  7. YrDhMToIpVrFaInS
    YrDhMToIpVrFaInS
    BXjZtOmQCicMTM5o
    • Once all four screws are removed, lift the back off.

  8. WCWyIoRehL2vveuM
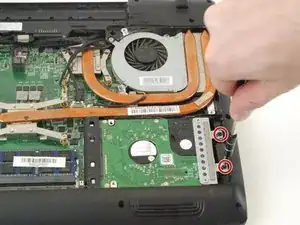
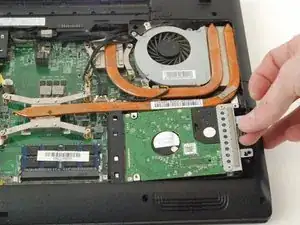
    • Remove the two 5 mm black screws on the right hand side with a Phillips #0 screwdriver.

  9. 53pNabWxX2MFvWWA
    53pNabWxX2MFvWWA
    FH1HLg1BTInDdvUO
    v5IygArpMG3IDuqO
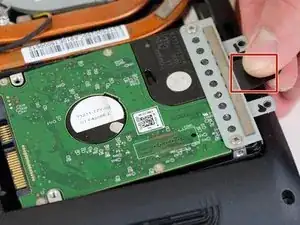
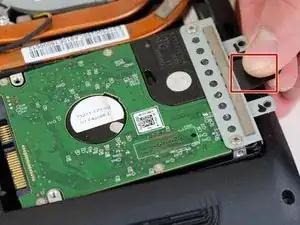
    • Lift the hard drive, then remove from the device. There is a black strip of plastic attached to make the process easier.

Abschluss

To reassemble your device, follow these instructions in reverse order.
Zoey Calcagno

Mitglied seit: 04/10/18

672 Reputation

0 Kommentare