Einleitung
Werkzeuge
-
-
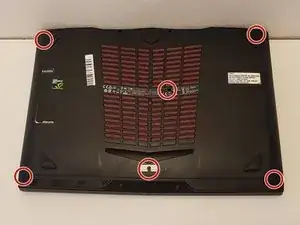
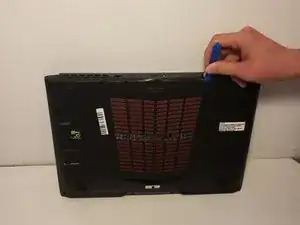
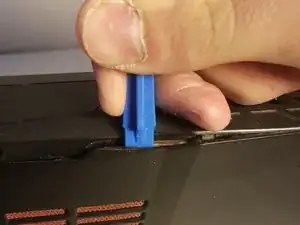
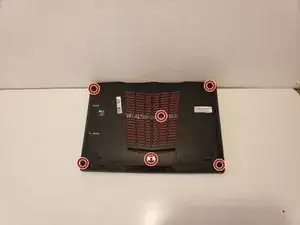
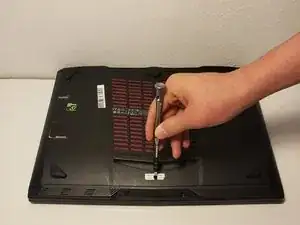
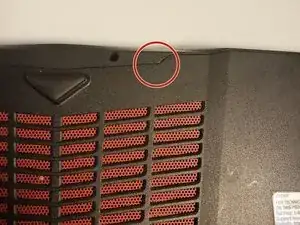
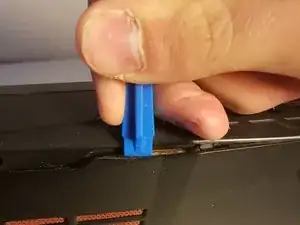
Insert the plastic opening tool into the back plate of the laptop and lightly pry it up.
-
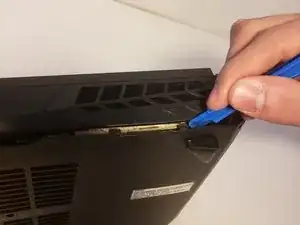
Slide the plastic opening tool around the laptop's edge gently, slowly popping off the clips securing it into the laptop.
-
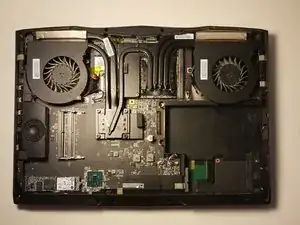
Remove the back plate.
-
-
-
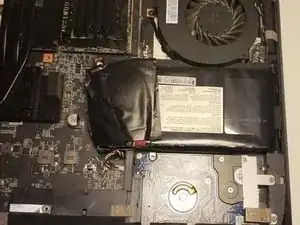
Locate the battery.
-
Remove the tape covering the battery connector.
-
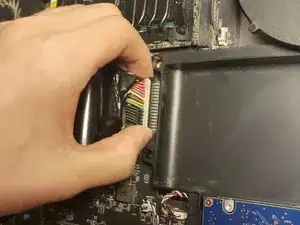
Place your hands at the corners of the wires.
-
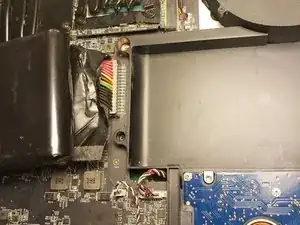
Pull upward from the back end of the battery where the wires are located.
-
Remove the battery.
-
-
-
Insert a plastic opening tool into the seam of the back cover
-
Pry the cover up until clips release.
-
Slide the plastic opening tool around the laptop until cover is fully removed.
-
-
-
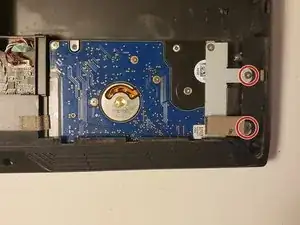
Remove the two screws securing the hard drive to the laptop.
-
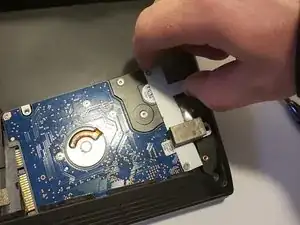
Lightly lift the hard drive up by grasping the silver bracket that secures it to the laptop.
-
Wiggle it backwards slowly until it is unplugged.
-
Slide out from under the cover towards the battery.
-
-
-
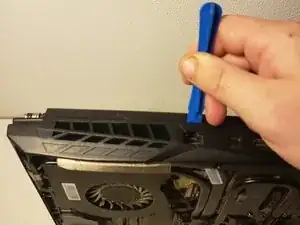
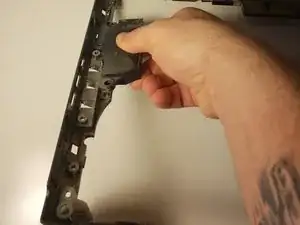
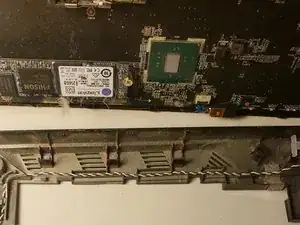
Insert the plastic opening tool into the side of the laptop above the fan, and lightly pry it up.
-
Slide the plastic opening tool around the laptop's edge gently, while slowly popping off the clips securing it into the laptop.
-
-
-
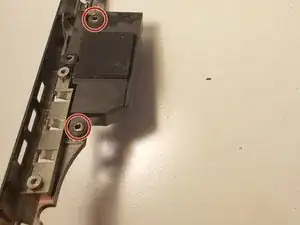
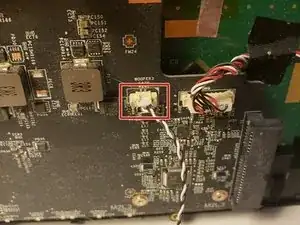
Locate the speaker wires.
-
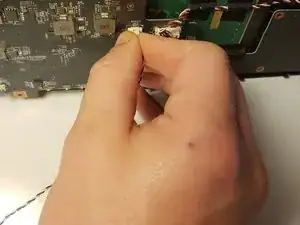
Place your hands at the corners of the wires.
-
Pull upward from the motherboard where the wires are located.
-
To reassemble your device, follow these instructions in reverse order.
Ein Kommentar
this is only for the sub, the other speaker is a nightmare to replace
