Einleitung
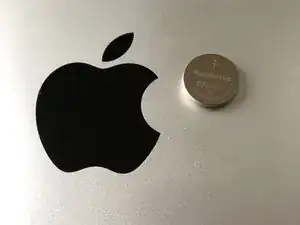
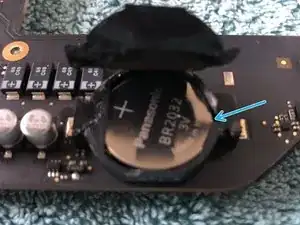
Diese Anleitung zeigt dir wie du die PRAM-Batterie austauschen kannst. Du kannst zwar eine CR2032 einbauen, empfohlen ist allerdings wegen größerer Hitzebeständigkeit eine BR2032, die auch von Apple verwendet wird. Ihre chemische Zusammensetzung unterscheidet sich voneinander.
Werkzeuge
Ersatzteile
-
-
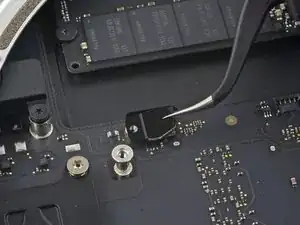
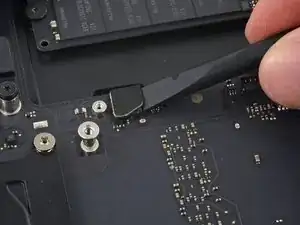
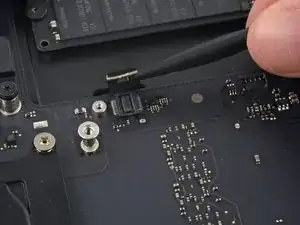
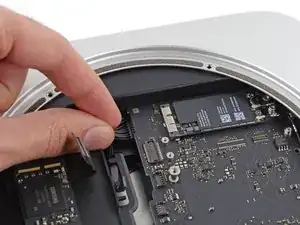
Trenne mit dem flachen Ende eines Spudgers den Stecker des SATA-Kabels von seinem Anschluss auf dem Logic Board.
-
-
-
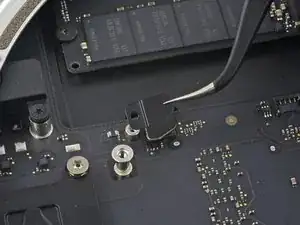
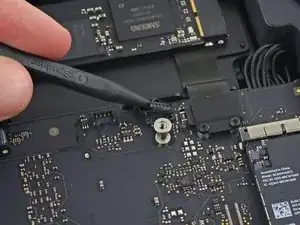
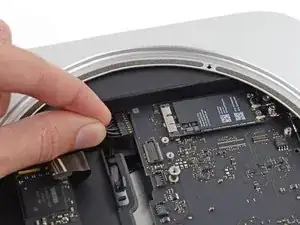
Hebe mit der Spitze eines Spudgers den Stecker des IR-Sensorkabels gerade nach oben von seinem Anschluss.
-
-
-
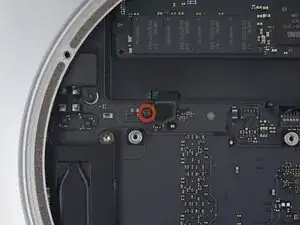
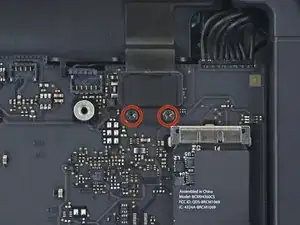
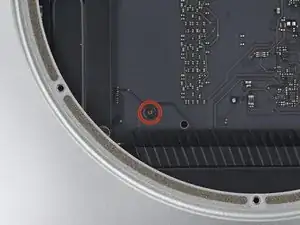
Entferne die beiden 2,6 mm T6 Schrauben, die die Abdeckung des PCIe SSD-Kabels befestigen.
-
-
-
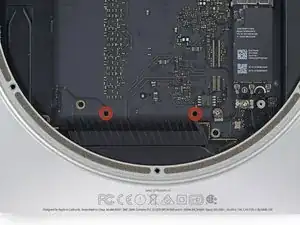
Stecke das Mac Mini Logic Board Removal Tool in die zwei mit Rot gekennzeichneten Löcher. Gehe sicher, dass die Stäbe das Gehäuse unter der Platine berühren, bevor du fortfährst.
-
-
-
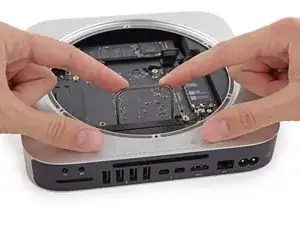
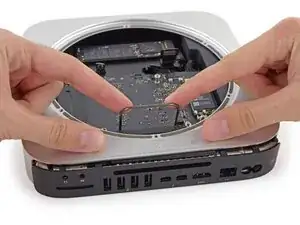
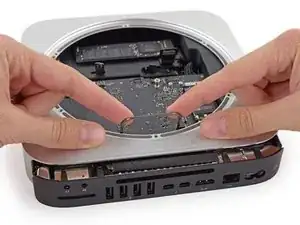
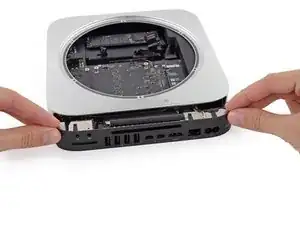
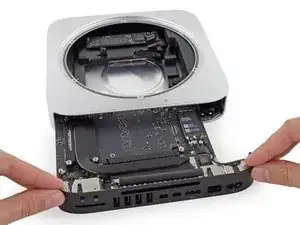
Ziehe das Werkzeug vorsichtig in Richtung des Panels mit den Anschlüssen. Dieses sollte nun zusammen mit der Platine langsam aus dem Gehäuse herausgeschoben werden.
-
Höre auf zu ziehen, wenn das Removal Tool an den vorderen Gehäuserahmen der Öffnung stößt.
-
-
-
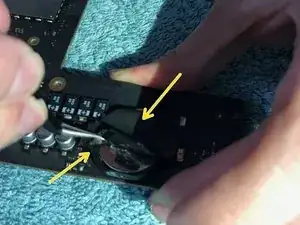
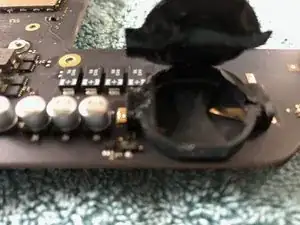
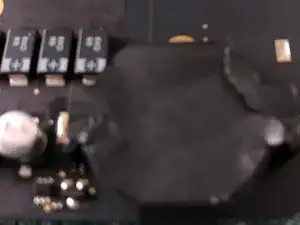
Drücke die Batterie mit einem Spudger oder einem kleinen Schraubendreher zur Seite, bis sie herauskommt.
-
Um dein Gerät wieder zusammenbauen, folge den Schritten in umgekehrter Reihenfolge.
3 Kommentare
I can’t find a way to contact you anywhere on your site but your fix for installing windows on a mac worked for me. I had been trying to get it to work for 2 days. Deleted my OSX install and everything. Deleting the second EFI partition is what it was. Nowhere else said that but your blog. So man, thanks and keep it up.
Jordan -
No problem, your welcome. Thanks for your help too, you made me realise I broke the website comments during an upgrade.
Tom -
Thanks! This guide helped a lot! To folks doing this replacement, the tape covering the battery comes up fairly easy if you first use your tweezers to gently lift the three tabs on the sides of the battery housing, then it should come off in one piece.
Nick -

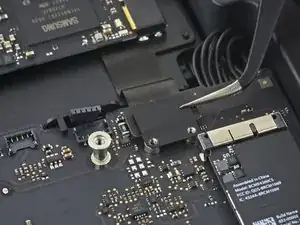
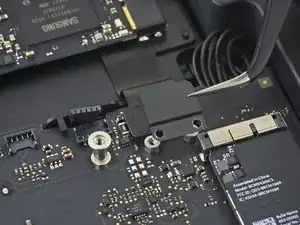
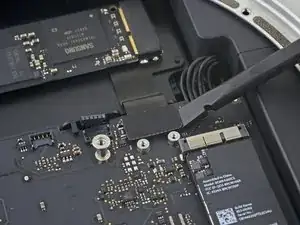
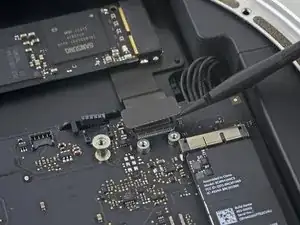
This screw is very short, when I tried to put it back, the beginning of its thread got dusted and now it's impossible to use it to fix the bracket in place. It should be 3.5 mm instead of 2.6. Nevertheless, the SATA connector is firmly attached to the logical board withou screw+bracket and my mac mini is working nicely.
mario.estolano -
My mini came with only a PCIe SSD on it. When I got to this point, I discovered that because it was never shipped with a hard drive, there was no securing screw, no cable connector bracket, no cable connector, and no hardware for securing the drive. Fortunately, there is still a hole in the logic board where the SATA cable is supposed to pass through, and the logic board does have the appropriate connector. if you buy an OEM SATA cable, you can actually secure the SSD in place using a little bit of electricians tape. Because it has no moving parts, it’s not going to rattle itself loose. I am more concerned about not having a cover for the place where the SATA cable clips to the logic board, but I put a little electricians tape over it to hold it in place and I will see how that works.
MrSpiral -
If you are adding a sata drive to a pcie mac mini 2014 only you wont have this part - as per MrSpiral’s pos. Using a 2012 additional drive kit will give you the sata connector to connect the drive to the logic board but not the securing screw and plate (next step) it would be good to be able to get this part. if anyone has any links that would be appreciated.
Edward Chandler -