Einleitung
Benutze diese Anleitung, um einen beschädigten Lautsprecher in deinem Mac Mini Late 2014 zu ersetzen.
Diese Anleitung wurde mit einem Fusion Drive Mac Mini erstellt und hat vielleicht mehr Verbindungen und Komponenten als dein Modell. Erschrecke dich nicht, falls dir ein Festplatten- oder SSD-Anschluss fehlt.
Werkzeuge
Ersatzteile
-
-
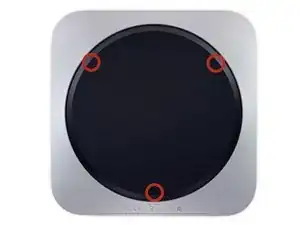
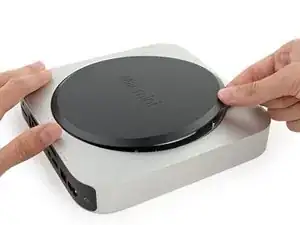
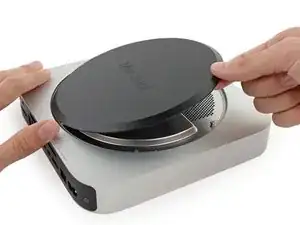
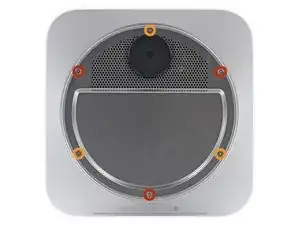
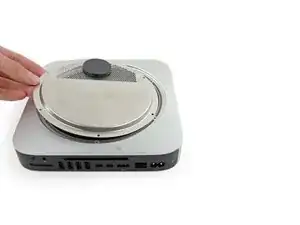
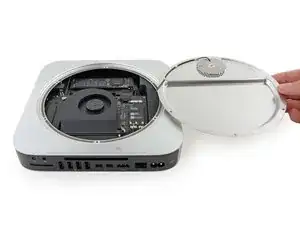
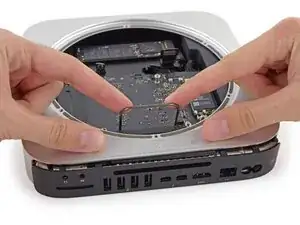
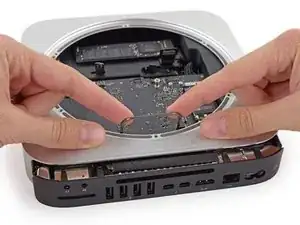
Die Unterbodenabdeckung wird von drei geschraubten Clips gehalten.
-
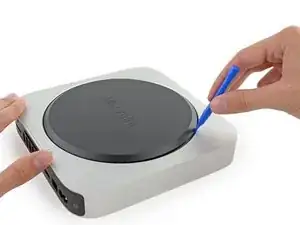
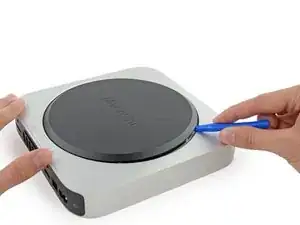
Heble in der Nähe der Schrauben, nicht direkt über ihnen.
-
-
-
Entferne die folgenden TR6 Schrauben von der Antennenabdeckung:
-
Drei 4,1 mm Schrauben
-
Drei 1,9 mm Schrauben
-
-
-
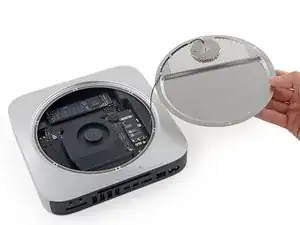
Mit den I/O Anschlüssen zu dir gerichtet klappe die Abdeckung nach rechts, um den Zugang zum Antennenanschluss zu ermöglichen.
-
-
-
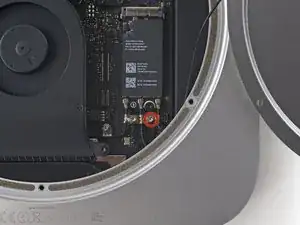
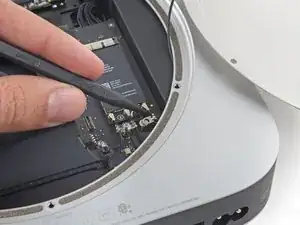
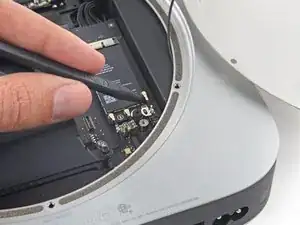
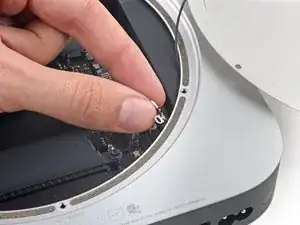
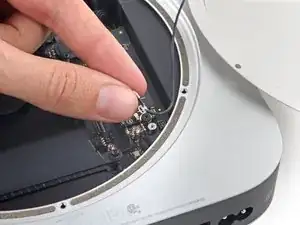
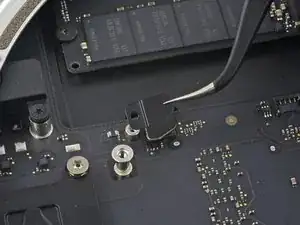
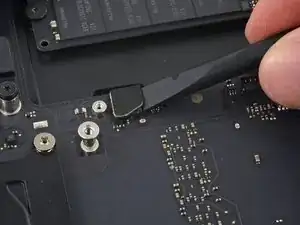
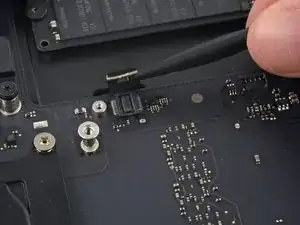
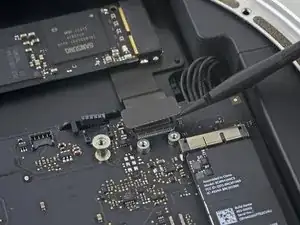
Hebe den Antennenstecker mit der Spitze eines Spatels gerade nach oben vom Sockel auf der Airport Karte.
-
-
-
Ziehe das Antennen-Kabel vorsichtig aus der Lücke zwischen Stromzufuhr und Gehäuse heraus.
-
-
-
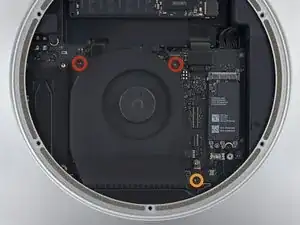
Entferne die zwei 12 mm T6 Schrauben vom Lüfter.
-
Lockere die unverlierbare 27 mm T6 Schraube.
-
-
-
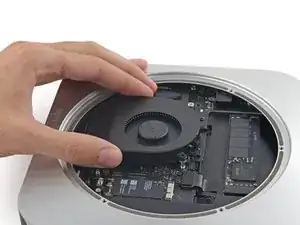
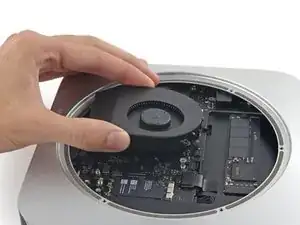
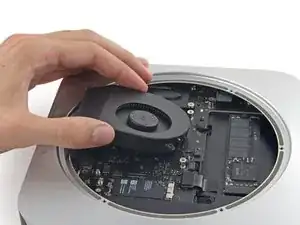
Hebe den Lüfter gerade nach oben, um die unverlierbare Schraube aus dem Logic Board zu lösen.
-
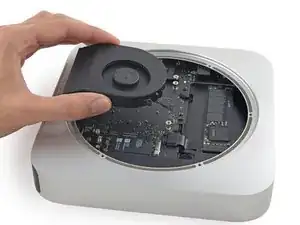
Ziehe den Lüfter von der SSD weg, bis du mühelos an den Lüfteranschluss kommst.
-
-
-
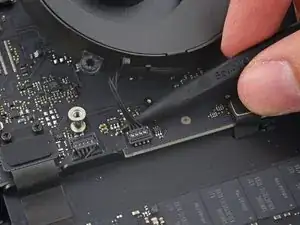
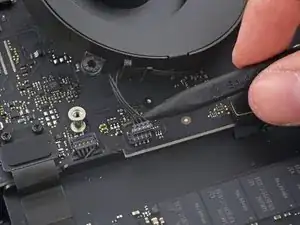
Trenne den Stecker des Lüfters mit der Spitze eines Spudgers von seinem Anschluss auf dem Logic Board.
-
-
-
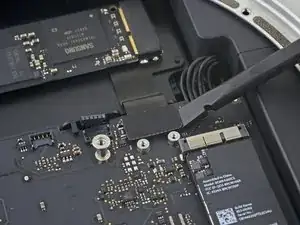
Trenne mit dem flachen Ende eines Spudgers den Stecker des SATA-Kabels von seinem Anschluss auf dem Logic Board.
-
-
-
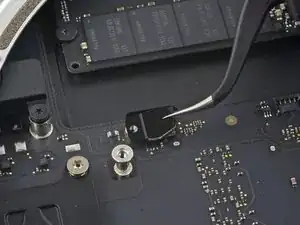
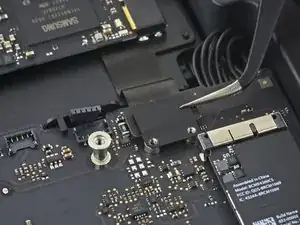
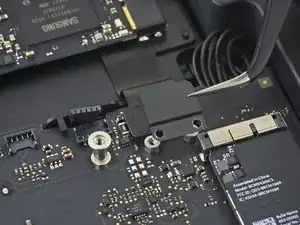
Hebe mit der Spitze eines Spudgers den Stecker des IR-Sensorkabels gerade nach oben von seinem Anschluss.
-
-
-
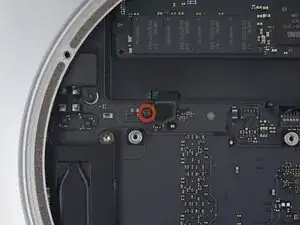
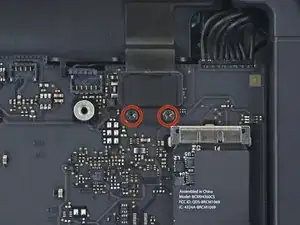
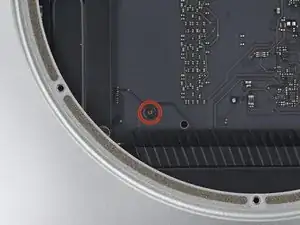
Entferne die beiden 2,6 mm T6 Schrauben, die die Abdeckung des PCIe SSD-Kabels befestigen.
-
-
-
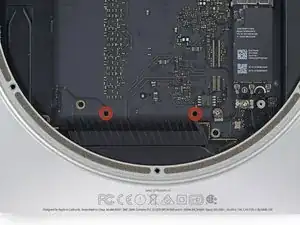
Stecke das Mac Mini Logic Board Removal Tool in die zwei mit Rot gekennzeichneten Löcher. Gehe sicher, dass die Stäbe das Gehäuse unter der Platine berühren, bevor du fortfährst.
-
-
-
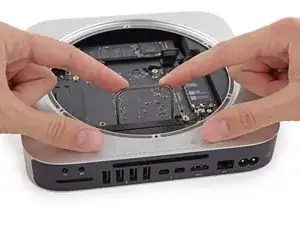
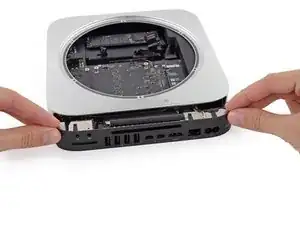
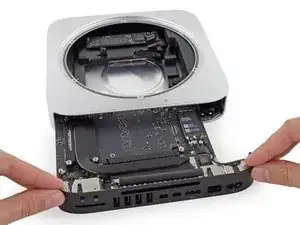
Ziehe das Werkzeug vorsichtig in Richtung des Panels mit den Anschlüssen. Dieses sollte nun zusammen mit der Platine langsam aus dem Gehäuse herausgeschoben werden.
-
Höre auf zu ziehen, wenn das Removal Tool an den vorderen Gehäuserahmen der Öffnung stößt.
-
-
-
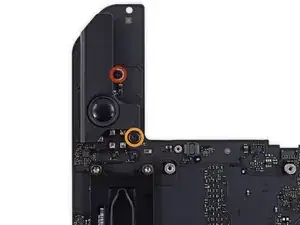
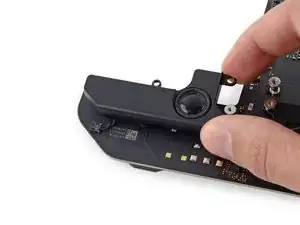
Entferne die folgenden T6 Torx Schrauben, die den Lautsprecher mit dem Logic Board verbinden.
-
Eine 3.6 mm Schraube
-
Eine 3.6mm Großkopfschraube.
-
-
-
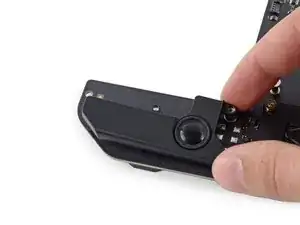
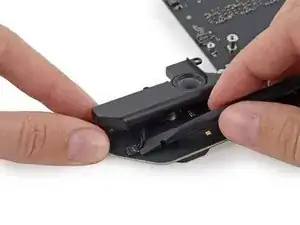
Schubse den Lautsprecher vorsichtig aus dem Weg, um an das Verbindungskabel des Lautsprechers zu gelangen.
-
-
-
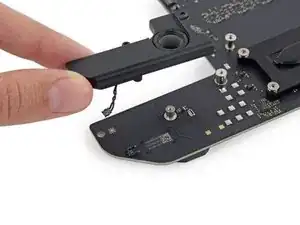
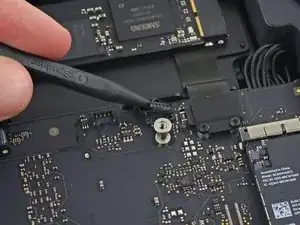
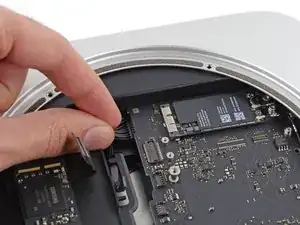
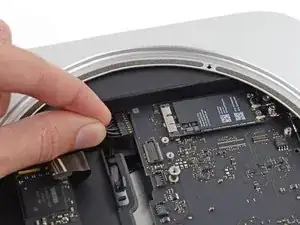
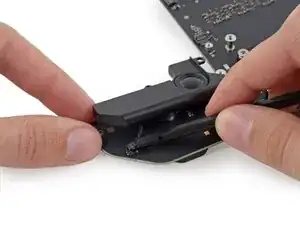
Benutze das flache Ende eines Spudgers, um die Verbindung des Lautsprechers vorsichtig aus dem Sockel auf dem Logic Board zu heben.
-
Entferne nun den Lautsprecher vom Logic Board.
-
Arbeite die Schritte in umgekehrter Reihenfolge ab, um dein Gerät wieder zusammenzubauen.




Read Me First: I purchased an SSD drive directly from Crucial and, of course, it came uninitialized. After going thru the entire tear down, installing the new drive, and rebuilding the mini, it refused to recognize the new drive. So, of course, I had to re-tear it down, remove the new drive, insert it into an external housing and format it using my Macbook. After that the mini recognized the new drive. A word to the wise: format the new drive before installing it.
tom -
How were you installing the OS? I am planning on booting into a USB drive with a copy of OS High Sierra on it, and I assume I will be able to format my new Samsung SSD using that?
Simon -
On my Samsung EVO 850, mac mini download system automaticly
Stefan Repac -
Pre-formatting is not necessary if you make a USB boot installation drive with macOS installer. During boot up, hold down the option key until the mac boot into the USB, formatting can then be done using disk utility running off the USB drive.
SBR249 -
I had the exact same experience as tom. I installed a brand new 2TB Samsung 850 EVO and it was not recognized by the Mac Mini. I booted from a portable USB drive with a bootable copy of macOS High Sierra but the 850 EVO SSD I had just installed was not shown as an option. I tore down the Mac Mini again, formatted the 850 EVO, rebuilt the Mac Mini, and booted off the same bootable High Sierra USB drive, and sure enough the 850 EVO was recognized.
maxim -
diskutil list
diskutil erasedisk [filesystem] [drivename] /dev/disk[disk number]
Paul Rodgers -
My drive (Evo 860) was also not initialized. I started in recovery mode and went to disc utility and from there selected the drive. I then was able to use the “erase” function on the drive. I just left the settings as default and as soon as it erased then the drive was ready to go.
Nathan Cooper -
Just completed this upgrade a few days ago, having purchased the 1 TB SSD kit from IFixIt. The kit arrived quickly and the tools and drive worked perfectly. The step by step guide posted here is pretty much flawless, but do pay attention to the specific comments from users on certain steps - they really help. As far as ensuring that the new drive will reboot and install MacOS, I watched 1-2 videos on YouTube about re-installing using the Internet Recovery tool and that worked perfectly. My MacMini is performing WAY better than it used to, for only a $200 upgrade kit and about 3 hours of work, all in. Thanks!
Joshua Rednik -
I’ve had Apple computers since the G3 machines and they have always been snappy.
Unfortunately this 2014 macmini has always been slow but this upgrade (6 years later) has changed that!
if you have a late 2014 macmini, do this.
I used a 860 Samsung.
Mike Hayes -
A quick comment to tell you that at every step, make sure to read the comments and be careful. I managed to do the process fast without any problems, but thanks to the comments that warned me enough on the risky steps.
Euronymous -
This guide surely helped me breath upgrade and bring some new life into my macmini. Thanks to all who contributed.
Cameron Hasell -
can one of you give me the link for the screw drivers please?
Gerardo Ramirez -