Einleitung
Nur als Zwischenschritt.
Werkzeuge
-
-
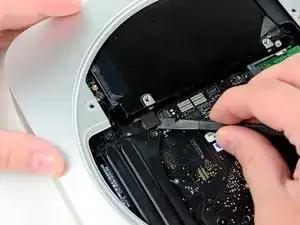
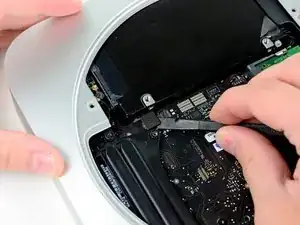
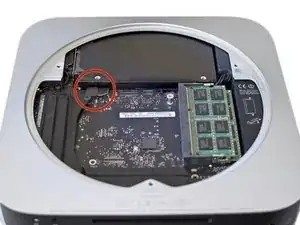
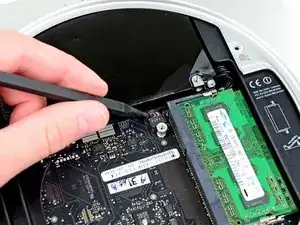
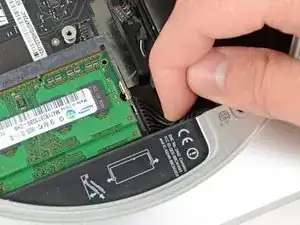
Benutze das flache Ende eines Spudgers um den Verbindungsstecker der Festplatte aus seinem Sockel auf dem Logic Board zu lösen.
-
-
-
Löse den Verbindungsstecker des Infrarotsensors mit der Spitze eines Spudgers vom Logic Board.
-
-
-
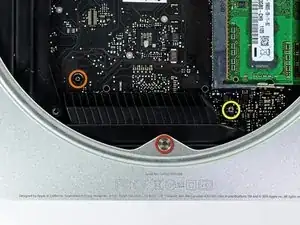
Löse die folgenden drei Schrauben:
-
Eine 5,0 mm T8 oder 2,0 mm Sechskantschraube (beide Schraubendreher funktionieren)
-
Eine 16,2 mm T6 Tox Schraube
-
Eine 26 mm T6 Torx Abstandsschraube
-
-
-
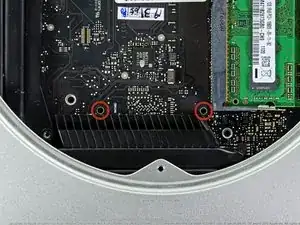
Führe also das Mac Mini Logic Board Removal Tool in die beiden rot markierten Öffnungen ein. Achte darauf, dass es Kontakt zur oberen Seite des Außengehäuses unter dem Logic Board hat, bevor du weitermachst.
-
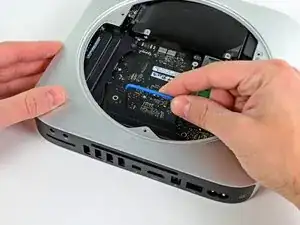
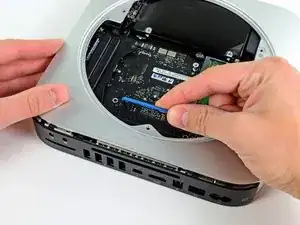
Ziehe das Tool vorsichtig in Richtung des I/O Boards. Das Logic Board und die ganze I/O Board Einheit sollte etwas aus dem Gehäuse rutschen.
-
Entferne das Mac Mini Logic Board Removing Tool.
-
-
-
Ziehe die ganze I/O Board/ Logic Board Einheit weit genug aus dem Gehäuse, um an die Stromversorgung zu kommen.
-
Löse mit den Fingern das DC-In Kabel vom Logic Board.
-
Ziehe den Stromkabelanschluss in Richtung der Vorderseite des Mini.
-
-
-
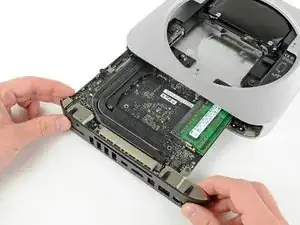
Ziehe vorsichtig die ganze Logic Board Einheit aus dem Mini, und passe dabei auf, dass kein Kabel hängen bleibt.
-

It may just be my own experience, but the hard drive connectors appear to be "sensitive" to ANY pressure, even when (re)connected properly. I found that I had to repeatedly re-seat them when re-installing the drive, AirPort antenna, and cowling. I would recommend holding off on putting the screws back for the AirPort antenna and cowling until both are in place, and re-checking the hard drive connectors before installing/tightening those screws.
UNSC Jon 117 -
Note the hard drive connector attaches to the outermost connector on the logic board. On my Mini it attached to the inner connector.
The cable I got in the Dual Drive kit was exactly the same as the one installed in my Mini. I had to fold it to shift it over to snap on the outer connector.
And, no, my hard drive wasn't where the picture shows it to be.
jpmist -
As UNSC Jon 117 says, these connectors are worryingly prone to pop off if there's any movement of the drives. Fortunately they're accessible even after refitting the antenna plate, so I would wait until then for a last-minute check. I've done this job three times now on the same Mac and everything has been fine.
Charles Butcher -
The server version of the MacMini 2011 has three extra two wire cables for temperature sensors: two on the drive directly under the antenna plate, one on the other drive.
The small connectors have to lifted up from the logic board just like the fan connector and the IR sensor connector.
Take care when transferring the sensors to a new drive because two of those three extremely tiny PC board need to be removed of the old drive and are glued in place.
ernstcline -
The "pop off" seems only to happen during reassembly if you press on the harddisk body. The harddisk at this time can be pressed in the direction of the underlying drive (in my case a SSD Drive) . Once the grid with the antenna has been attached (two red screws in step 8) this cannot happen any more.
John Doe 9th -