Einleitung
nur eine Voraussetzung
Werkzeuge
-
-
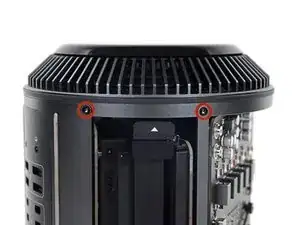
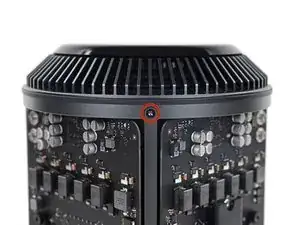
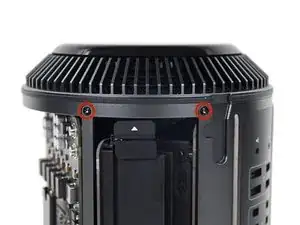
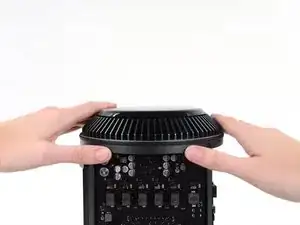
Entferne die fünf 5,1 mm T10 Torx Schrauben, die rund um die Lüftereinheit herum angebracht sind.
-
-
-
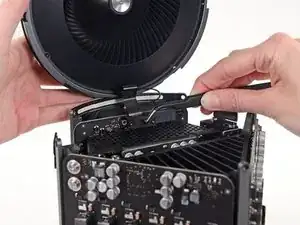
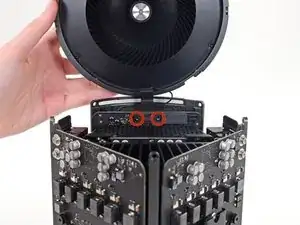
Halte die Lüftereinheit mit einer Hand fest und löse die zwei T8 nicht verlierbaren Schrauben in der Halterung des Lüfterkabels.
-
-
-
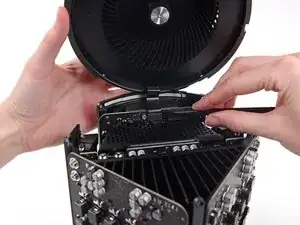
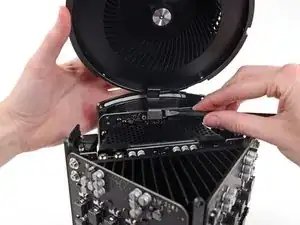
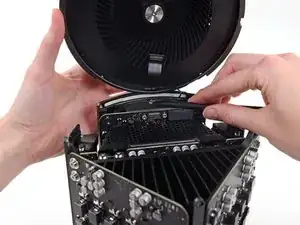
Benutze eine Pinzette, um die Halterung des Lüfterkabels von der Lüftereinheit zu entfernen.
-
-
-
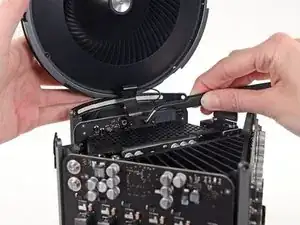
Benutze das flache Ende eines Spudgers, um das Flachbandkabels der Lüftereinheit vom IO board zu trennen.
-
-
-
Entferne das Antennenkabel der Lüftereinheit vom IO board.
-
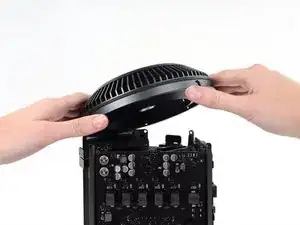
Entferne die Lüftereinheit vom Mac Pro.
-
Abschluss
Folge den Anweisungen in der umgekehrter Reihenfolge, um das Gerät wieder zusammenzusetzen.
You don't have to remove the fan assy to get to the wifi board & card. It can be done with the fan assy still attached.
Fat Mango -
Fat Mango is correct. That said. If you do pull the fan assembly note that the screws are all held in with blue Permatex and breaking them free takes a fair amount of effort. Getting a good set of Torx screwdrivers is a must.
Jim WIlson -
Hey guys, what would happen if you only replace one card.. I have a D300 but the plan is to upgrade to D500 or D600. So If I can afford and install one instead of the pair would it increase something? or will it cause any conflict? I guess I don’t understand if I the Mac Pro has 2 D300 graphic cards that means each has 1GB? Same as If I would Install 1 D600 that would increase 3GB only? Thanks.
marcotamayo -
D300 = 2GB each card. Very few apps uses two cards at the same time.
Gio Cas -
The (5) Screws are Apple part number 923-0713
Steven Gier -