Einleitung

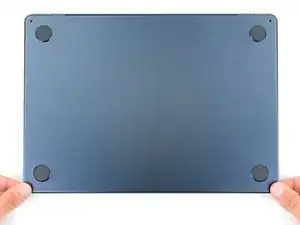
Use this guide to replace the left speaker in your MacBook Air 2022 (M2).

  1. lquDimvZWHVcGkIF
    lquDimvZWHVcGkIF
    MrBPlfJiyDeCh3Xy
    OCFESWwSM6pujQaM
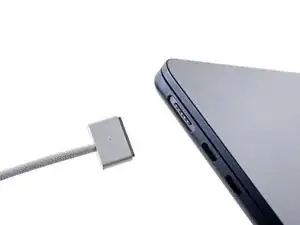
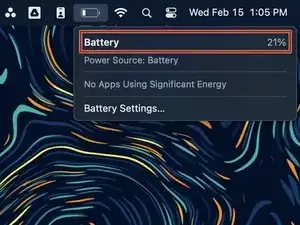
    • Before you begin, discharge your battery below 25%, as a charged lithium-ion battery can be dangerous if accidentally punctured.

    • Power off your MacBook Air and unplug all cables.

    • Close the display and flip the laptop upside down. Keep the lid closed until you've physically disconnected the battery.

  2. UU3OByKvXHdj5Y2H
    UU3OByKvXHdj5Y2H
    IiKX3lhcjAkhlYAf
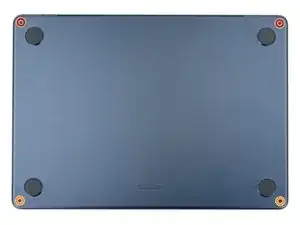
    • Use a P5 Pentalobe driver to remove the four 6.4 mm screws securing the lower case:

    • Two screws with a short threaded portion near the hinges

    • Two screws with a long threaded portion near the front of the MacBook

    • Throughout this repair, keep track of each screw and make sure it goes back exactly where it came from.

  3. dokINhbATeVrKXtr
    dokINhbATeVrKXtr
    TjUylLnpiHfWk2sV
    m6fVPUBtNhtoYYHl
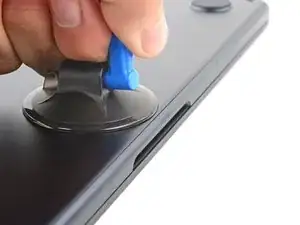
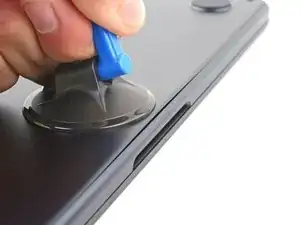
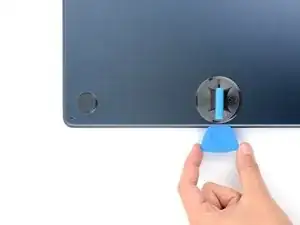
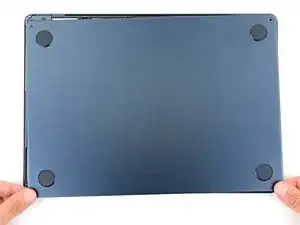
    • Apply a suction handle to the center of the lower case's front edge.

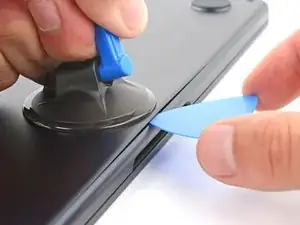
    • Pull up on the suction handle with strong, steady force to create a small gap between the lower case and the frame.

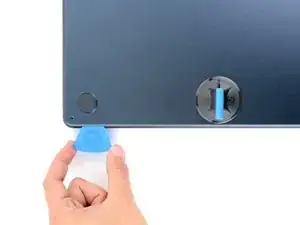
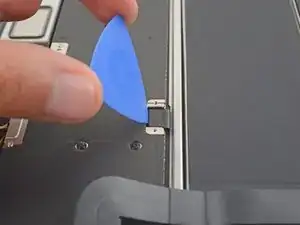
    • Insert an opening pick into the gap.

  4. r1PnvK4dFMUcPiZ6
    r1PnvK4dFMUcPiZ6
    UN3KWFRyx5POUqii
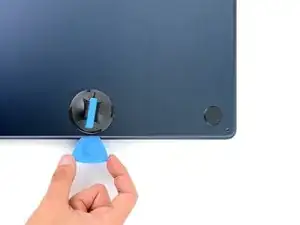
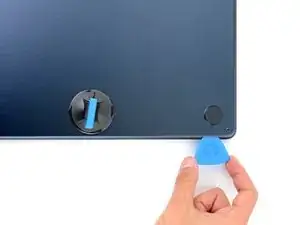
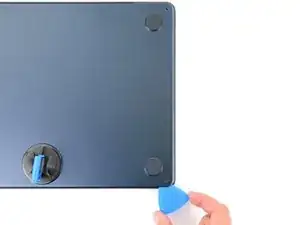
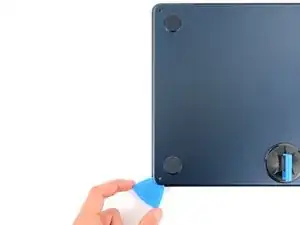
    • During each of the next four steps, you should feel and hear one of four clips pop free. If you don't, insert your pick farther and try again.

    • Slide the opening pick to the bottom right corner to release the first clip.

  5. KMrlRCsbYnMvsCqN
    KMrlRCsbYnMvsCqN
    Dg1ll1M2bPNmSLkK
    An5h56yp4uJiaFdl
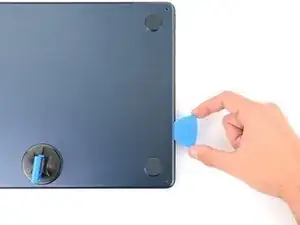
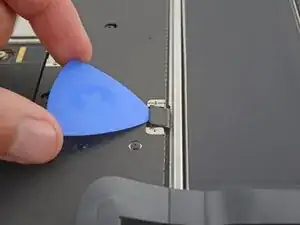
    • Slide the opening pick around the bottom right corner and three quarters of the way up the right edge to release the second clip.

  6. MRa4fHfEoRr5JYMB
    MRa4fHfEoRr5JYMB
    XwX31uUFXvSVQAYu
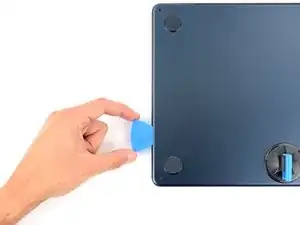
    • Insert the opening pick in the original gap created in the middle of the front edge.

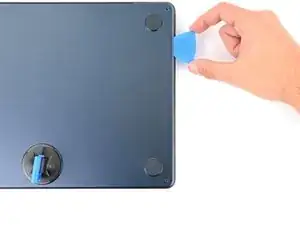
    • Slide the opening pick to the bottom left corner to release the third clip.

  7. BZcYxSnwP3LMtOMu
    BZcYxSnwP3LMtOMu
    ToKEaQbPAPCvXQKB
    kNvutCH2F4W6dDSA
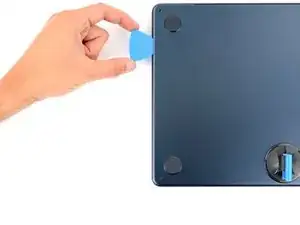
    • Slide the opening pick around the bottom left corner and three quarters of the way up the left edge to release the fourth clip.

  8. JxjCoOqbtL6riXKd
    JxjCoOqbtL6riXKd
    bXZHWpvubTHOOBVP
    AuNBkdMIobCVlYIC
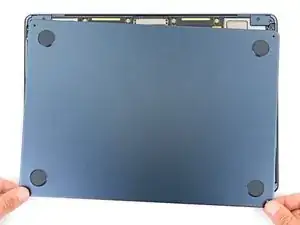
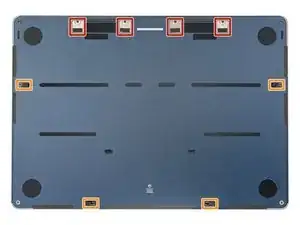
    • Firmly pull the lower case away from the hinges one corner at a time to separate the four locking tabs.

    • Slide the cover—don't pull up.

    • This may require significant force. You should feel the tabs release as they unlock.

  9. FWeRBd2w3tTYyDWB
    FWeRBd2w3tTYyDWB
    dQ1idM13kbRF6NQC
    xiQGlvxvkRYsPqmh
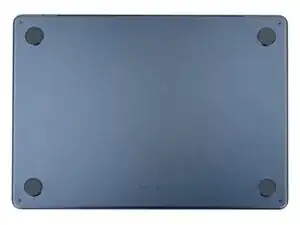
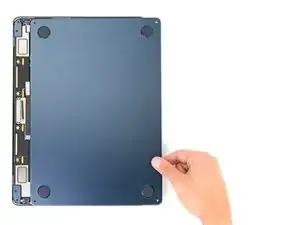
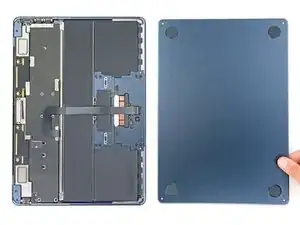
    • Remove the lower case.

    • To reinstall the lower case:

    • Set it in place and align the sliding tabs near the display hinge. Press down and slide the cover toward the hinge. It should stop sliding as the tabs engage.

    • You can see if the tabs engaged by looking under the lower case.

    • When the sliding tabs are fully engaged and the lower case looks correctly aligned, press down firmly to engage the hidden clips underneath. You should hear and feel four distinct clicks as they snap back into place.

  10. DP2BQNffNgdKM1dp
    DP2BQNffNgdKM1dp
    ZNVTusG4UytALFiu
    • Use a T3 Torx driver to remove the two 1.5 mm screws securing the battery connector cover.

    • Due to screw variances, you may need to use a T4 Torx instead. Keep this in mind whenever you encounter T3 Torx screws during this repair.

  11. 2UVCE1lqOt3ViR3I
    2UVCE1lqOt3ViR3I
    JCSnLNLOpWoUBEM2
    • Remove the battery connector cover.

  12. TLUsv2wJrhFsJtLN
    TLUsv2wJrhFsJtLN
    TnjVCuugvheTD3RO
    • Use an opening pick to pry up and disconnect the battery connector.

  13. rA5PlQEJxCAIPlX3
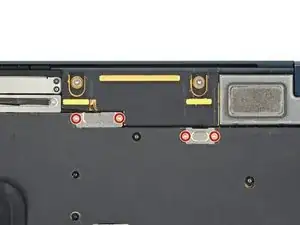
    • The left speaker will be on your right-hand side when working on the MacBook, as it's laying upside down.

    • Use a T3 Torx driver to remove the four 1.5 mm screws securing the left speaker cable covers.

  14. UHDFPYSgH5pHf1Lv
    UHDFPYSgH5pHf1Lv
    UBQNST3uUwN6eTNc
    NA4FCTICKmMBOZLi
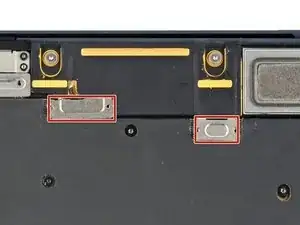
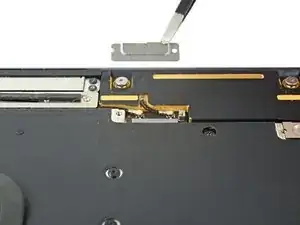
    • Remove the two speaker cable covers.

  15. IN5BulhIwFBSU1FM
    IN5BulhIwFBSU1FM
    TxgAVAGR5Z4lKRLa
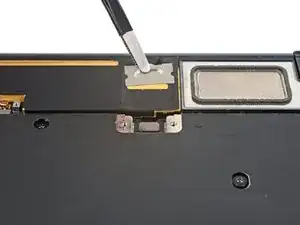
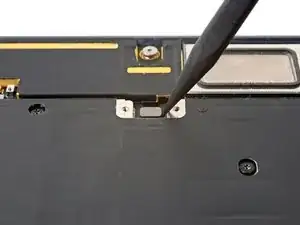
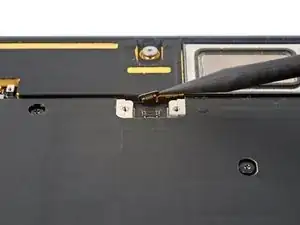
    • Use the pointed end of a spudger to pry up and disconnect the left speaker press connector.

  16. SnUegpEZIfeUdtpx
    SnUegpEZIfeUdtpx
    wHCIYJgjDPIa3fCD
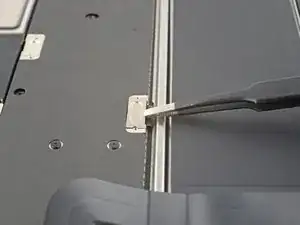
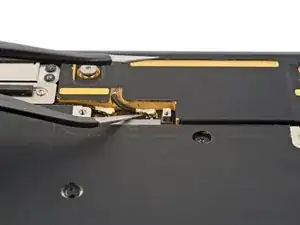
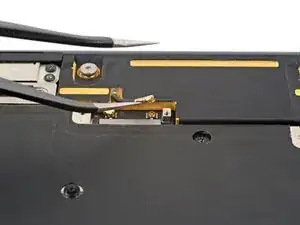
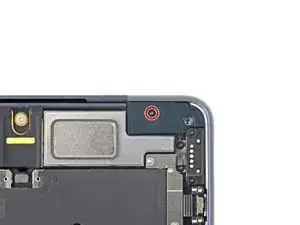
    • Use a pair of tweezers to grip the right antenna connector, as close to its base as possible.

    • Lift straight up to disconnect the cable.

    • The antenna connectors on the logic board are very fragile. When disconnecting the cables, pull straight up—don’t bend them to the side.

    • To reattach antenna connectors like these, align the connector over its socket and press down with the flat end of a spudger. The connector should snap into place. This can be tricky and may take a few tries.

  17. dFhIXCjMstPkgj2q
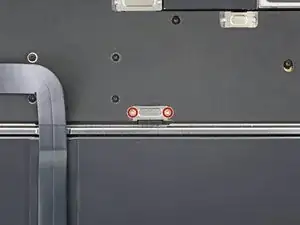
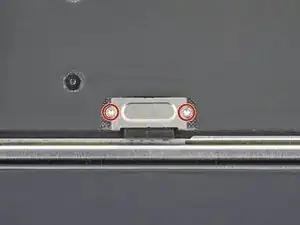
    • Use a T3 Torx driver to remove the 2.6 mm screw securing the right hinge cover.

  18. wuZi6TKRE53rZYgo
    wuZi6TKRE53rZYgo
    wqUnFVdmcZHRaDRn
    NsSnBBnuS5Pg2ZjA
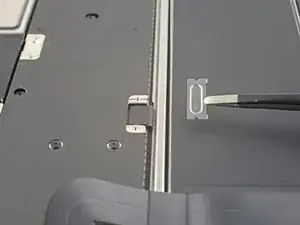
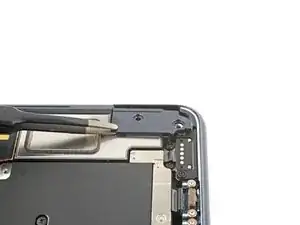
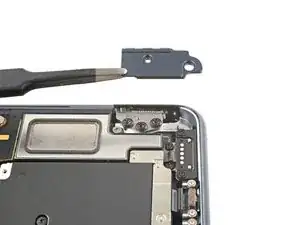
    • Grip the right hinge cover with blunt nose tweezers.

    • Pull the cover toward the bottom of the laptop and upward to free it from its recess.

    • Pull up and remove the hinge cover.

  19. ACwAOwv1tIRhKLJG
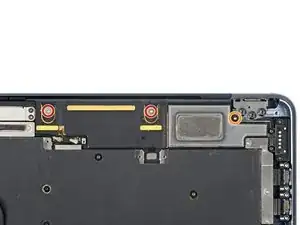
    • Use a T5 Torx driver to remove the three screws securing the left speaker:

    • Two 5.6 mm screws

    • One 3.5 mm screw

  20. hcoQXdVZGhBCJ6cJ
    hcoQXdVZGhBCJ6cJ
    gGSjIVAwqbqAYZTy
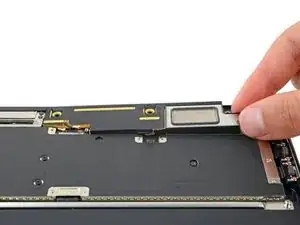
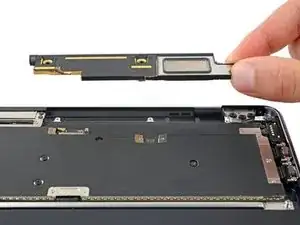
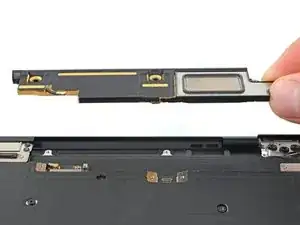
    • Lift the left speaker straight up and remove it.

Abschluss

Compare your new replacement part to the original part—you may need to transfer remaining components or remove adhesive backings from the new part before you install it.

To reassemble your device, follow these instructions in reverse order.

Take your e-waste to an R2 or e-Stewards certified recycler.

Repair didn’t go as planned? Try some basic troubleshooting or check out our Answers community for help.
Spencer Day

Mitglied seit: 14/09/22

17445 Reputation

0 Kommentare