Einleitung
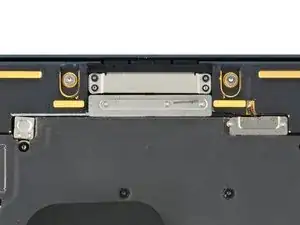
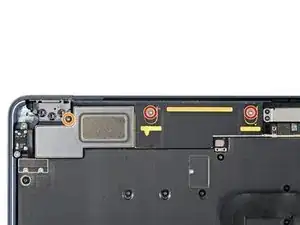
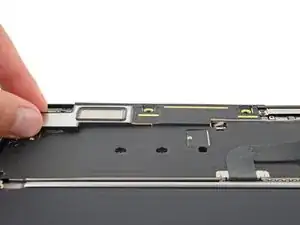
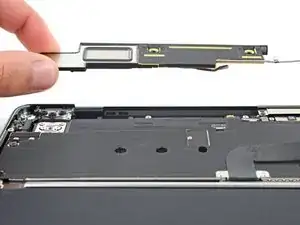
Use this guide to replace the right speaker in your MacBook Air 2022 (M2).
Werkzeuge
-
-
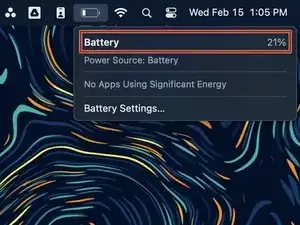
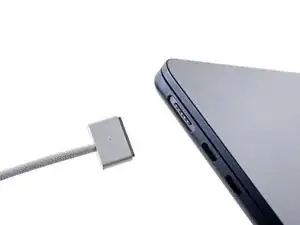
Power off your MacBook Air and unplug all cables.
-
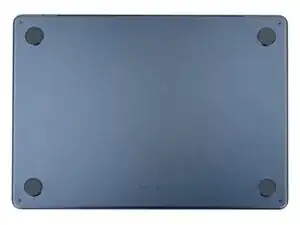
Close the display and flip the laptop upside down. Keep the lid closed until you've physically disconnected the battery.
-
-
-
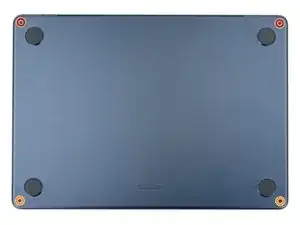
Use a P5 Pentalobe driver to remove the four 6.4 mm screws securing the lower case:
-
Two screws with a short threaded portion near the hinges
-
Two screws with a long threaded portion near the front of the MacBook
-
-
-
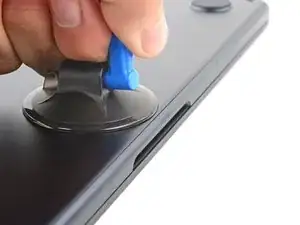
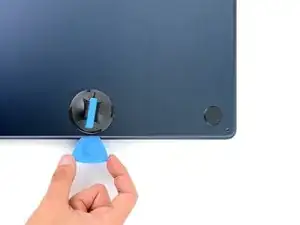
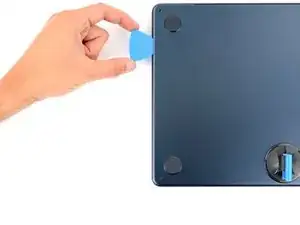
Apply a suction handle to the center of the lower case's front edge.
-
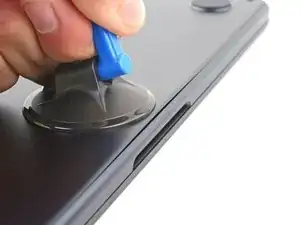
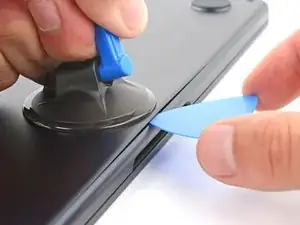
Pull up on the suction handle with strong, steady force to create a small gap between the lower case and the frame.
-
Insert an opening pick into the gap.
-
-
-
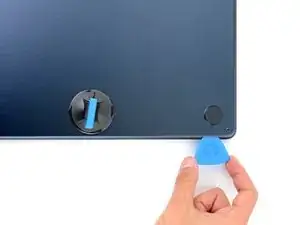
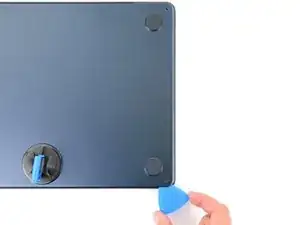
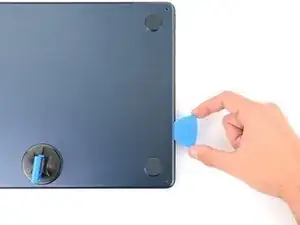
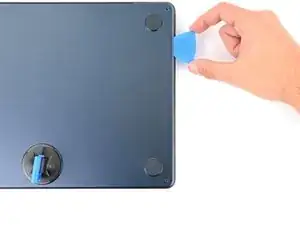
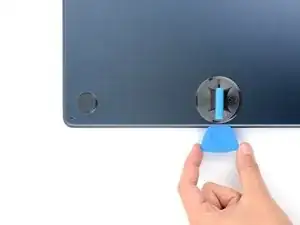
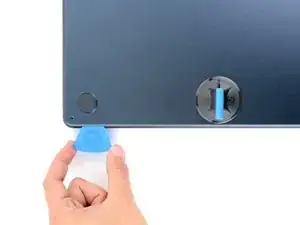
Slide the opening pick around the bottom right corner and three quarters of the way up the right edge to release the second clip.
-
-
-
Insert the opening pick in the original gap created in the middle of the front edge.
-
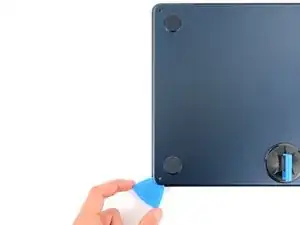
Slide the opening pick to the bottom left corner to release the third clip.
-
-
-
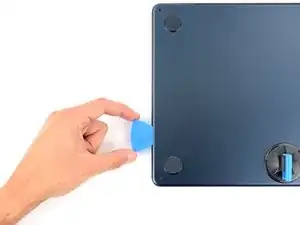
Slide the opening pick around the bottom left corner and three quarters of the way up the left edge to release the fourth clip.
-
-
-
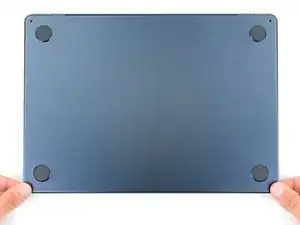
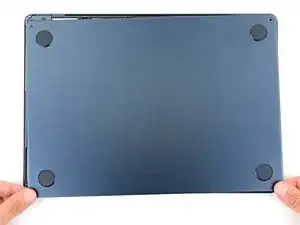
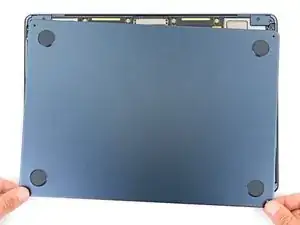
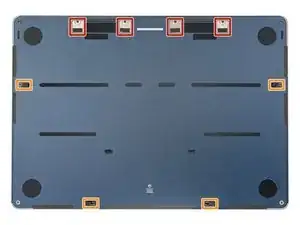
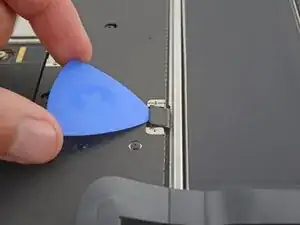
Firmly pull the lower case away from the hinges one corner at a time to separate the four locking tabs.
-
-
-
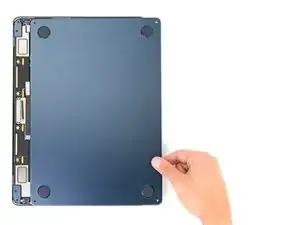
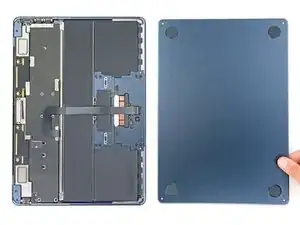
Remove the lower case.
-
Set it in place and align the sliding tabs near the display hinge. Press down and slide the cover toward the hinge. It should stop sliding as the tabs engage.
-
When the sliding tabs are fully engaged and the lower case looks correctly aligned, press down firmly to engage the hidden clips underneath. You should hear and feel four distinct clicks as they snap back into place.
-
-
-
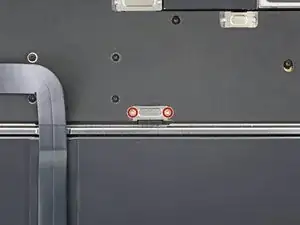
Use a T3 Torx driver to remove the two 1.5 mm screws securing the battery connector cover.
-
-
-
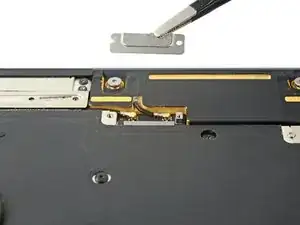
Peel up and remove the foam pad from the lower display cable cover to reveal a hidden screw.
-
-
-
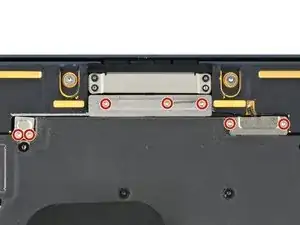
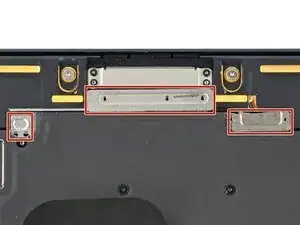
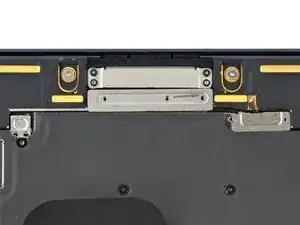
Use a T3 Torx driver to remove the seven 1.5 mm screws securing the speaker cable covers.
-
-
-
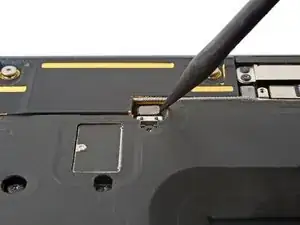
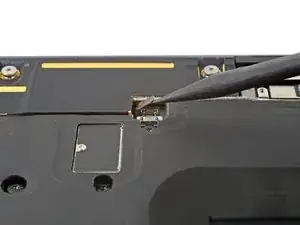
Use the pointed end of a spudger to pry up and disconnect the right speaker press connector.
-
-
-
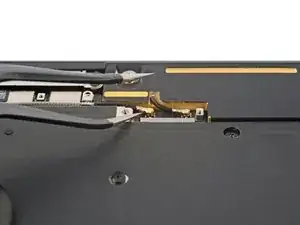
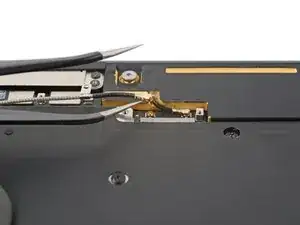
Use a pair of tweezers to grip the left antenna connector, as close to its base as possible.
-
Lift straight up to disconnect the cable.
-
-
-
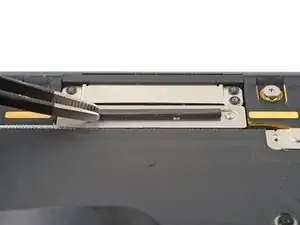
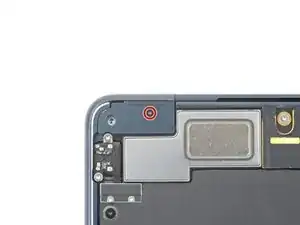
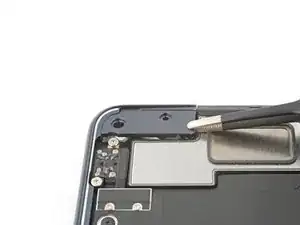
Grip the left hinge cover with blunt nose tweezers.
-
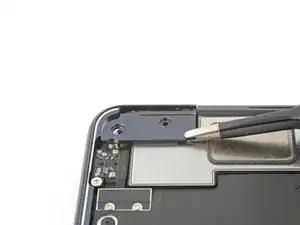
Pull the cover toward the bottom of the laptop and upward to free it from its recess.
-
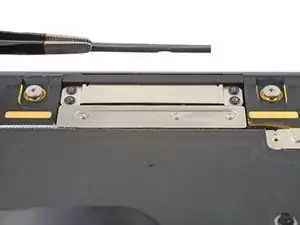
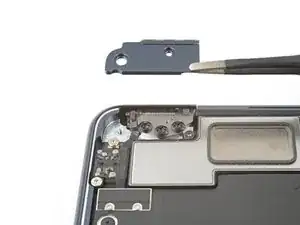
Pull up and remove the hinge cover.
-
-
-
Use a T5 Torx driver to remove the three screws securing the right speaker:
-
Two 5.6 mm screws
-
One 3.5 mm screw
-
Compare your new replacement part to the original part—you may need to transfer remaining components or remove adhesive backings from the new part before you install it.
To reassemble your device, follow these instructions in reverse order.
Take your e-waste to an R2 or e-Stewards certified recycler.
Repair didn’t go as planned? Try some basic troubleshooting or check out our Answers community for help.

