Einleitung
In dieser Anleitung zeigen wir dir, wie du den linken Lautsprecher ersetzen kannst.
Werkzeuge
Ersatzteile
-
-
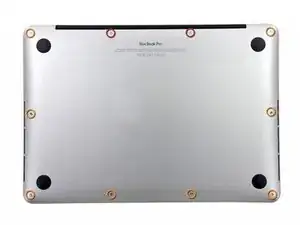
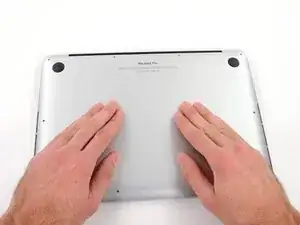
Entferne die folgenden zehn Schrauben, mit denen das untere Gehäuse am oberen Gehäuse befestigt ist:
-
Zwei 2,3 mm P5 Pentalobe Schrauben
-
Acht 3,0 mm P5 Pentalobe Schrauben
-
-
-
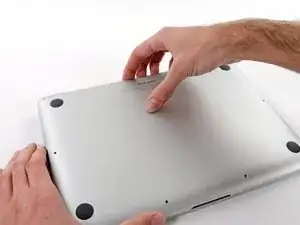
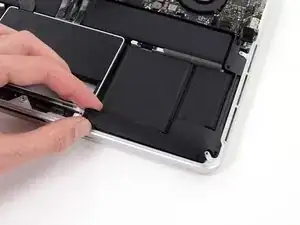
Versuche mit den Fingern zwischen das obere und das untere Gehäuse zu kommen.
-
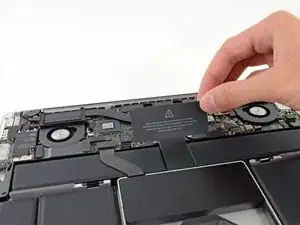
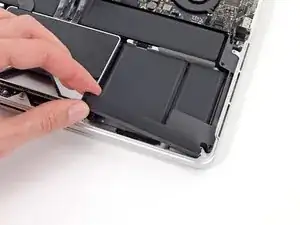
Ziehe das untere Gehäuse behutsam vom Oberen weg.
-
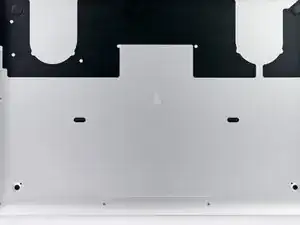
Entferne das untere Gehäuse und lege es zur Seite.
-
-
-
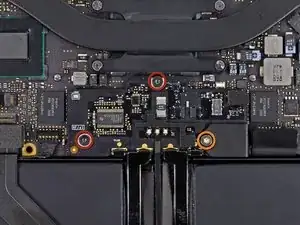
Entferne die folgenden Schrauben, mit denen die Platine des Akkuanschlusses am Logic Board befestigt ist:
-
Zwei 2,8 mm T6 Torx Schrauben
-
Eine 7,0 mm T6 Torx Paß-Schulterschraube
-
-
-
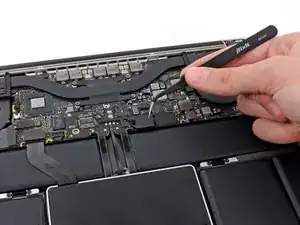
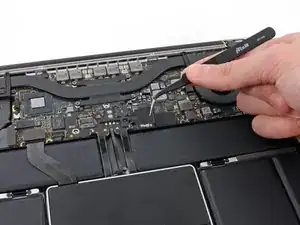
Mit einer Pinzette kannst du die Plastikabdeckung rechts an der Platine des Akkuanschlusses entfernen.
-
-
-
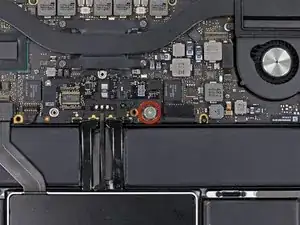
Entferne die 6,4 mm T6 Torx Breitkopfschraube, mit der die Platine des Akkuanschlusses am Logic Board befestigt ist.
-
-
-
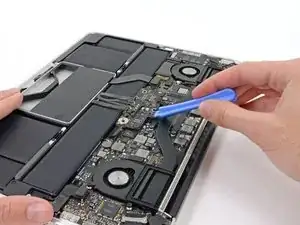
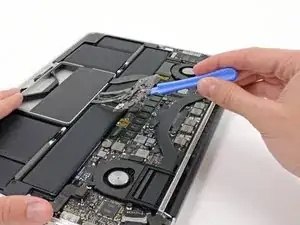
Ziehe die Platine des Akkuanschlusses vorsichtig vom Logic Board ab.
-
Es empfiehlt sich, die Batteriekabel nur leicht zu biegen, um die Platine über dem Logic Board und aus dem Weg zu halten.
-
-
-
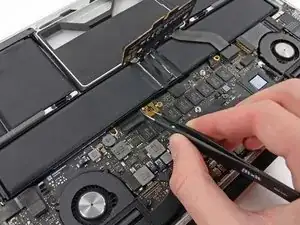
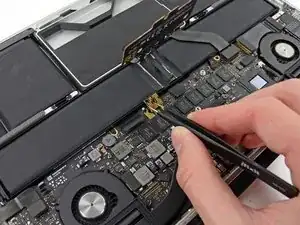
Schnapp dir den Interposer mit einer Pinzette.
-
Hebe den Interposer aus dem Logic Board heraus und entferne ihn.
-
-
-
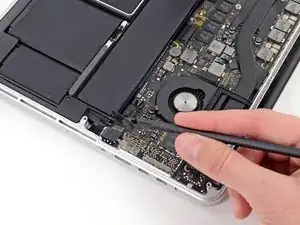
Heble das Kopfhöreranschlusskabel mit dem flachen Ende eines Spudgers aus seiner Buchse auf dem Logic Board.
-
-
-
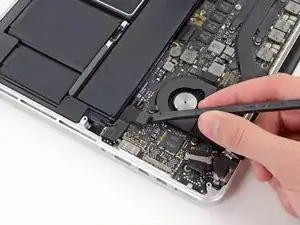
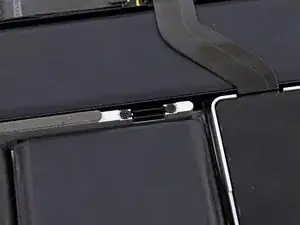
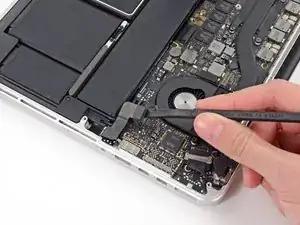
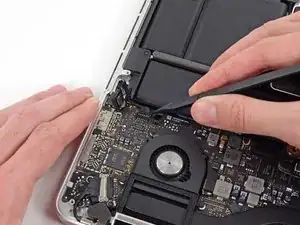
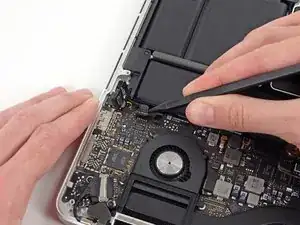
Führe die Spitze eines Spudgers unter den Kabelstecker des linken Lautsprechers.
-
Heble den Kabelstecker des linken Lautsprechers vorsichtig aus seiner Buchse auf dem Logic Board.
-
-
-
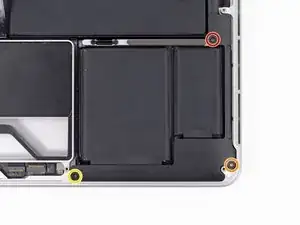
Entferne die folgenden Torx T5 Schrauben, die den linken Lautsprecher am oberen Gehäuse befestigen:
-
Eine schwarze 6,8 mm Schraube
-
Eine silberfarbene 6,3 mm Schraube
-
Eine schwarze 4,9 mm Schraube
-
Arbeite die Schritte in umgekehrter Reihenfolge ab, um dein Gerät wieder zusammenzubauen.
5 Kommentare
Rats:
"Wedge the tip of a spudger beneath the left speaker cable connector.
Gently pry the left speaker cable connector up off from its socket on the logic board.
Be sure you are prying up on the connector, not the socket itself."
I accidentally pried up on the socket, which looks like it was soldered to the board. Left speaker doesn't work, of course. I assume there is no fix for this, other than replacing the board??
Thank you very much for the walkthrough. No problems to follow at all. Everything worked as a charm. Changed both speakers as per your other guide.
I was able to follow the steps exactly as described without damaging anything. Patience is the key.
Max Max -

If don’t have one of those neat project mats, then you can use small pieces of flattened blu-tack to hold the screws. If you arrange them in the shape of your mac book cover, and put the screws down methodically, you can get a one-to-one mapping of the screws to the correct screw holes.
Toby Thurston -
Or you can use an ice tray where you put the screws and the parts in separate bays in the same order as they come in the instructions.
timofej.se -
This is great! I used a small magnetic white board, and wrote on it to identify the parts as I went. This whole process, from the fast shipment to the great instructions to the complete, high quality, tool kit has been great. I’m typing this comment on my resurrected laptop. Thank you! Sue
Susan Greer -