Einleitung
Werkzeuge
-
-
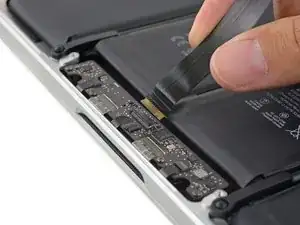
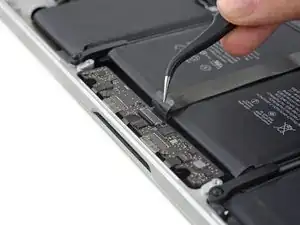
Trenne den Trackpad Anschluss von seiner Buchse auf dem Logic Board mit dem flachen Ende eines Spudgers.
-
-
-
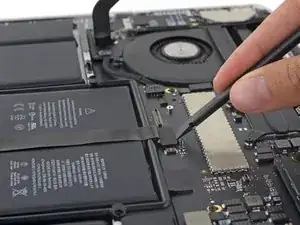
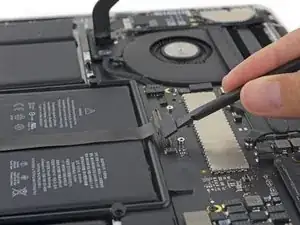
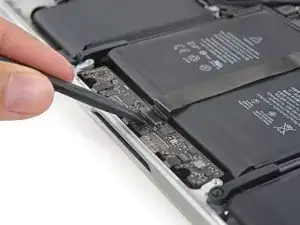
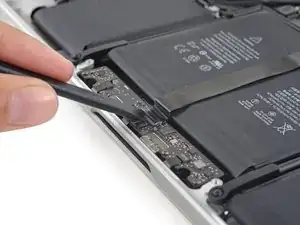
Mit dem Ende eines Spudgers kannst du nun die Haltelasche des ZIF-Anschlusses hochklappen.
-
-
-
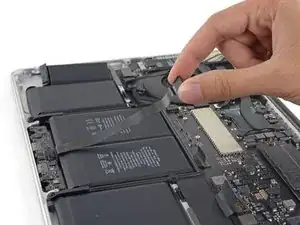
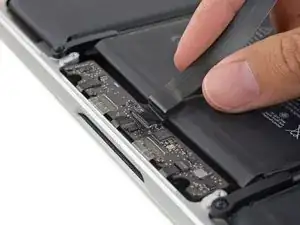
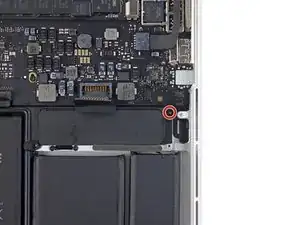
Entferne die einzelne 3,7 mm T5 Torx Schraube, mit der das Akku Board am oberen Gehäuse befestigt ist.
-


Abschluss
Arbeite die Schritte in umgekehrter Reihenfolge ab, um dein Gerät wieder zusammenzubauen.

3 Kommentare
Why remove the screw in step 5?
Step 5: Remove the single 3.7 mm T5 Torx screw.
Step 6: Re-screw single 3.7 mm T5 Torx screw.
The trackpad cable can also be of a different type where you pull the tape on it
Rogier van der Heide -
If you are replacing an old battery with a new battery, and the trackpad cable goes “under” the battery from the trackpad connector to the other side of it (instead of the trackpad cable going “over” the battery from its trackpad connector as shown in the provided image), then you might instead see a trackpad connector that has a loose tape on it. If the trackpad cable goes “under” the battery then it is possible to skip this step. It is not necessary to pull the tape. Note that I had an A1502 MacBook Pro laptop and was replacing its A1493 battery, it had the trackpad cable going “under” the battery, so I skipped this step and was still able to successfully replace the battery.
Luke Schoen -