Einleitung
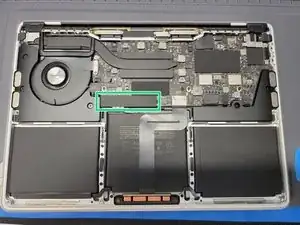
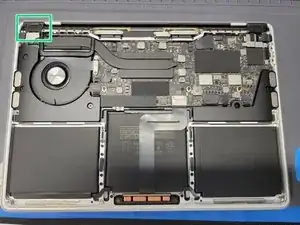
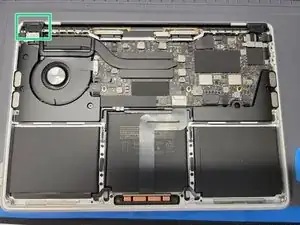
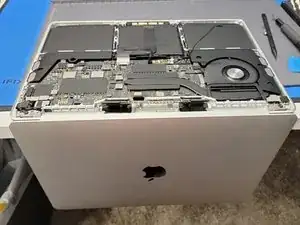
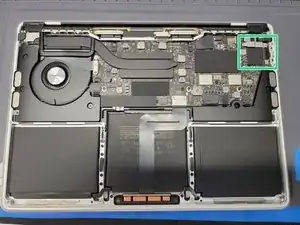
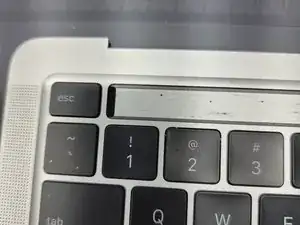
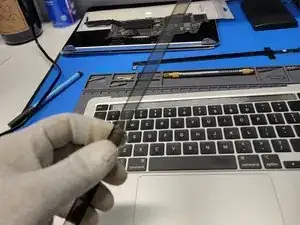
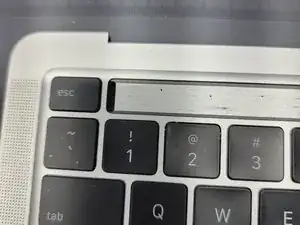
Use this guide to replace a touchbar on an A2289 Macbook Pro 13" Mid 2020.
Be mindful to keep all screws and brackets organized. This will keep from damaging sensitive components by accidently screwing the wrong size screw in.
Werkzeuge
Ersatzteile
-
-
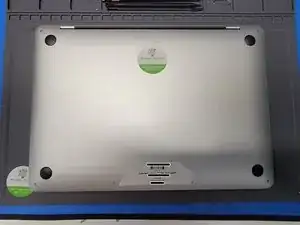
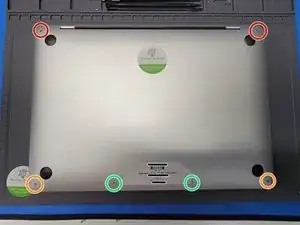
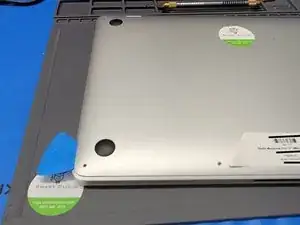
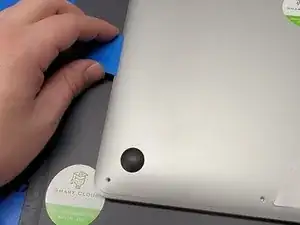
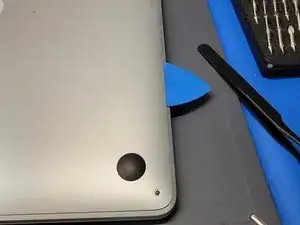
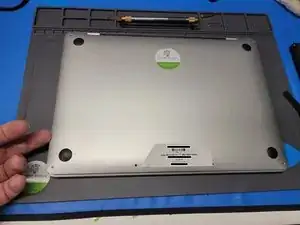
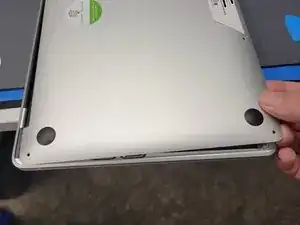
To begin, we will need to remove 6 total screws
-
2x 6.9mm Pentalobe P5
-
2x 5.5mm Pentalobe P5
-
2x 3.5mm Pentalobe P5
-
-
-
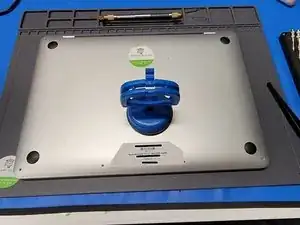
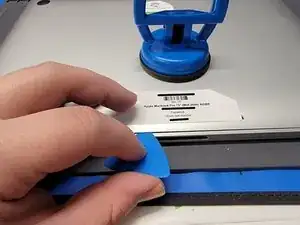
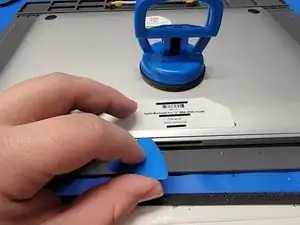
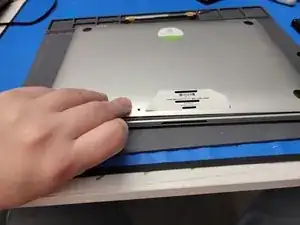
After the screws are removed, grab a suction cup. We used iFixit's Heavy Duty Suction cup.
-
Place the suction cup towards the bottom of the Macbook
-
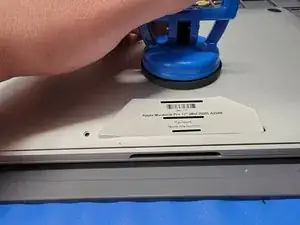
Pull up on the suction cup; Creating about 0.15in worth of space from the panel and the Macbook.
-
-
-
While creating the gap between the Macbook and the back panel, insert an opening pick into the gap about 0.2in.
-
Move the pick towards the left side of the Macbook and around the corner edge.
-
Bring the pick up towards the top of the Macbook
-
Once you reach about the middle of the Macbook, you should hear a click. This is good! You have now unhooked part of the back panel.
-
-
-
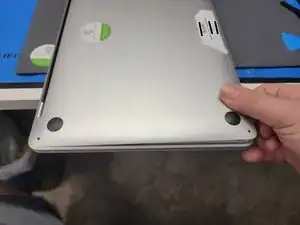
Insert your fingers in-between the back panel and Macbook and pry upwards to unhook the middle hook keeping the back panel connected to the Macbook
-
-
-
Grip the back panel with one hand
-
Grip the Macbook with the other hand
-
And pull the left side of the back panel AWAY from the HINGE side of the Macbook
-
Repeat this with the right side of the Macbook
-
-
-
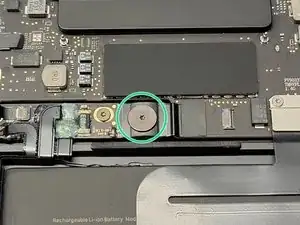
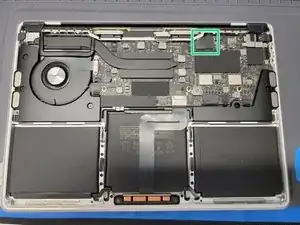
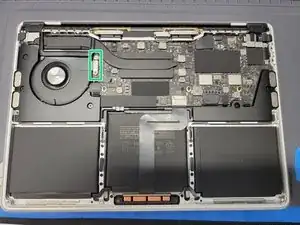
Locate the small flex cable covering the battery terminal
-
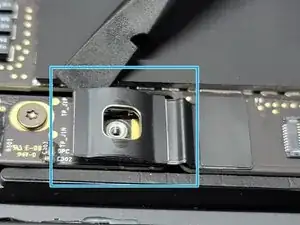
Take a pair of tweezers in one hand and pull up on the plastic flap
-
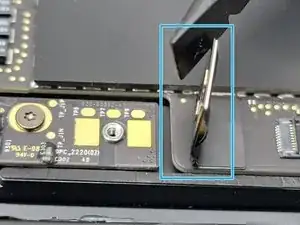
Take the hook end of a Halberd Spudger in the other hand and gently pry up the retaining flap on the battery cable ZIF socket
-
-
-
Remove the 3.8mm Torx T5 screw from the battery connector
-
Take the flat end of a spudger and pry up the battery connector to a 90° angle
-
-
-
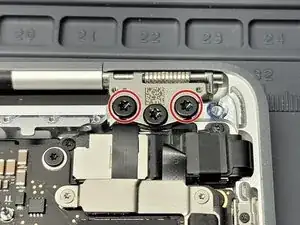
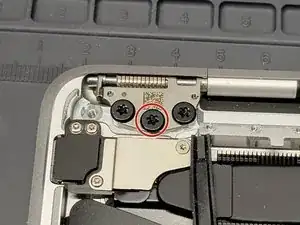
Locate the left hinge cover
-
Remove 2x 2mm Torx T3 screws securing the hinge cover to the Macbook
-
Take a pair of tweezers and remove the hinge cover
-
-
-
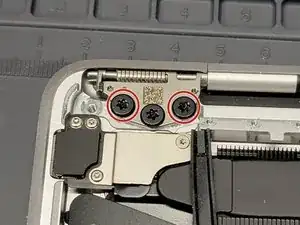
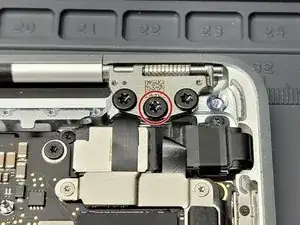
Locate the right hinge cover
-
Remove 2x 2mm Torx T3 screws securing the hinge cover to the Macbook
-
Take a pair of tweezers and remove the hinge cover
-
-
-
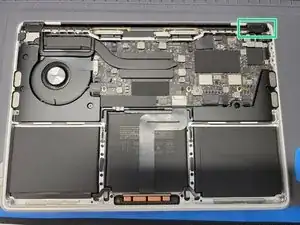
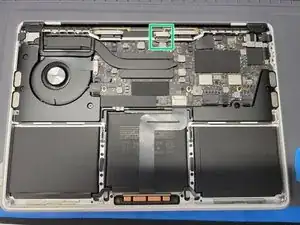
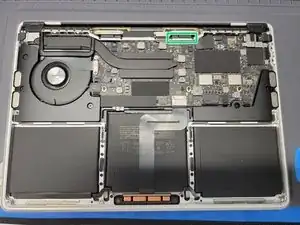
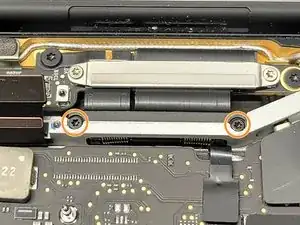
Locate your LCD flex cable towards the top of the Macbook
-
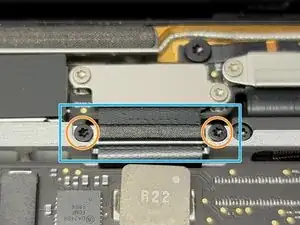
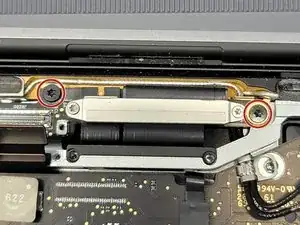
Locate the bottom cover plate
-
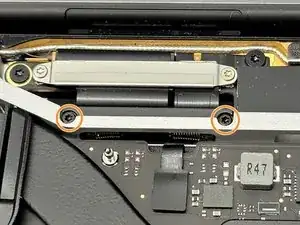
Remove 2x 3.2mm Torx T3 screws securing the bottom cover plate to the MacBook
-
Take a pair of tweezers and remove the brackets
-
-
-
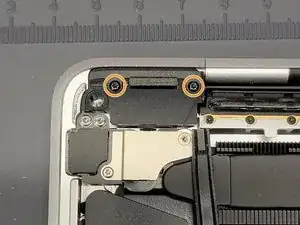
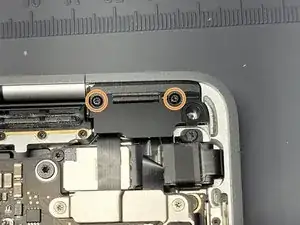
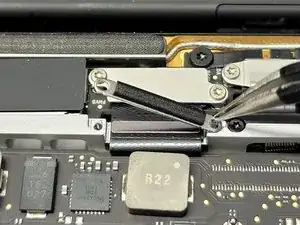
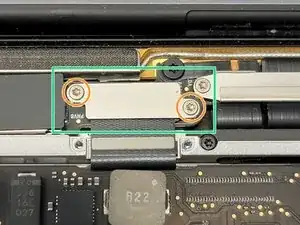
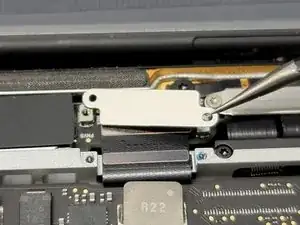
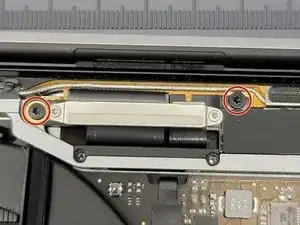
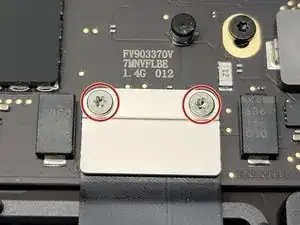
Locate the top cover plate of the LCD flex cable
-
Remove 2x 1.8mm Torx T3 screws securing the top cover plate to the Macbook
-
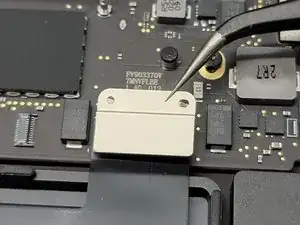
Take a pair of tweezers and remove the now free cover plate
-
-
-
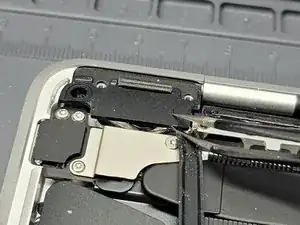
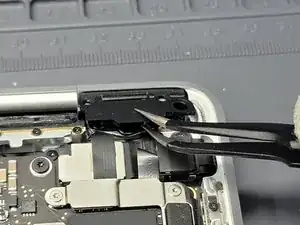
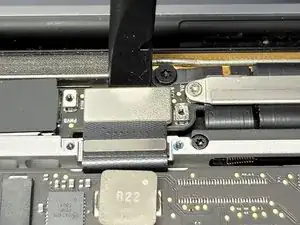
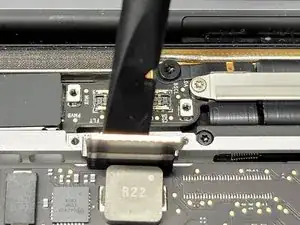
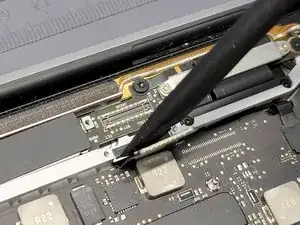
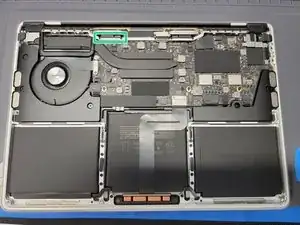
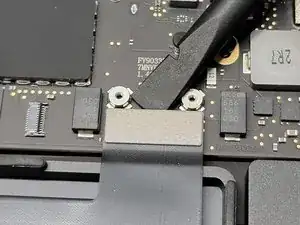
Take the flat end of a spudger and gently pry up the LCD flex cable from its port
-
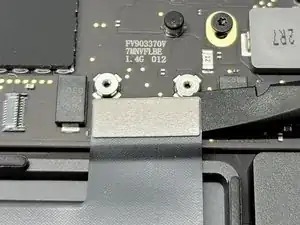
Lift LCD flex cable up and away from the Macbook
-
-
-
Locate the left LCD screen spring
-
Remove 2x 4.1mm Torx T3 screws securing the spring to the MacBook
-
-
-
Locate the right LCD screen spring
-
Remove 2x 4.1mm Torx T3 screws securing the spring to the MacBook
-
-
-
-
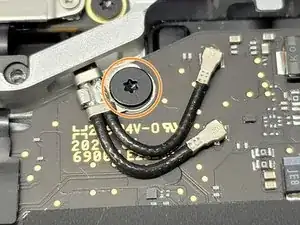
Locate the antenna towards the top of the Macbook
-
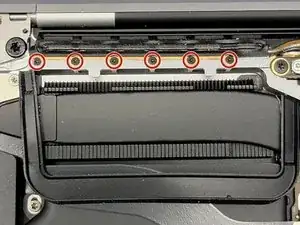
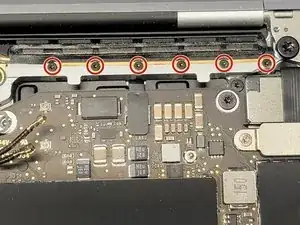
Remove 12x 1.2mm Pentalobe P2 screws securing the antenna to the MacBook
-
-
-
Locate the LCD board towards the top of the Macbook
-
Remove 4x 3.4mm Torx T5 screws securing the LCD board to the MacBook and to the antenna
-
-
-
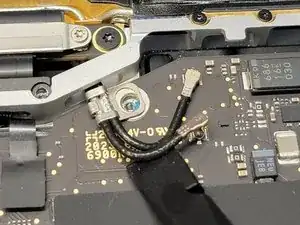
You should now be able to remove the antenna from the Macbook.
-
Gently pry & pull away the antenna cable from the Macbook while routing it's cable through their hole. Take care here, as the antenna sockets can be ripped from the board easily.
-
-
-
Locate the left LCD screen hinge
-
Remove 2x 4.5mm Torx T9 screws that secure the hinge to the MacBook
-
-
-
Locate the right LCD screen hinge
-
Remove 2x 4.5mm Torx T9 screws that secure the hinge to the MacBook
-
-
-
Place MacBook at the edge of your work bench and let the screen overhang
-
Locate and remove the remaining 2x 4.5mm Torx T9 screws securing the 2 hinges to the MacBook
-
-
-
Bend the LCD screen slightly towards you
-
Gently pry up the LCD screen from the Macbook, while guiding the hinges out of their divots
-
-
-
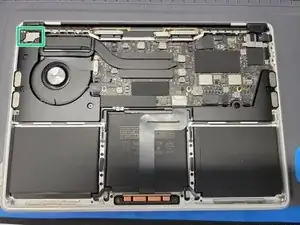
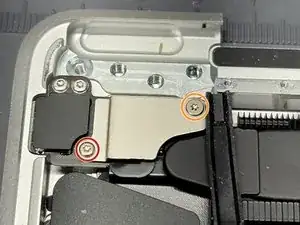
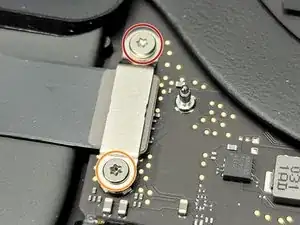
Locate the power button flex cable bracket towards the top left of the MacBook
-
Remove 2x screws securing the bracket to the MacBook
-
1x 5mm Torx T3 Screw
-
1x 1.4mm Torx T3 Screw
-
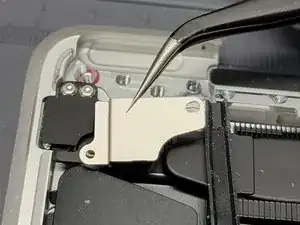
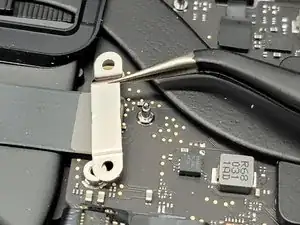
Take a pair of tweezers and remove the bracket
-
-
-
Locate the trackpad's flex cable bracket towards the middle of the Macbook
-
Remove 2x 1.9mm Torx T5 screws securing the bracket to the Macbook
-
Then take a pair of tweezers and remove the bracket
-
-
-
Locate the right speaker flex cable bracket
-
Remove 2x screws securing the bracket down to the Logic Board
-
1x 3.7mm Torx T5
-
1x 2.6mm Torx T5
-
Take a pair of tweezers and remove the bracket
-
-
-
Locate the left speaker and touch bar bracket
-
Remove 3x 1.4mm Torx T3 screws from the bracket
-
Take a pair of tweezers and remove the bracket
-
-
-
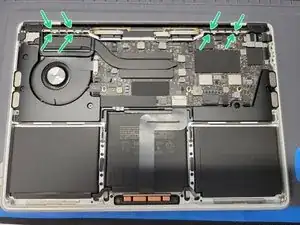
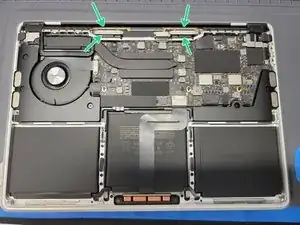
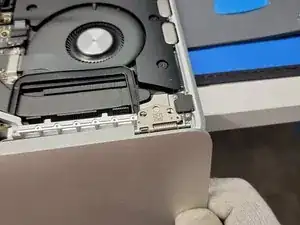
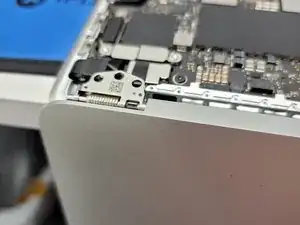
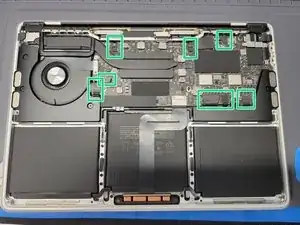
Locate 8x flex cables connected the logic board
-
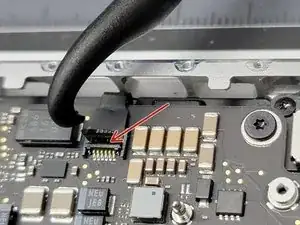
For each flex cable, pull up on their plastic flap with a pair of tweezers
-
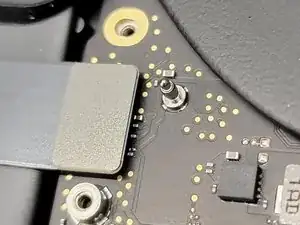
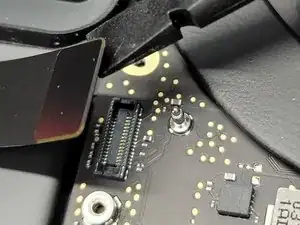
Take the hook end of a Halberd Spudger and gently pry up the retaining flap on the ZIF socket of each cable
-
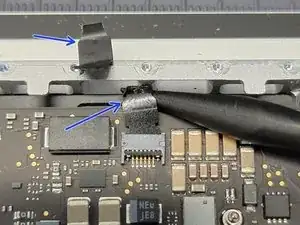
Take your tweezers and pull on the plastic cover to pull each cable away from the ZIF socket to remove the flex cable from it's socket
-
If any of the plastic flaps break off don't worry! You can use a combination of your spudger and tweezers to gently pull out the flex cable from it's respective socket
-
-
-
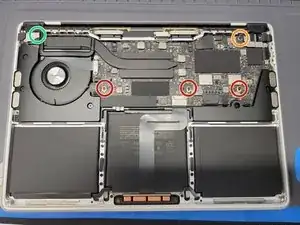
Locate and remove 5x Logic Board Screws
-
3x 3.4mm Torx T5 screws
-
1x 3.6mm Torx T5 stepped screw
-
1x 3.3mm hex standoff (3mm drive)
-
During Reassembly: It may be difficult to screw the top left logic board standoff back in. If you are finding it hard to do this, take the 1.4mm screw that we removed to remove the power button bracket and screw it into the top left logic board standoff. Afterwards, take the now "cyborg" screw and screw it into the logic board.
-
-
-
Take the hook end of your Halberd Spudger and gently pry up the top left corner of the logic board
-
Now remove the logic board from the Macbook
-
-
-
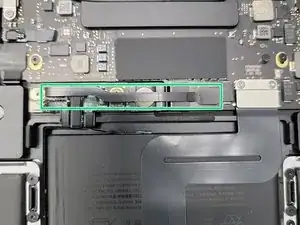
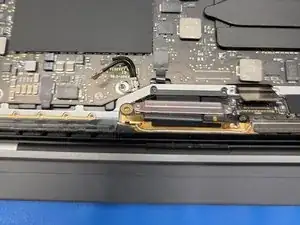
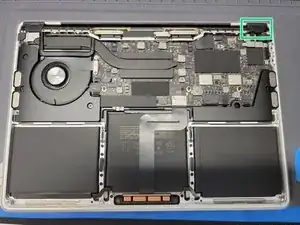
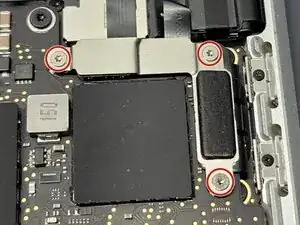
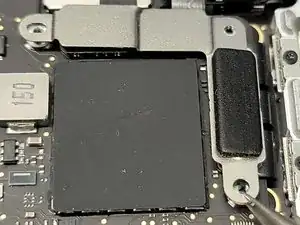
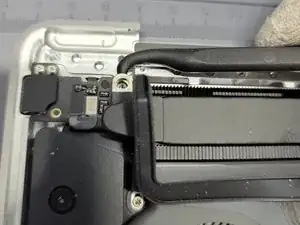
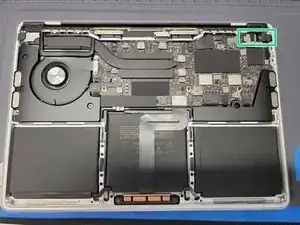
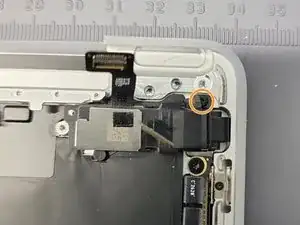
Locate the touchbar flex cable mess towards the top right of the Macbook
-
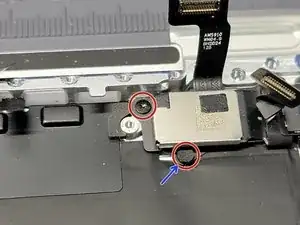
You will be removing a total of 3 screws to release this cabled mess from the frame
-
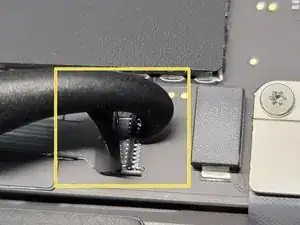
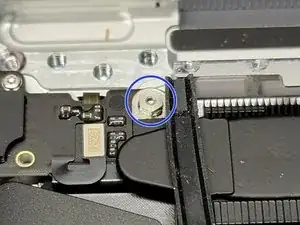
2x 2.4mm
-
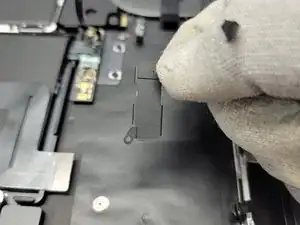
One of these are "hidden" by a small pad. Take a pair of tweezers and remove this pad to access the screw head
-
1x 1.7mm
-
-
-
These brackets that keep the cabled mess down and attached to the frame are adhered to the cabling
-
Remove these brackets from the flex cabling mess
-
-
-
There are 2 methods that we can take towards removing this annoying touchbar. We went ahead and performed what we thing is the harder method.
-
Method 1: Take 2 tweezers or handles and wrap very thin wire around them. Then pull the wire underneath the touchbar LCD gently while being careful not to damage the keyboard
-
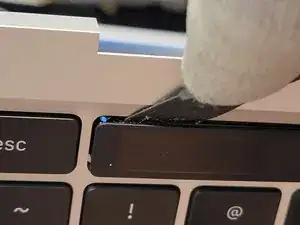
Method 2: What we did. Remove the touchbar digitizer first by prying it up and off the touchbar LCD. Then use a combination Adhesive Remover and a Technician's Razor Set to remove the touchbar LCD.
-
-
-
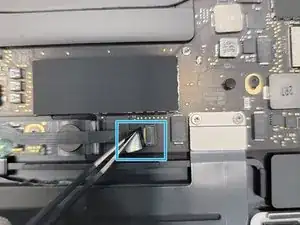
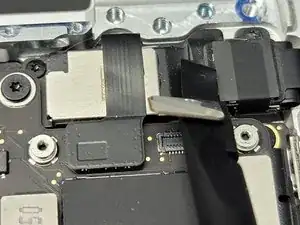
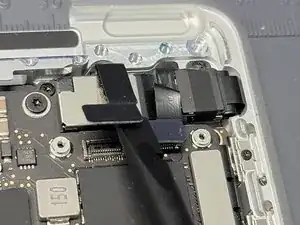
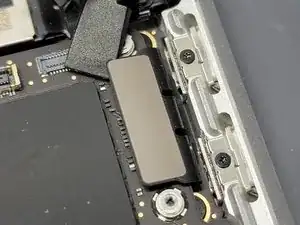
Take a Halberd Spudger and insert the knife end right underneath the plastic of the digitizer
-
Run the Halberd Spudger along the edge of the touchbar digitizer
-
The digitizer should separate surprisingly easy.
-
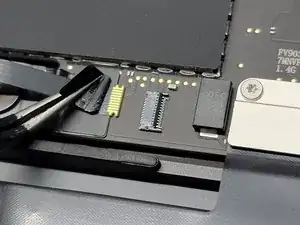
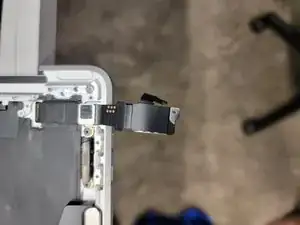
Feed the Touchbar digitizer cable through the hole and remove the digitizer
-
To reassemble your device, follow these instructions in reverse order. Follow this guide to reinstall the new touchbar properly.
We here at Smart Cloud hope your project goes smoothly and without a hitch. However, things happen and we want to make sure you know we are here to help if needed. You may contact us if needed as we can provide support or repair options per request. Good luck and have fun.
3 Kommentare
Bonjour, excellent tuto. Bien réalisé grâce aux outils MAKO de ifixit.
Etape 31, il faut utiliser T5. Les 3 vis n'ont pas toutes la même longueur.
J'ai cassé un connecteur sur la carte : est ce que je peux mettre de la colle chaude pour tenir la nappe ?
Encore merci pour cette précieuse aide
Nize -
Hello, What is the connector of the photo 20210430_142817.jpg? I broke it :-((. Since the reassembly, the microphone and the backlight of the keyboard do not work : how to fix them? in advance thank you for your help - Best regards Nize
Nize -
This guide saved the data on a 2020 M1 MacBook Pro 2hrs after falling into a bathtub. Thank you!
MotorMac -
