Einleitung
Grundständige Anleitung. Hier wird beschrieben, wie an den MacBook Pro Retina A1425, A1502'' und A1398 die Gummifüße ausgetauscht werden können. Wenn du ausführlichere Anleitungen inklusive dem Ausbau des unteren Gehäuseteils suchst, findest du diese bei den einzelnen MacBook Pro Geräteseiten.
Werkzeuge
Ersatzteile
-
-
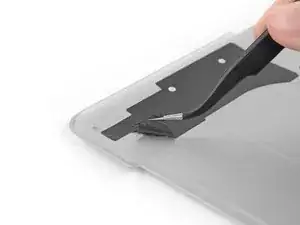
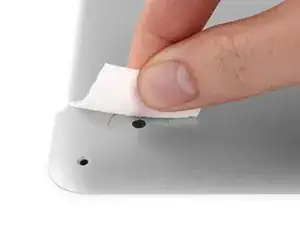
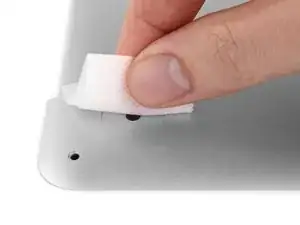
Ziehe alle Aufkleber von den Füßen, die du ersetzen willst, auf der Rückseite des Rückgehäuses ab.
-
-
-
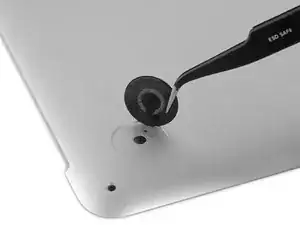
Entferne alle kaputten oder beschädigten Füße.
-
Wenn sich der Fuß nur schwer entfernen lässt, dann kannst du die Stelle mit einem Haartrockner oder einem Heißluftgebläse erwärmen und den Kleber lösen.
-
-
-
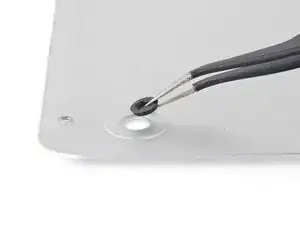
Reibe die Vertiefung für den Fuß mit einem Klebstoffentferner ab und entferne alle Klebstoffreste.
-
-
-
Wische die Vertiefung für den Fuß mit einem mit Isopropylalkohol getränkten Pad aus, so dass wirklich alle Klebstoffreste beseitigt sind und die Klebestelle gut vorbereitet ist.
-
-
-
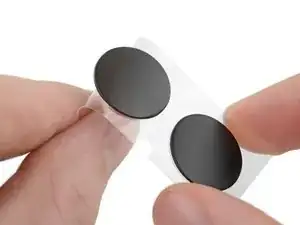
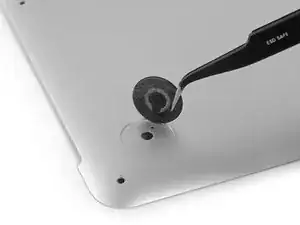
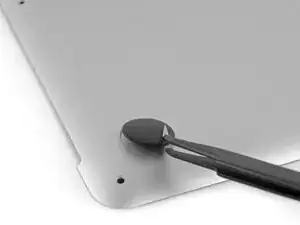
Richte den neuen Fuß genau in der Vertiefung aus.
-
Drücke den Fuß immer noch exakt ausgerichtet nach unten.
-
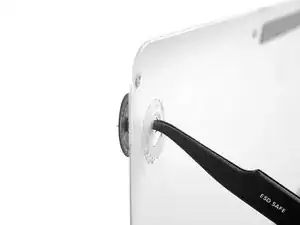
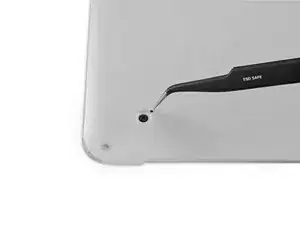
Überprüfe von der Gehäuseinnenseite her, ob der Fuß wirklich richtig sitzt. Die kleine Noppe muss von innen ein wenig in dem Führungsloch sichtbar sein.
-
-
-
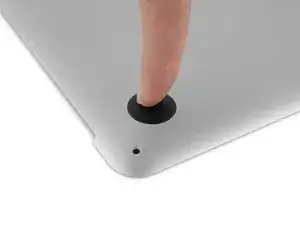
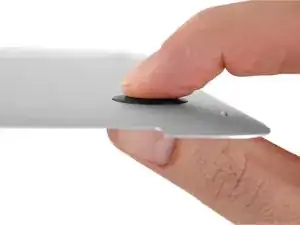
Drücke den neuen Fuß mit dem Finger fest. Drücke ihn dann noch kräftig an, indem du den Fuß von jeder Gehäuseseite her zwischen Zeigefinger und Daumen zusammenpresst.
-
Halte diesen Druck 30 Sekunden lang an, so dass der Kleber durch den Druck fest wird.
-
Wiederhole die letzten sieben Schritte für alle Füße, die ausgetauscht werden müssen.
-
Um dein Gerät wieder zusammenzusetzen, folge den Schritten in umgekehrter Reihenfolge.


If you take an exact knife or similar and trace out a section around the feet, you can leave the rest of the sticker in tact. I found it easier to remove a small section of the sticker as it was fairly well adhered.
Stephen Chan -
@Stephan Chan - Your suggestion was perfect. Cutting away the small section of sticker where the feet go is definitely the way to do it.
seattlehudson -
I agree with you @gusto5 (Stephen Chan) - cutting out a small circle in the sticker with a craft knife is much easier. Just to be on the safe side, since it did expose a little of the aluminum of the case, after I’d stuck the replacement foot and held it in place for 30 seconds, I put a small piece of Scotch tape over the hole I’d cut in the sticker on the back.
Owen Edwards -
Received a quicker delivery of the feet replacement kit. Followed the suggestion and was quicker and boots (feet) flashed fit on bottom case.
Albert Evangelista -
If, like mine, all your feet have sheared off, you may be able to pry the center bit of plastic left in the lid at each foot out with tweezers. Obviously don't go digging deep or forcing things, but if you are lucky like I was then you don't need to remove all the screws and the lid. My new feet went in well and seem really well stuck. Make sure you clean the surface of the aluminium extremely well.
I didn't find any need to cut the plastic backing. I found that each foot easily came off the backing and I grabbed it with the tweezers.
I put a pencil mark on the lid showing the position of the little "key" nub and made a mark on the foot too, showing its position. This allowed me to align the "key" nub with it's hole easily.
frostyfriday -
After pealing away any feet, be sure to remove the clear film after applying the adhesive remover. I found this easiest to do with my finger name and then double checked that all four feet recessed areas were free of the clear plastic adhesive backing from the prior removed feet.
Frank Dries -
The black stickers are for electrical insulation. I patched mine with black insulating electrical tape.
Steve Lamb -