Einleitung
This guide is an internal private guide used as a prereq.
Werkzeuge
-
-
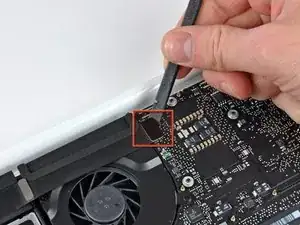
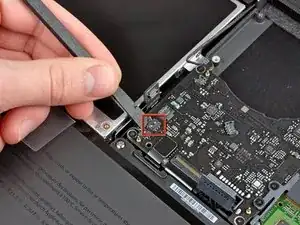
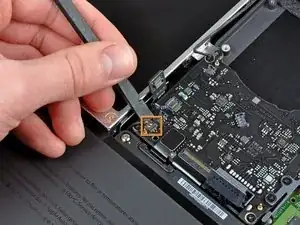
Use the flat end of a spudger to pry the AirPort/Bluetooth ribbon cable up off the logic board.
-
-
-
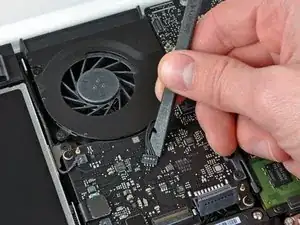
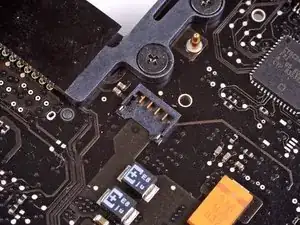
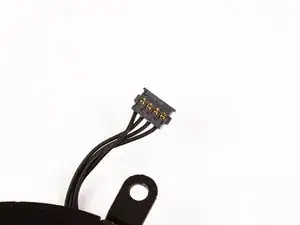
Use a spudger to pry the fan connector straight up and out of its socket on the logic board.
-
-
-
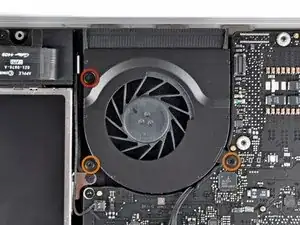
Remove the following three screws securing the fan to the upper case:
-
One 7.1 mm Phillips screw.
-
Two 5 mm Phillips screws.
-
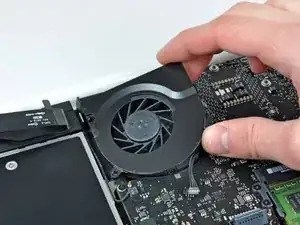
Lift the fan out of the upper case.
-
-
-
Carefully pry the delicate rear speaker connector up off the logic board. These small L/R speaker connectors are quite easily broken.
-
-
-
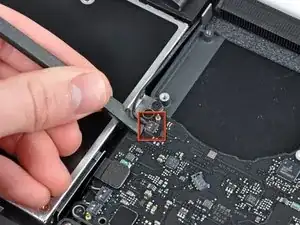
Use a spudger to pry the right speaker connector and sleep LED connector up off the logic board.
-
-
-
Use the flat end of a spudger to pry the trackpad ribbon cable connector up off the logic board.
-
-
-
Use your fingernail to flip up the locking flap on the ZIF socket for the keyboard ribbon cable.
-
Use the tip of a spudger to slide the keyboard ribbon cable out of its socket.
-
-
-
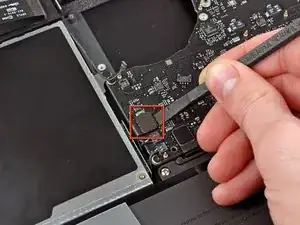
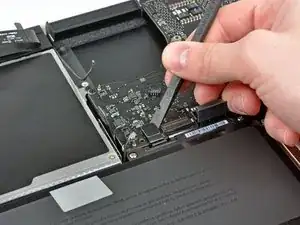
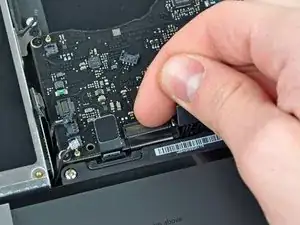
Use the flat end of a spudger to pry the hard drive cable connector up off the logic board.
-
-
-
Use a spudger to pry the left speaker connector and microphone connector up off the logic board.
-
-
-
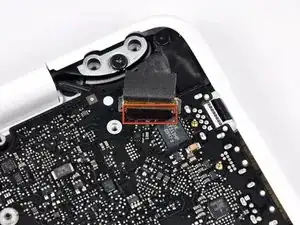
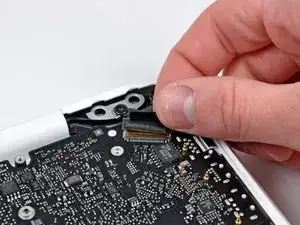
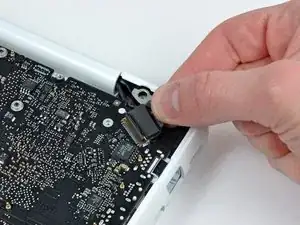
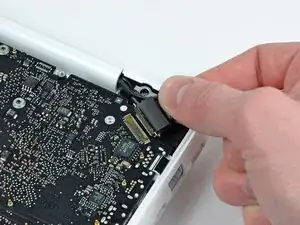
Grab the plastic pull tab secured to the display data cable lock and rotate it toward the DC-In side of the computer.
-
-
-
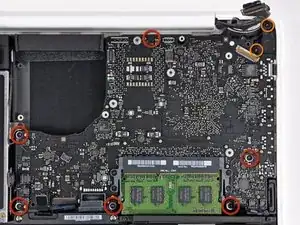
Remove the six 4.1 to 4.4 mm T6 Torx screws securing the logic board to the upper case.
-
Remove the two 4.1 to 4.5 mm T6 Torx screws securing the MagSafe board to the upper case.
-
On some models, these screws may be T7. Be careful not to strip away the head with a smaller bit.
-
-
-
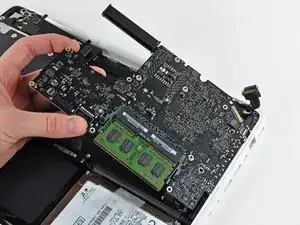
Lift the side of the logic board opposite the ports out of the upper case.
-
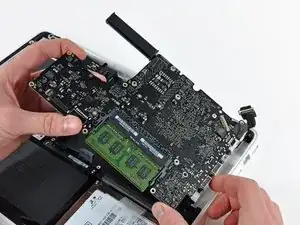
Rotate the logic board away from the upper case until the ports clear the lip molded in the upper case.
-
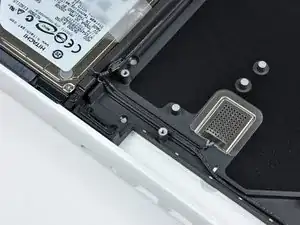
Pull the logic board and MagSafe board away from the edge of the upper case as one piece.
-
To reassemble your device, follow these instructions in reverse order.
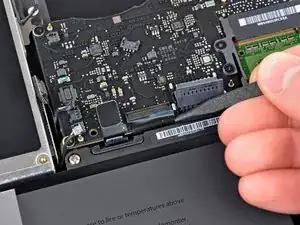
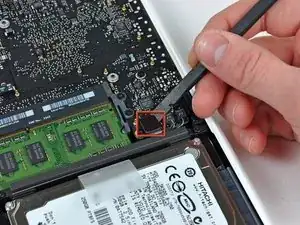
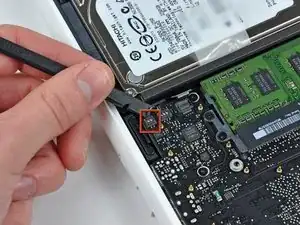
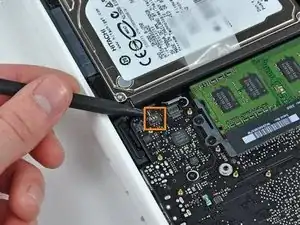

The steps from 7 up to 16, and then 19 and 20 are not necessary. It looks like Apple intentionally designed the shape in the corner around the magsafe connector, so that it can be replaced without disconnecting and unmounting the main board. Also, the placement of the two screws mounting the magsafe board confirms that - they are easily available. This is true at least for the 2009 model, which I've successfully repaired.
So you can skip the risky steps of disconnecting of all the main board connectors and go straight to unscrewing the magsafe connector. Then, having the spudger and some 3D imagination, you can remove the magsafe board with some 3D rotations. Same for mounting the new magsafe.
I've found out that crucial simplification only because I failed to unscrew the fan (broken a screw completely, while following this guide step by step). Then I found a comment from user grze under step 6, which saved my macbook by confirming, that 7 to 16 can be skipped.
Sebastian M -