Einleitung

Use this guide to replace the trackpad in your MacBook Pro 14" 2023.

For your safety, discharge the battery below 25% before disassembling your MacBook. This reduces the risk of fire if the battery is accidentally damaged during the repair. If your battery is swollen, take appropriate precautions.

Some photos in this guide are from a different model and may contain slight visual discrepancies, but they won't affect the guide procedure.

  1. sAvCLYXqUkq3CpsT
    sAvCLYXqUkq3CpsT
    dYQhaLBJXSRTTctb
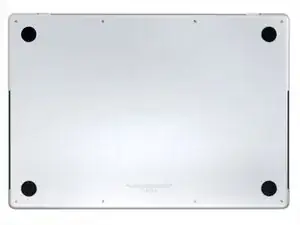
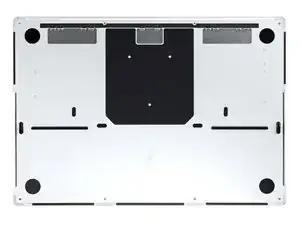
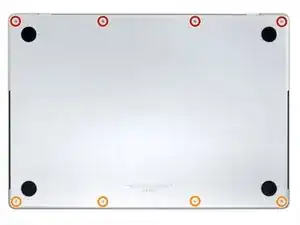
    • Completely power off and unplug your MacBook Pro before you start. Close the display and flip the entire laptop upside-down.

    • Use a P5 Pentalobe driver to remove eight screws securing the lower case:

    • Four 9.3 mm screws

    • Four 5 mm screws

    • Throughout this repair, keep track of each screw and make sure it goes back exactly where it came from to avoid damaging your device.

  2. XaNohnCmRnh2nZpJ
    XaNohnCmRnh2nZpJ
    vL2whH15EFx1twZH
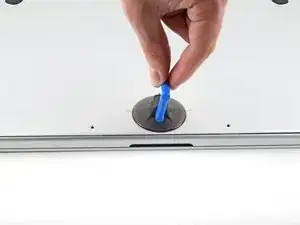
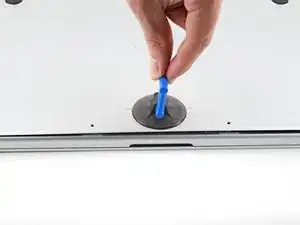
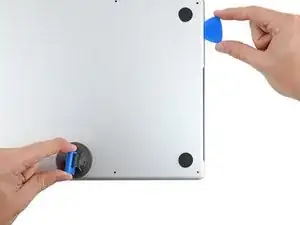
    • Press a suction handle into place near the front edge of the lower case, between the screw holes.

    • Pull up on the suction handle to create a small gap under the lower case.

  3. gKFYYs2sw4AKQjyZ
    gKFYYs2sw4AKQjyZ
    H4KsmKKCORb6oQgS
    XipK6OFYbtmB2HXx
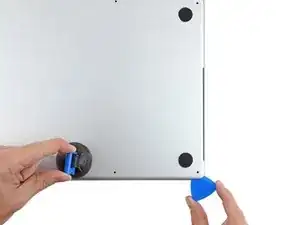
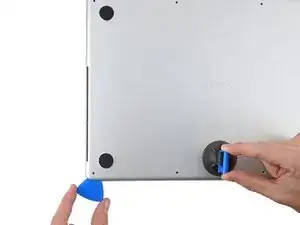
    • Insert an opening pick into the gap you just created.

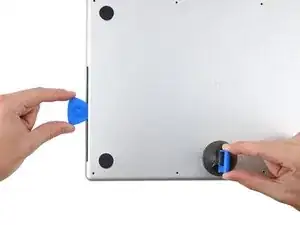
    • Slide the opening pick around the nearest corner and then halfway up the side of the MacBook Pro.

    • This releases the first of the hidden clips securing the lower case. You should feel and hear the clip pop free.

  4. D6bdEaUShxT3UVIG
    D6bdEaUShxT3UVIG
    MUSM2IsQWQnMyLTY
    PVitYNF6oBIbr23x
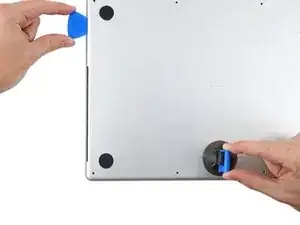
    • Repeat the previous step on the other side, using an opening pick to to release the second clip.

  5. jhQl23lkLmdIajyL
    jhQl23lkLmdIajyL
    5Biq1bJPZBQJR6co
    SosOCOgOT4DGPusW
    • Pull firmly to slide the lower case towards the front edge of the MacBook (away from the hinge area) to separate the last of the clips securing the lower case.

    • Pull first at one corner, then the other.

    • Pull to the side—not up.

    • This may require a lot of force.

  6. Opome2xEF244Sbik
    Opome2xEF244Sbik
    Zhm2CbuWmJyMyRHI
    NZBNkwTekFWxsHvu
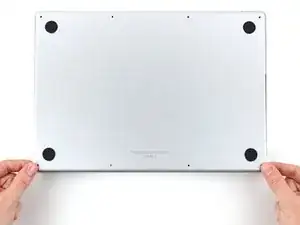
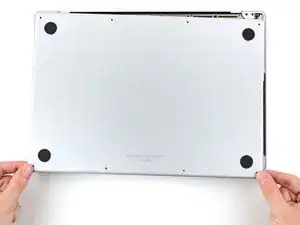
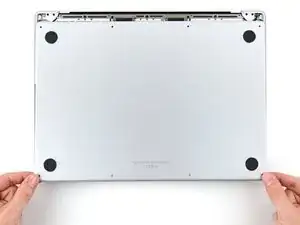
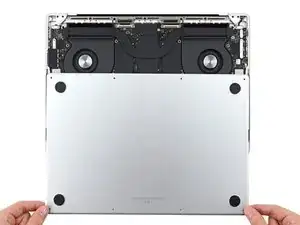
    • Remove the lower case.

    • To reinstall the lower case:

    • Set it in place and align the sliding clips near the display hinge. Press down and slide the cover toward the hinge. It should stop sliding as the clips engage.

    • When the sliding clips are fully engaged and the lower case looks correctly aligned, press down firmly on the lower case to engage the four hidden clips underneath. You should feel and hear them snap into place.

  7. SIIw4KNqNJat1yBq
    SIIw4KNqNJat1yBq
    CqRTAbjmiKvZwmLv
    6IUyFZNiLDUEWEX1
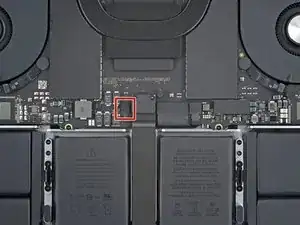
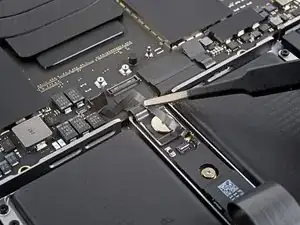
    • Peel back any tape covering the battery board data cable connector on the logic board.

  8. V4EqB5aHmr63xI1v
    V4EqB5aHmr63xI1v
    SQ1dKqsBDFs5moni
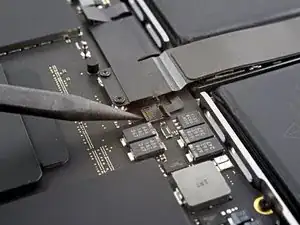
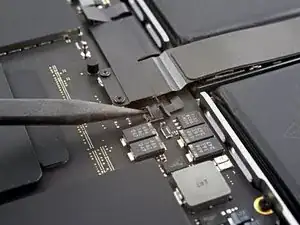
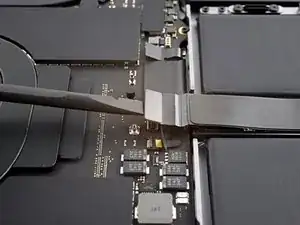
    • Use a spudger to gently pry up the locking flap on the ZIF connector for the battery board data cable.

  9. gRNLvpgBvrIRFj1o
    gRNLvpgBvrIRFj1o
    XeuVHmR3DERR3vvt
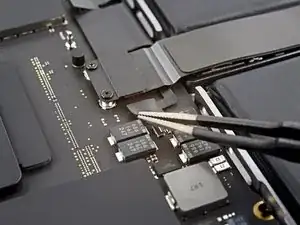
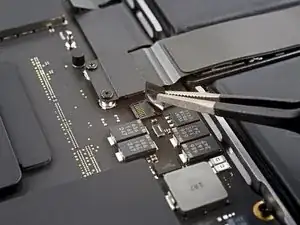
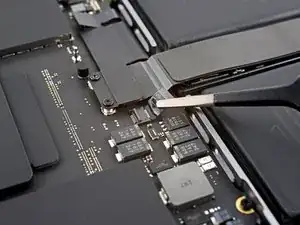
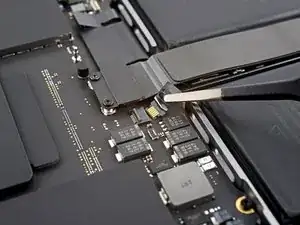
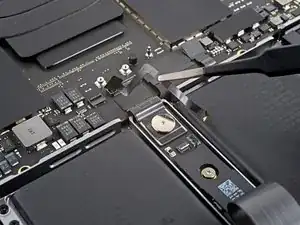
    • Disconnect the battery board data cable by sliding it out from its socket on the logic board.

  10. tWijJMdBI6gPL6ac
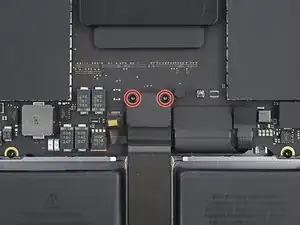
    • Use a T3 Torx driver to remove the two 2.1 mm‑long screws securing the trackpad cable bracket to the logic board.

    Sorry but this is not correct Apple procedure.

    There is power running through the device still whilst you are unscrewing this plate/bracket and disconnecting the trackpad if you do it this way. This is why Apple put the small flex cable next to this, free to reach before touching anything else.

    You must disconnect the battery flex cable next to the trackpad connector before you touch anything else.

    Thanks

    Brendan Roberts -

  11. WKgCgHbgW1ChnLeO
    WKgCgHbgW1ChnLeO
    AMVCrEnxxAlBZH1B
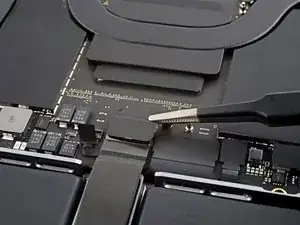
    • Use tweezers, or your fingers, to remove the trackpad cable bracket.

  12. HruGWCLaCDFQTy4i
    HruGWCLaCDFQTy4i
    lIj3sMFMZSYMtPJi
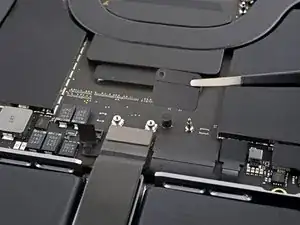
    • Use the flat end of a spudger to pry up and disconnect the trackpad cable's press connector secured to the logic board.

    • To re-attach press connectors like this one, carefully align and press down on one side until it clicks into place, then repeat on the other side. Don't press down on the middle. If the connector is misaligned, the pins can bend, causing permanent damage.

  13. odTkloRNKqkLFIy1
    odTkloRNKqkLFIy1
    WdEKjjUssSiSBQRr
    • The trackpad cable is lightly adhered to the frame.

    • Peel the trackpad cable away from the device, making sure to separate the adhesive.

  14. bmxLNFdBHc6VFNFG
    bmxLNFdBHc6VFNFG
    FjHbnTch3Jw2v4xP
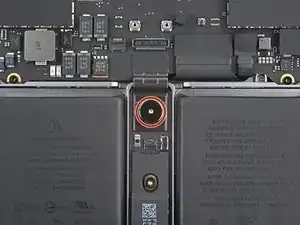
    • Peel back any tape covering the battery board data cable connector under the large pancake screw.

  15. YeVALkOj2MDGfUAD
    YeVALkOj2MDGfUAD
    YEDQCtAYmAeObXwb
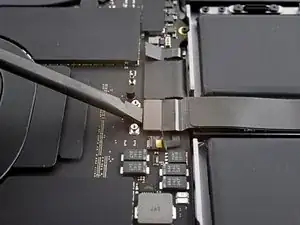
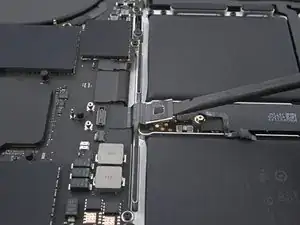
    • Use a spudger to gently pry up the locking flap on the ZIF connector for the battery board data cable.

  16. CPVNHwGjCq5DHYlh
    CPVNHwGjCq5DHYlh
    OtDHIiOVv2ZSiqBE
    • Disconnect the battery board data cable by sliding it out from its socket on the battery board.

  17. pZApKfPHIxQlREsA
    pZApKfPHIxQlREsA
    wttgdDPBHNlgcQNy
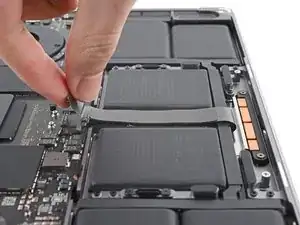
    • The battery board data cable is lightly adhered to the device.

    • Slide blunt nose tweezers under areas with adhesive to separate the cable from the device.

    • Remove the battery board data cable.

  18. FUOLA5NLVP3IPFZn
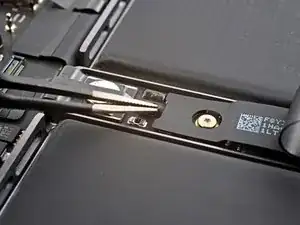
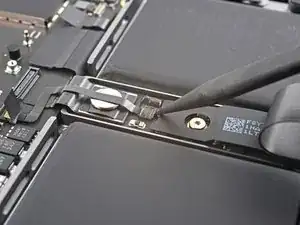
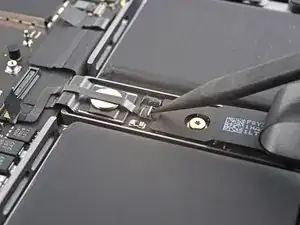
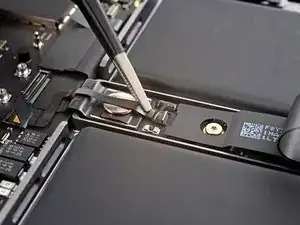
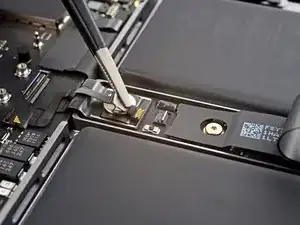
    • Use a T5 Torx driver to remove the 3.8 mm pancake screw securing the battery power connector.

  19. hvVm3YJcO2MRuHkK
    hvVm3YJcO2MRuHkK
    rFVOELLuBj2ZHQDt
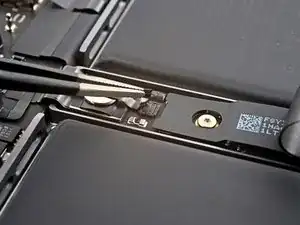
    • Use a spudger to lift the battery power connector, disconnecting the battery.

    • Lift the connector high enough to keep it separated from its socket while you work. If it accidentally makes contact, it could damage your MacBook Pro.

    I would place a piece of card stock (business card) taped to the battery cells so the contact can’t be made.

    Dan -

  20. quWHlwu1iNuZKqpE
    quWHlwu1iNuZKqpE
    JOvnH5IWGfqgxwfi
    • Use a T5 Torx driver to remove the ten 5.7 mm screws securing the trackpad assembly:

    • Adding a little blue threadlocker to the screw threads during reassembly can help prevent the screws from working themselves loose over time.

    • Install the screws loosely at first, and then check the trackpad alignment before tightening them down.

    When referring to the 5.7mm length, is this tip of the screw to head of the screw? or thread length? Also, what is the nominal dimension of the screw diameter? Asking cause I stripped one of the screw heads when re-assembling, and can't find replacement screws anywhere.

    Andre Fernandes -

  21. 2fAlyWwWARDSyGdI
    2fAlyWwWARDSyGdI
    R2ReZsRkNgmHUVMu
    TSe6CWwHatyO4hV3
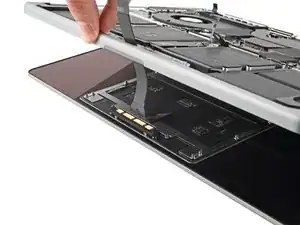
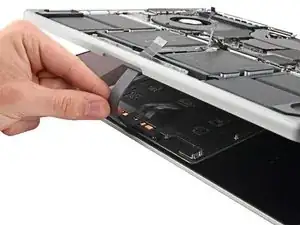
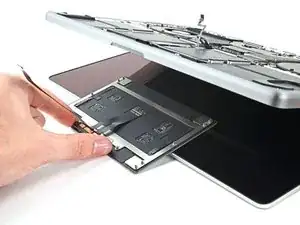
    • Swing the display open slightly, but keep the MacBook upside-down. The trackpad assembly should separate and lay flat on the display.

    • As you remove the trackpad assembly, be very careful not to lose the six small metal washers resting on the screw posts. (They will fly off and get lost with very little provocation.)

    • Carefully feed the trackpad's ribbon cable through its slot in the frame.

    perso à cette étape j'aurais mis un linge sur l'écran pour ne pas le rayer avec le pavé tactile

    thierfeu -

  22. djYKbqh2ddAhARri
    • Remove the trackpad assembly.

    • Make sure that each of the nine washers are present before you reinstall the trackpad.

    What happens if you lose 2 washer? What will happen?

    Omartinez -

Abschluss

To reassemble your device, follow these instructions in reverse order.

Compare your new replacement part to the original part—you may need to transfer remaining components or remove adhesive backings from the new part before you install it.

Repair didn’t go as planned? Try some basic troubleshooting, or ask our MacBook Pro 14" 2023 Answers community for help.
Chayton Ritter

Mitglied seit: 21/08/20

12163 Reputation

0 Kommentare