Einleitung

The trackpad is used to move the cursor on the screen. It is located below the keyboard.

  1. LZHWC4EIlpOHucwX
    • The battery compartment is located in the front-right side of the laptop.

  2. SmcwsPadOw1mSdKj
    • To insert the battery, gently slide it into the compartment until it clicks in place.

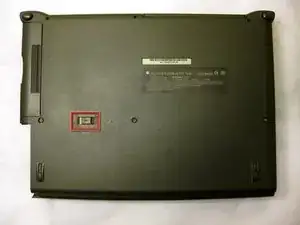
    • To remove, slide the button highlighted in the red rectangle to the right to release the battery and slide it from the compartment.

    This is not to remove the battery, this is to remove the expansion slot (which has got the floppy disk module in it, in the first picture.

    blrutter -

    Sorry I should have mentioned it in my prior comment. The battery has got a release button on it too, but it’s part of the battery, exposed on the front face of the right front corner when the battery is installed.

    blrutter -

  3. QpFh211Sr1miwXb6
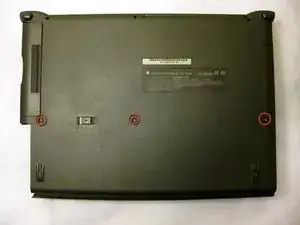
    • With the laptop upside down and with the battery removed, use a Torx #9 screw driver to remove the three .84 in. screws shown.

  4. PGoBsdp1nLA4MdKv
    PGoBsdp1nLA4MdKv
    HpJjutWhGsXrPhxH
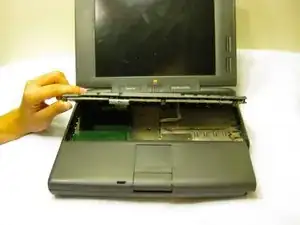
    • Carefully pull up on the front of the keyboard to pop it out from the case.

    • Then slide the back out so the keyboard becomes nearly free.

  5. gESnpIK55cbOEMjB
    gESnpIK55cbOEMjB
    mHwLCyQwCL2MnpI5
    lWKtlt2FgVQfLGLD
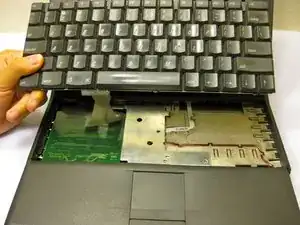
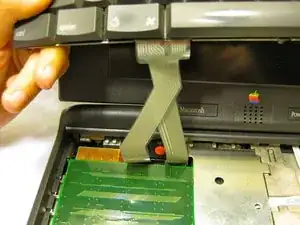
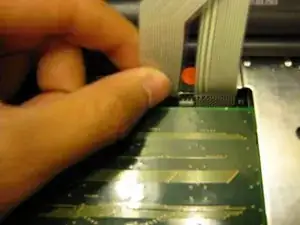
    • Disconnect the ribbon that is connecting the keyboard to the rest of the computer.

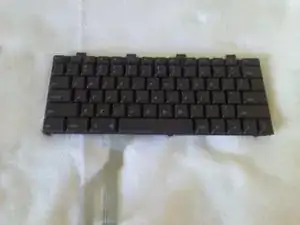
    • Pull the keyboard out and repair or replace as needed.

  6. ThmcuL5H13nIqB5v
    ThmcuL5H13nIqB5v
    1PQ2ppt2CwI2hGNJ
    piFwlfXOQhFcOJHU
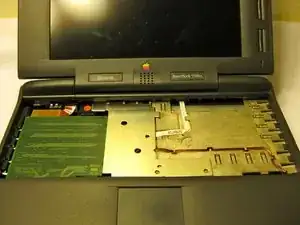
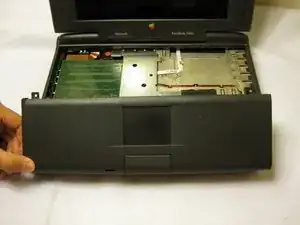
    • Remove the front plastic panel of the laptop by carefully lifting it up.

  7. PwOTpXUDXnlMQFCt
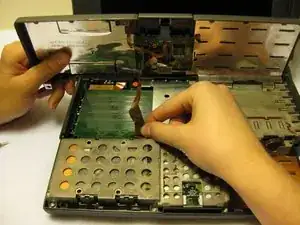
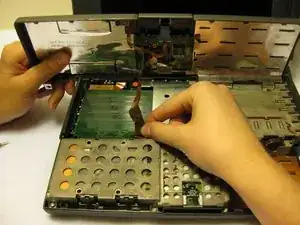
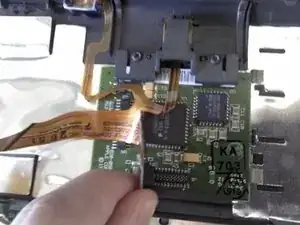
    • Remove the orange stripped ribbon that connects the trackpad to the rest of the laptop by carefully pulling up.

    I would really like to see how the ribbon goes back in under the keyboard, as my laptop had some parts fall off.

    Justin T -

    the 5300 series seem to have a tiny fan installed, I wonder if something like that is possible to do in a 1400..

    Jamba -

  8. SQ2LY5VIFxEgmOTZ
    SQ2LY5VIFxEgmOTZ
    254s6TERnig4CPkX
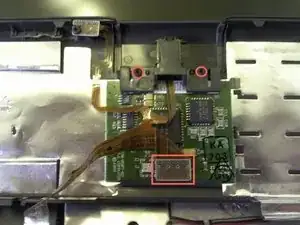
    • With a Torx #9 screwdriver, remove the two .20 in. screws circled in red that are holding the trackpad in place.

    • Then disconnect the ribbon highlighted with the red rectangle connecting the trackpad to the laptop.

  9. VxWoiOGnEePurV3O
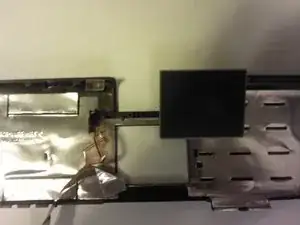
    • The trackpad can now be removed from the laptop.

Abschluss

To reassemble your device, follow these instructions in reverse order.
Ronan

Mitglied seit: 11/10/11

63 Reputation

0 Kommentare