Einleitung

This guide will show you how to replace the power cord in a Makita jack hammer HM1307CB.

Before you begin this repair, make sure that the jack hammer is completely powered down and unplugged.

As you perform this repair, take note of all the screws that have been sealed with threadlocker and be sure to clean them and reapply the same color threadlocker during reassembly.

  1. qj4JdIZeDFkHN6Vx
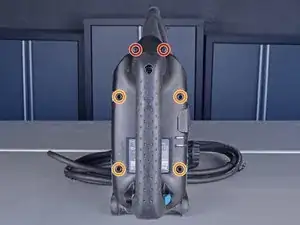
    • Remove the following screws:

    • Two Phillips screws

    • Four hex screws

    • These four hex screws are all held in place with threadlocker, and may take quite a bit of torque or even some heat to loosen.

    • During reassembly, clean the residual threadlocker from these screws, then reapply high-strength (red) threadlocker to each one before reinstalling.

    • If you aren't sure how to apply threadlocker, refer to the next step in this guide.

  2. HTxZMnQgyBr5EVEf
    HTxZMnQgyBr5EVEf
    gaOxGgSsYrXbiQbw
    girAxECR6bJm3gKv
    • To reapply threadlocker:

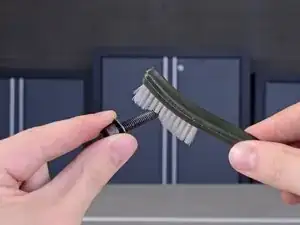
    • First, clean the residual threadlocker from each of the screws with some cleaner/degreaser and a stiff brush.

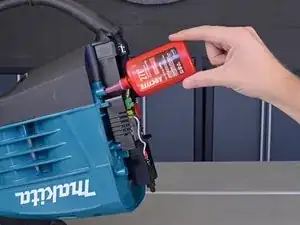
    • Second, apply a couple drops of high-strength threadlocker to the screw sockets.

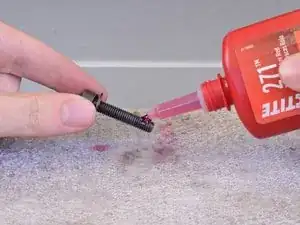
    • Finally, apply one or two drops of the same high-strength threadlocker to the tip of each screw and reinstall them.

  3. pDPBoDOZXdiNAFfS
    pDPBoDOZXdiNAFfS
    SL2GWWSRfEVnK2U3
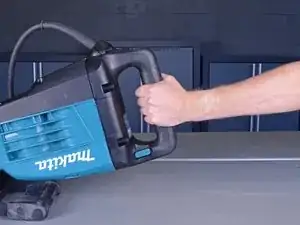
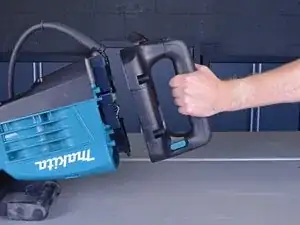
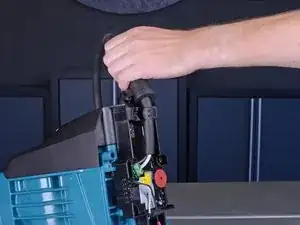
    • Grab the handle and remove it from the jack hammer.

  4. 5xS6cyGCKDISSkkN
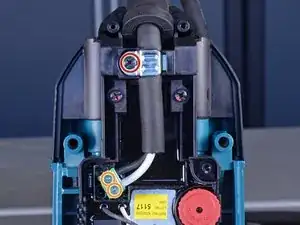
    • Remove the black Phillips screw from the strain relief plate.

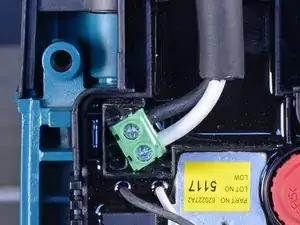
    • Loosen the two silver Phillips screws that hold the stripped ends of the power cable in the green terminal on the controller. These screws do not need to be removed.

  5. Aq46idIPGasA5nVY
    Aq46idIPGasA5nVY
    QsZedcjZfTHPCEOV
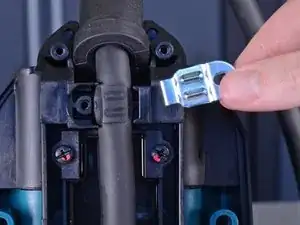
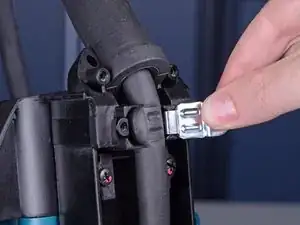
    • Remove the strain relief plate.

    • During reassembly, hook the right edge of the strain relief plate under the lip to the right of the cord before pressing it into place and reinstalling the Phillips screw.

  6. sXMe3obdnvhotSwI
    sXMe3obdnvhotSwI
    DKFVav236Ug2Ulbv
    3GdFQY1ACEWuIPYv
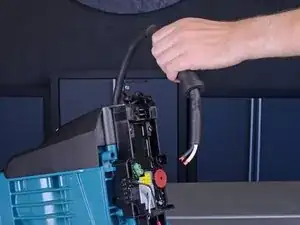
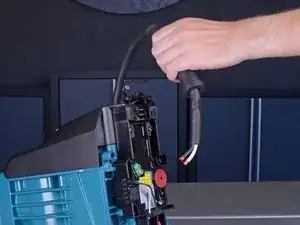
    • Remove the power supply cord from the jack hammer.

    • As you remove the cord, note the position of the cord guard. During reassembly, make sure the collar of the cord guard fits back into its slot in the handle.

    • When reinserting the two exposed wire ends into the green terminal:

    • First, compress the wire ends so they are relatively flat.

    • Then, insert each wire end into the green terminal, noting the polarity of the cables: the black cable should go into the upper slot, and the white cable should go into the lower slot (as shown in the third photo of this step).

    • Finally, gently tighten the screws until the wires are secured.

  7. giLyXrotfPTG1dXK
    giLyXrotfPTG1dXK
    OyQTumCuxMZRbtqc
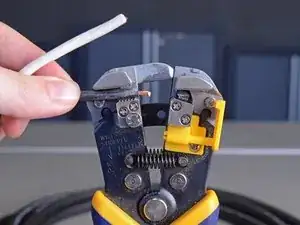
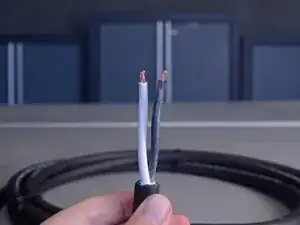
    • Your replacement power supply cord may not come with stripped cable ends. If it does not, strip 6–8 mm of insulation off both the black and white cables before installing.

    • If your replacement cord does not include a cord guard, remove the cover guard from the original cord and transfer it to the new cord before installing it.

Abschluss

To reassemble your device, follow these instructions in reverse order, taking note of any applicable reassembly tips.
Taylor Dixon

Mitglied seit: 26/06/18

63211 Reputation

0 Kommentare