Einleitung

This guide will show you how to replace the brush holder in a Makita HM1307CB jack hammer.

Before you perform this repair, make sure the jack hammer is completely powered down and unplugged.

As you perform this repair, take note of all the screws that have been sealed with threadlocker and be sure to clean them and reapply the same color threadlocker during reassembly.

  1. qj4JdIZeDFkHN6Vx
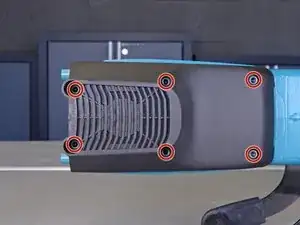
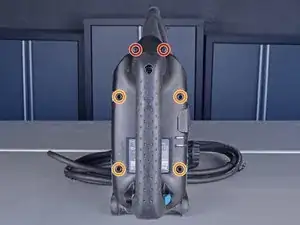
    • Remove the following screws:

    • Two Phillips screws

    • Four hex screws

    • These four hex screws are all held in place with threadlocker, and may take quite a bit of torque or even some heat to loosen.

    • During reassembly, clean the residual threadlocker from these screws, then reapply high-strength (red) threadlocker to each one before reinstalling.

    • If you aren't sure how to apply threadlocker, refer to the next step in this guide.

  2. HTxZMnQgyBr5EVEf
    HTxZMnQgyBr5EVEf
    gaOxGgSsYrXbiQbw
    girAxECR6bJm3gKv
    • To reapply threadlocker:

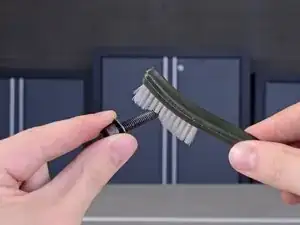
    • First, clean the residual threadlocker from each of the screws with some cleaner/degreaser and a stiff brush.

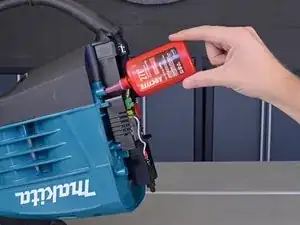
    • Second, apply a couple drops of high-strength threadlocker to the screw sockets.

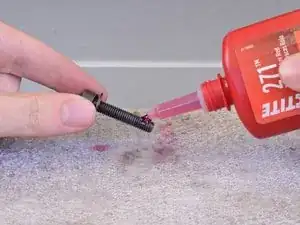
    • Finally, apply one or two drops of the same high-strength threadlocker to the tip of each screw and reinstall them.

  3. pDPBoDOZXdiNAFfS
    pDPBoDOZXdiNAFfS
    SL2GWWSRfEVnK2U3
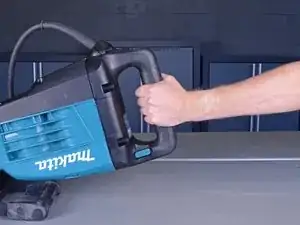
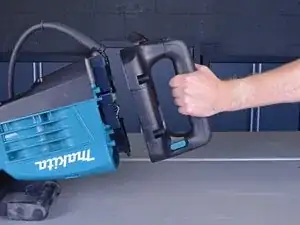
    • Grab the handle and remove it from the jack hammer.

  4. OM4K3YGDglAhfXjp
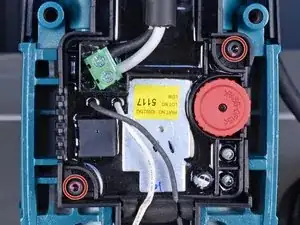
    • Remove the two hex screws holding the controller cover in place.

    • During reassembly, clean the residual threadlocker from these screws, then reapply high-strength (red) threadlocker to each one before reinstalling.

  5. ywcBOcw5MAQPQHVL
    ywcBOcw5MAQPQHVL
    r3LD1iMYEaOMTZKI
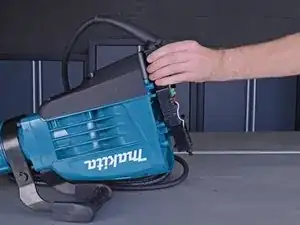
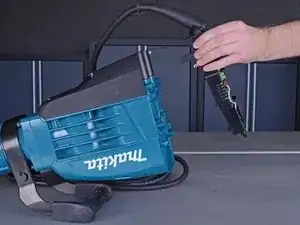
    • Remove the controller cover and the attached power supply cord from the jack hammer.

  6. dyHnYy3NEFCTT5hP
    • Remove the six 5 mm hex screws holding the rear cover in place.

    • These six hex screws are all held in place with threadlocker, and may take quite a bit of torque or even some heat to loosen.

    • During reassembly, clean the residual threadlocker from these screws, then reapply high-strength (red) threadlocker to each one before reinstalling.

  7. acYfFPgXdpt2hdNI
    acYfFPgXdpt2hdNI
    DcwUsHxBEQJkSYXW
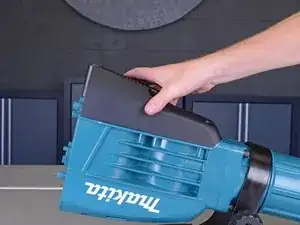
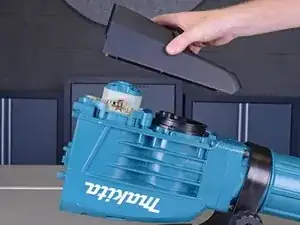
    • Lift up the rear cover and remove it from the jack hammer.

  8. emYxgjZQs4EqTOTK
    emYxgjZQs4EqTOTK
    noUGZCCgqDIMv2Pl
    ebAFgDesMQfjVRA4
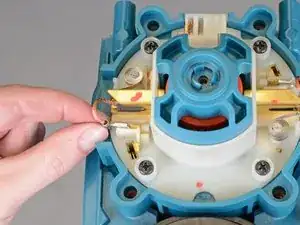
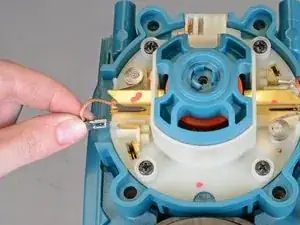
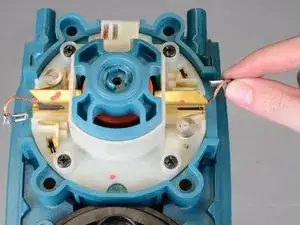
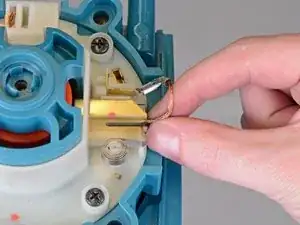
    • Slide the brushes' metal clips off of the golden contact rails.

  9. rTToDPE3CK4nidKB
    rTToDPE3CK4nidKB
    lHyul1KE33Fx5wZW
    UyECXeomhHkya55u
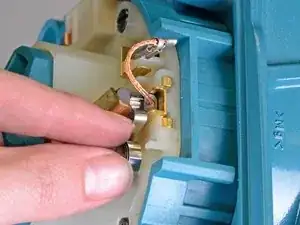
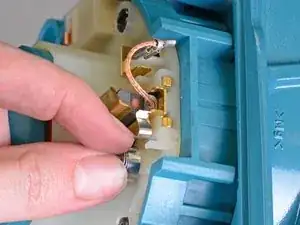
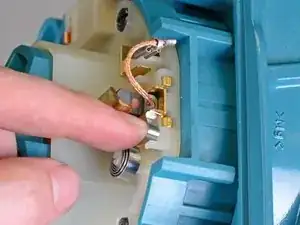
    • Use your finger or a pry tool to pull back the spring holding each brush in place and press it against the brush channel to prevent it from snapping back into place on the brush.

  10. hhkLE2kXoql2yI4j
    hhkLE2kXoql2yI4j
    kwo6PEUiaovFqF3b
    kdmpMyV3MCksLdEs
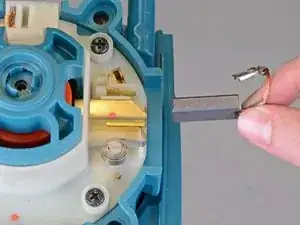
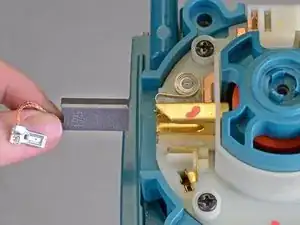
    • Slide the brushes out of their channels to remove them from the brush holder.

  11. oPftJIuSGado3wVl
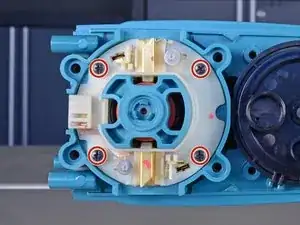
    • Remove the four Phillips screws holding the brush holder in place.

  12. ihYyuQNnCFVKRUdH
    ihYyuQNnCFVKRUdH
    jD4EkSEE4ZeQeJhs
    o42AWusjm5pmBC5v
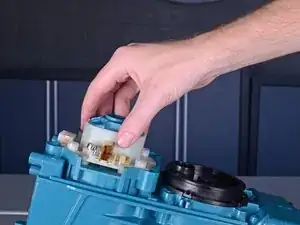
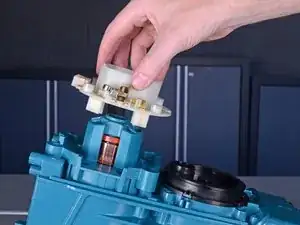
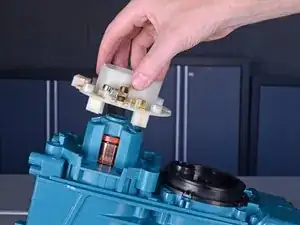
    • Lift up and remove the brush holder.

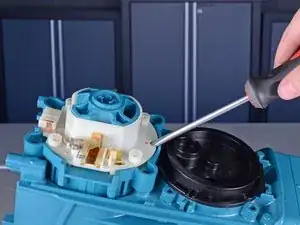
    • If you have trouble lifting up the brush holder, you can use a flathead screwdriver or another pry tool to gently pry it up before lifting.

Abschluss

To reassemble your device, follow these instructions in reverse order, taking note of any reassembly tips.
Taylor Dixon

Mitglied seit: 26/06/18

63211 Reputation

0 Kommentare