Einleitung

This guide will show you the necessary steps to replace the forward/reverse switch. It shows how to remove the battery and the outer casing, in order to locate the forward/reverse switch on the drill.

  1. KMARsfTkJtwpNxxE
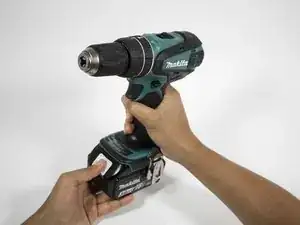
    • Hold the drill upright.

    • Place your finger on the white battery-release button.

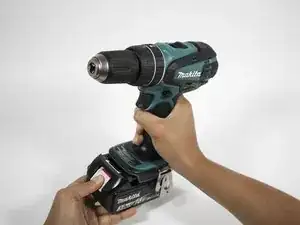
  2. 3BRFtELW4F61dsFC
    • Press and hold the white release button located on the front of the battery.

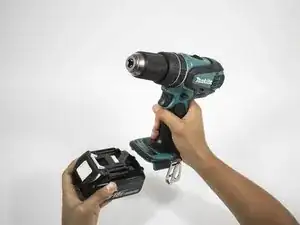
  3. LltKYZ2u3xLbG4Fm
    • Slide the battery forward while pressing down on the white battery-release button.

  4. aeyBU6IOGICygSQ3
    aeyBU6IOGICygSQ3
    kmpWZZcHGWW6SehR
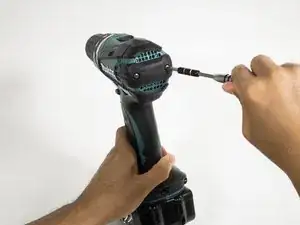
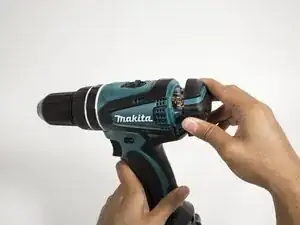
    • Hold the drill upright with the back panel facing you.

    • Unscrew the two 18 mm screws from the back panel using a Phillips PH2 screwdriver.

  5. N5LlvcjdjeuNxBkb
    • Apply slight pressure to the sides of the backplate and pull away from the drill.

  6. XDNtUUCtHct3HgjE
    XDNtUUCtHct3HgjE
    BFeqCQV5rN4VwFOO
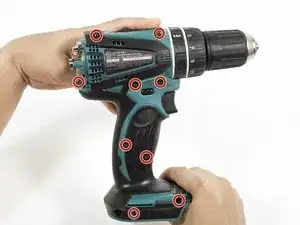
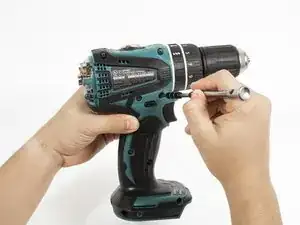
    • Unscrew the nine 18 mm screws from the outer casing using a Phillips PH2 screwdriver.

  7. kHdTWUhk5Mupxo1D
    kHdTWUhk5Mupxo1D
    wJ4HQJXDrhwDTbqG
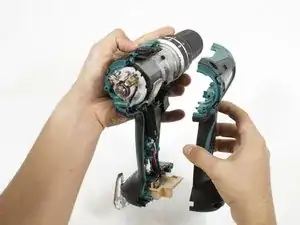
    • Apply slight pressure to the sides of the outer casing and pull away from the drill.

  8. wNYobfKlUq6f42df
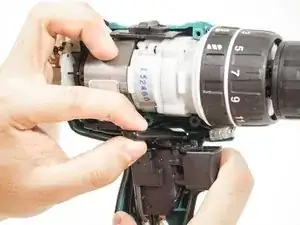
    • Pull the black trigger assembly away from the drill.

  9. XsWylMqDEkRvJGJn
    XsWylMqDEkRvJGJn
    6ODNI4ogVZK4JU2S
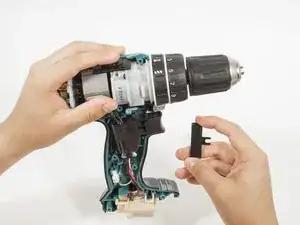
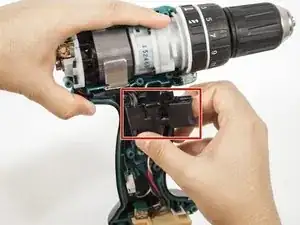
    • Grab onto the forward/reverse switch.

    • Gently pull the forward/reverse switch to separate it from the trigger assembly.

Abschluss

To reassemble your device, follow these instructions in reverse order.
Eric Herwatt

Mitglied seit: 06/10/16

945 Reputation

0 Kommentare